From the archives: November 2017. This was a neat experience…
I guess that if you going to spend this much on a CPU, it might as well have unique packaging. The Threadripper certainly had that. I wanted to post this. I only got to do 3 Threadripper builds. It is not a mainstream CPU and really doesn’t hep gaming at all and most builds were gaming rigs. But, without further adieu, here we go…
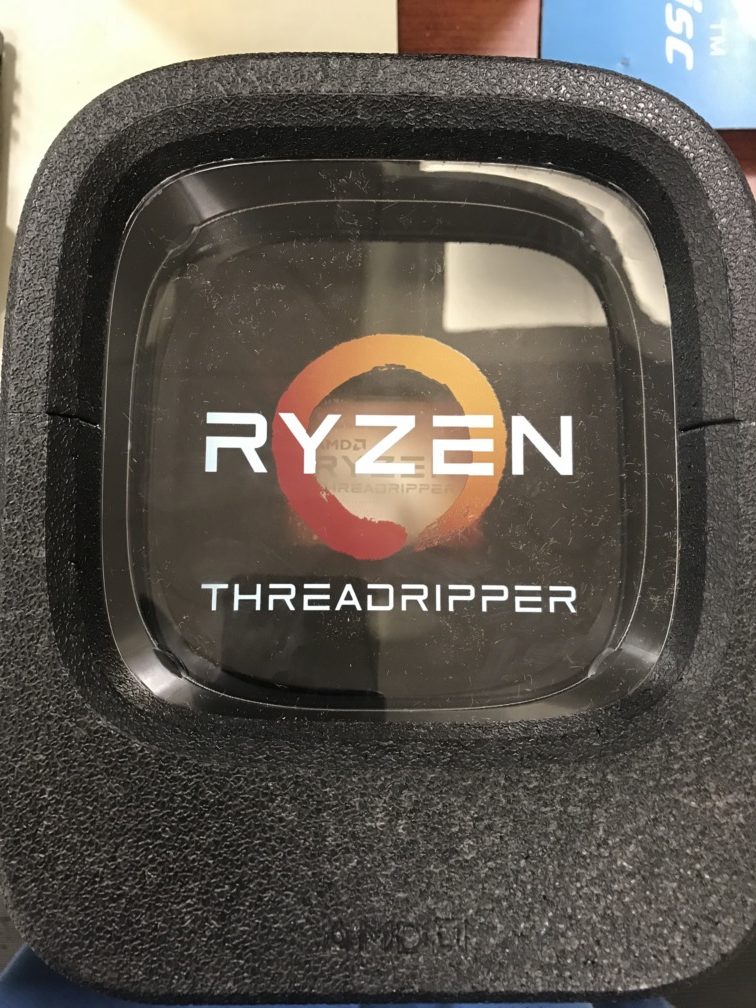
Figure 1. Unique Outer Packing. That is hard styrofoam .
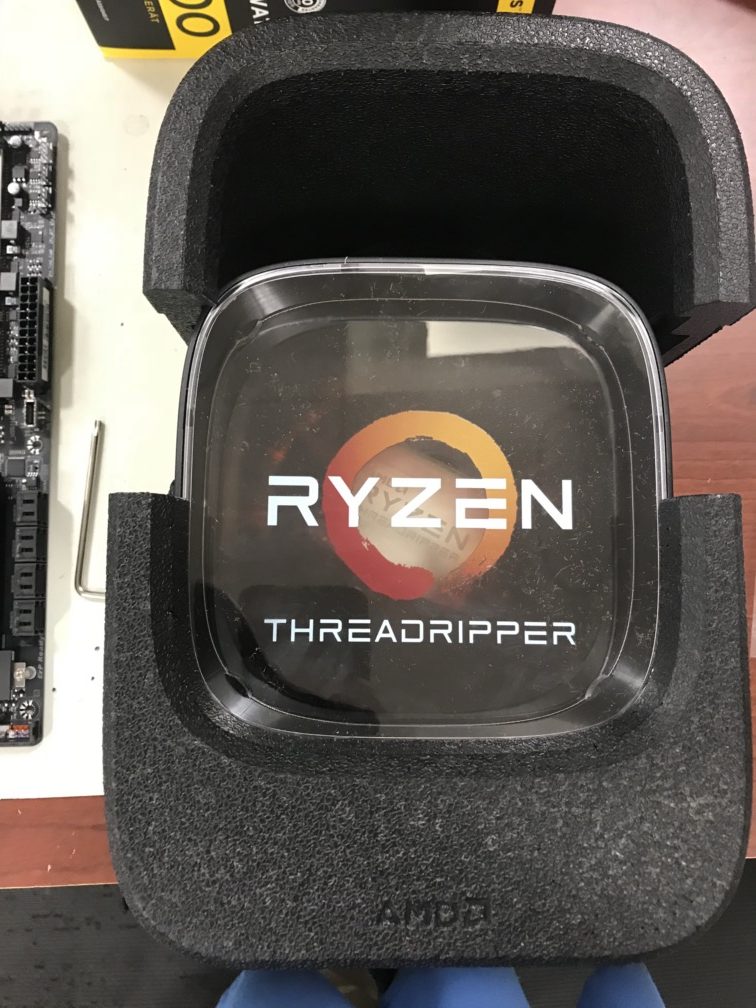
Figure 2. Taking the top half off reminds me of pulling the top of Darth Vader’s helmet off. “Nothing can stop that now.”
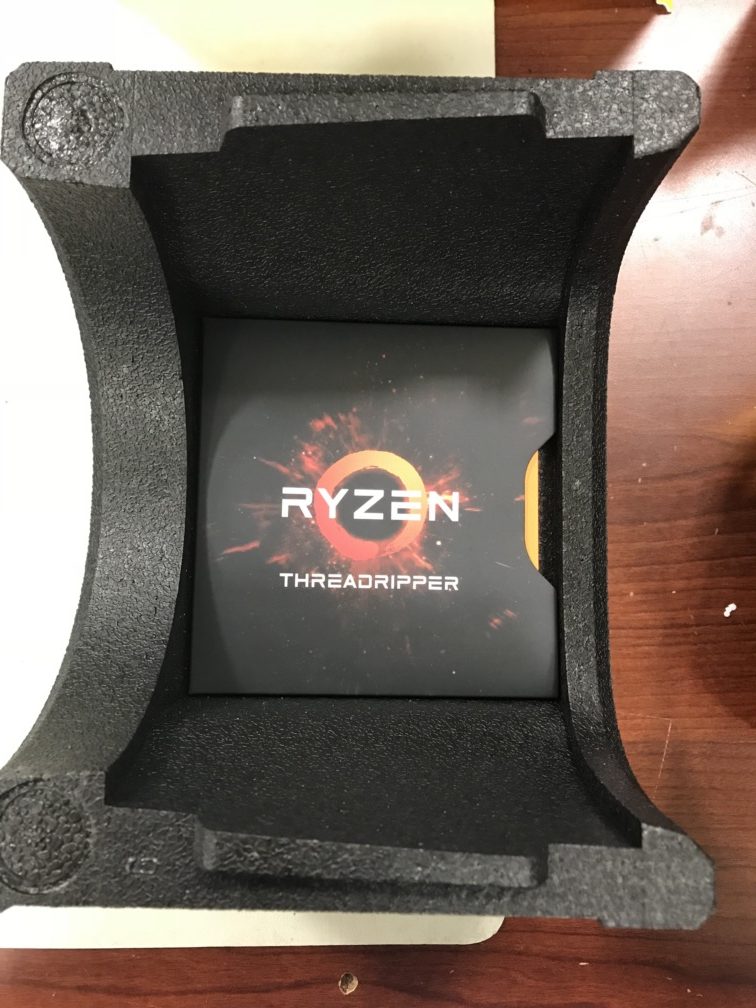
Figure 3. I removed the middle CPU section from the outer styrofoam . Here you have some documentation.
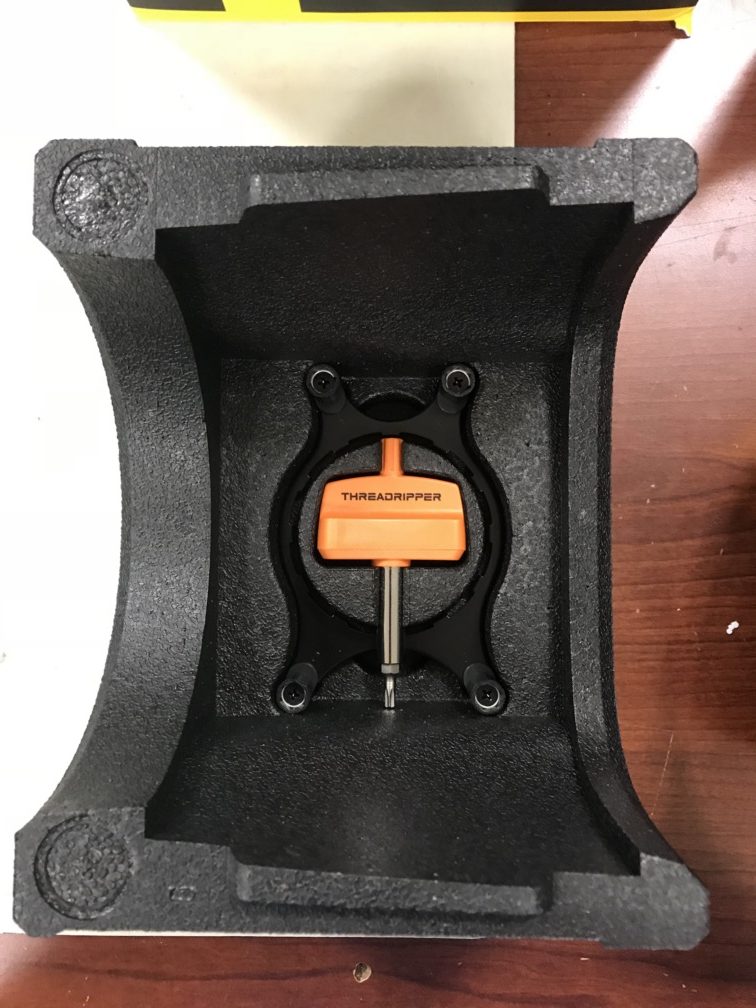
Figure 4. It comes with it’s own Hex screwdriver as the socket has them as part of installation. I will show in a follow-up blog post.
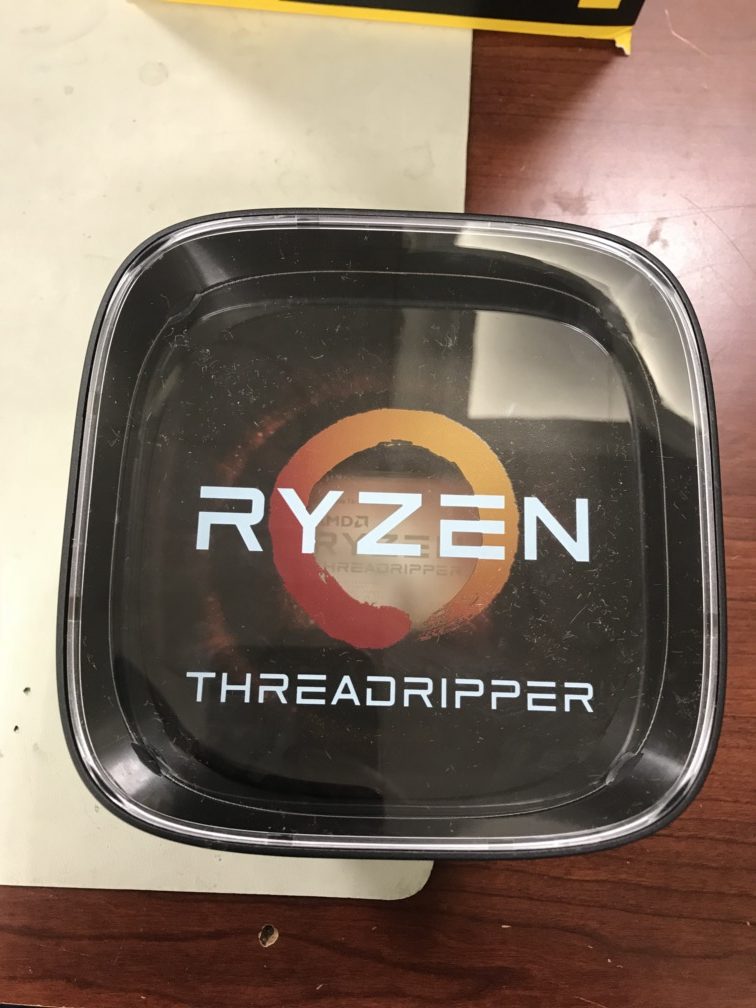
Figure 5. The middle part of the packaging…. CPU is right inside.
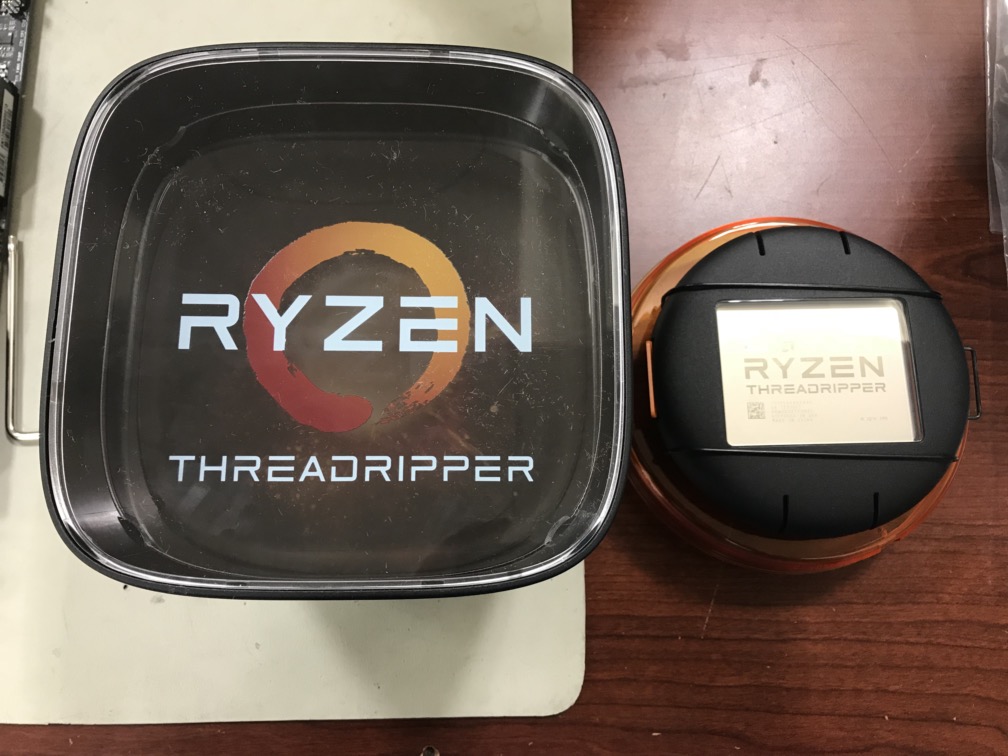
Figure 6. Removed the CPU from it’s packaging. Well, sort of. There is one more step left.
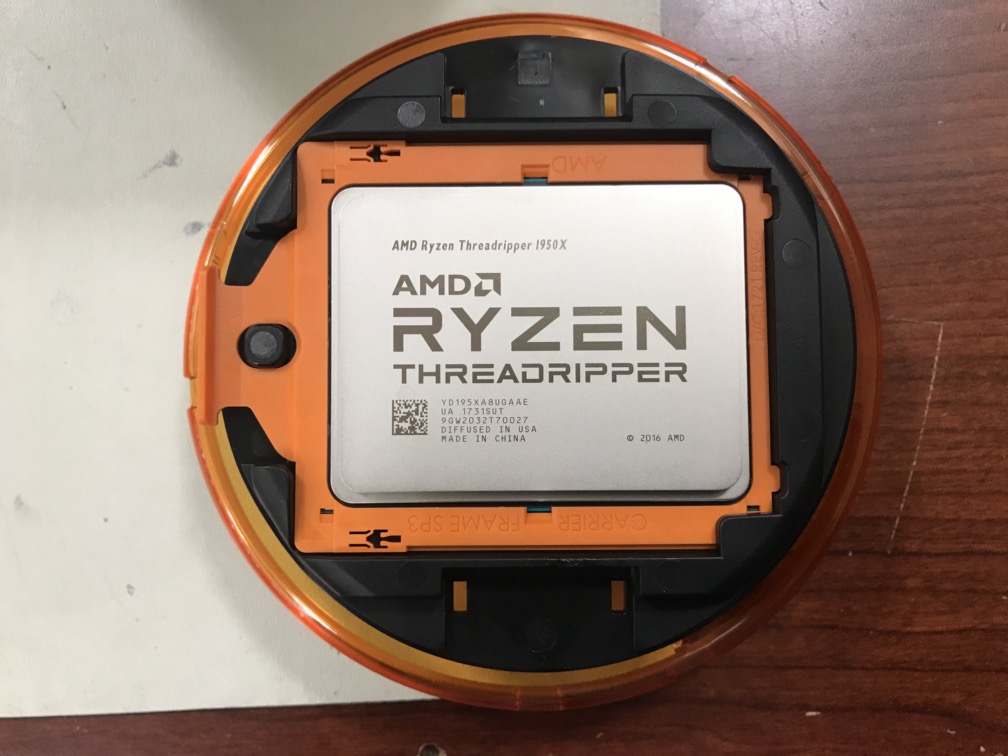
Figure 7. Finally… the CPU is the IPS but the plastic frame around it.
This was such a big deal since I rarely ran across them in my time at Fry’s. Later generations of Threadripper introduced different packaging, but Fry’s never had this so I was unable to unbox any Threadrippers outside of this generation.
Conclusion:
Hopefully, you enjoyed this as much as I did. But, reading about it is not nearly as much fun as actually doing it.


