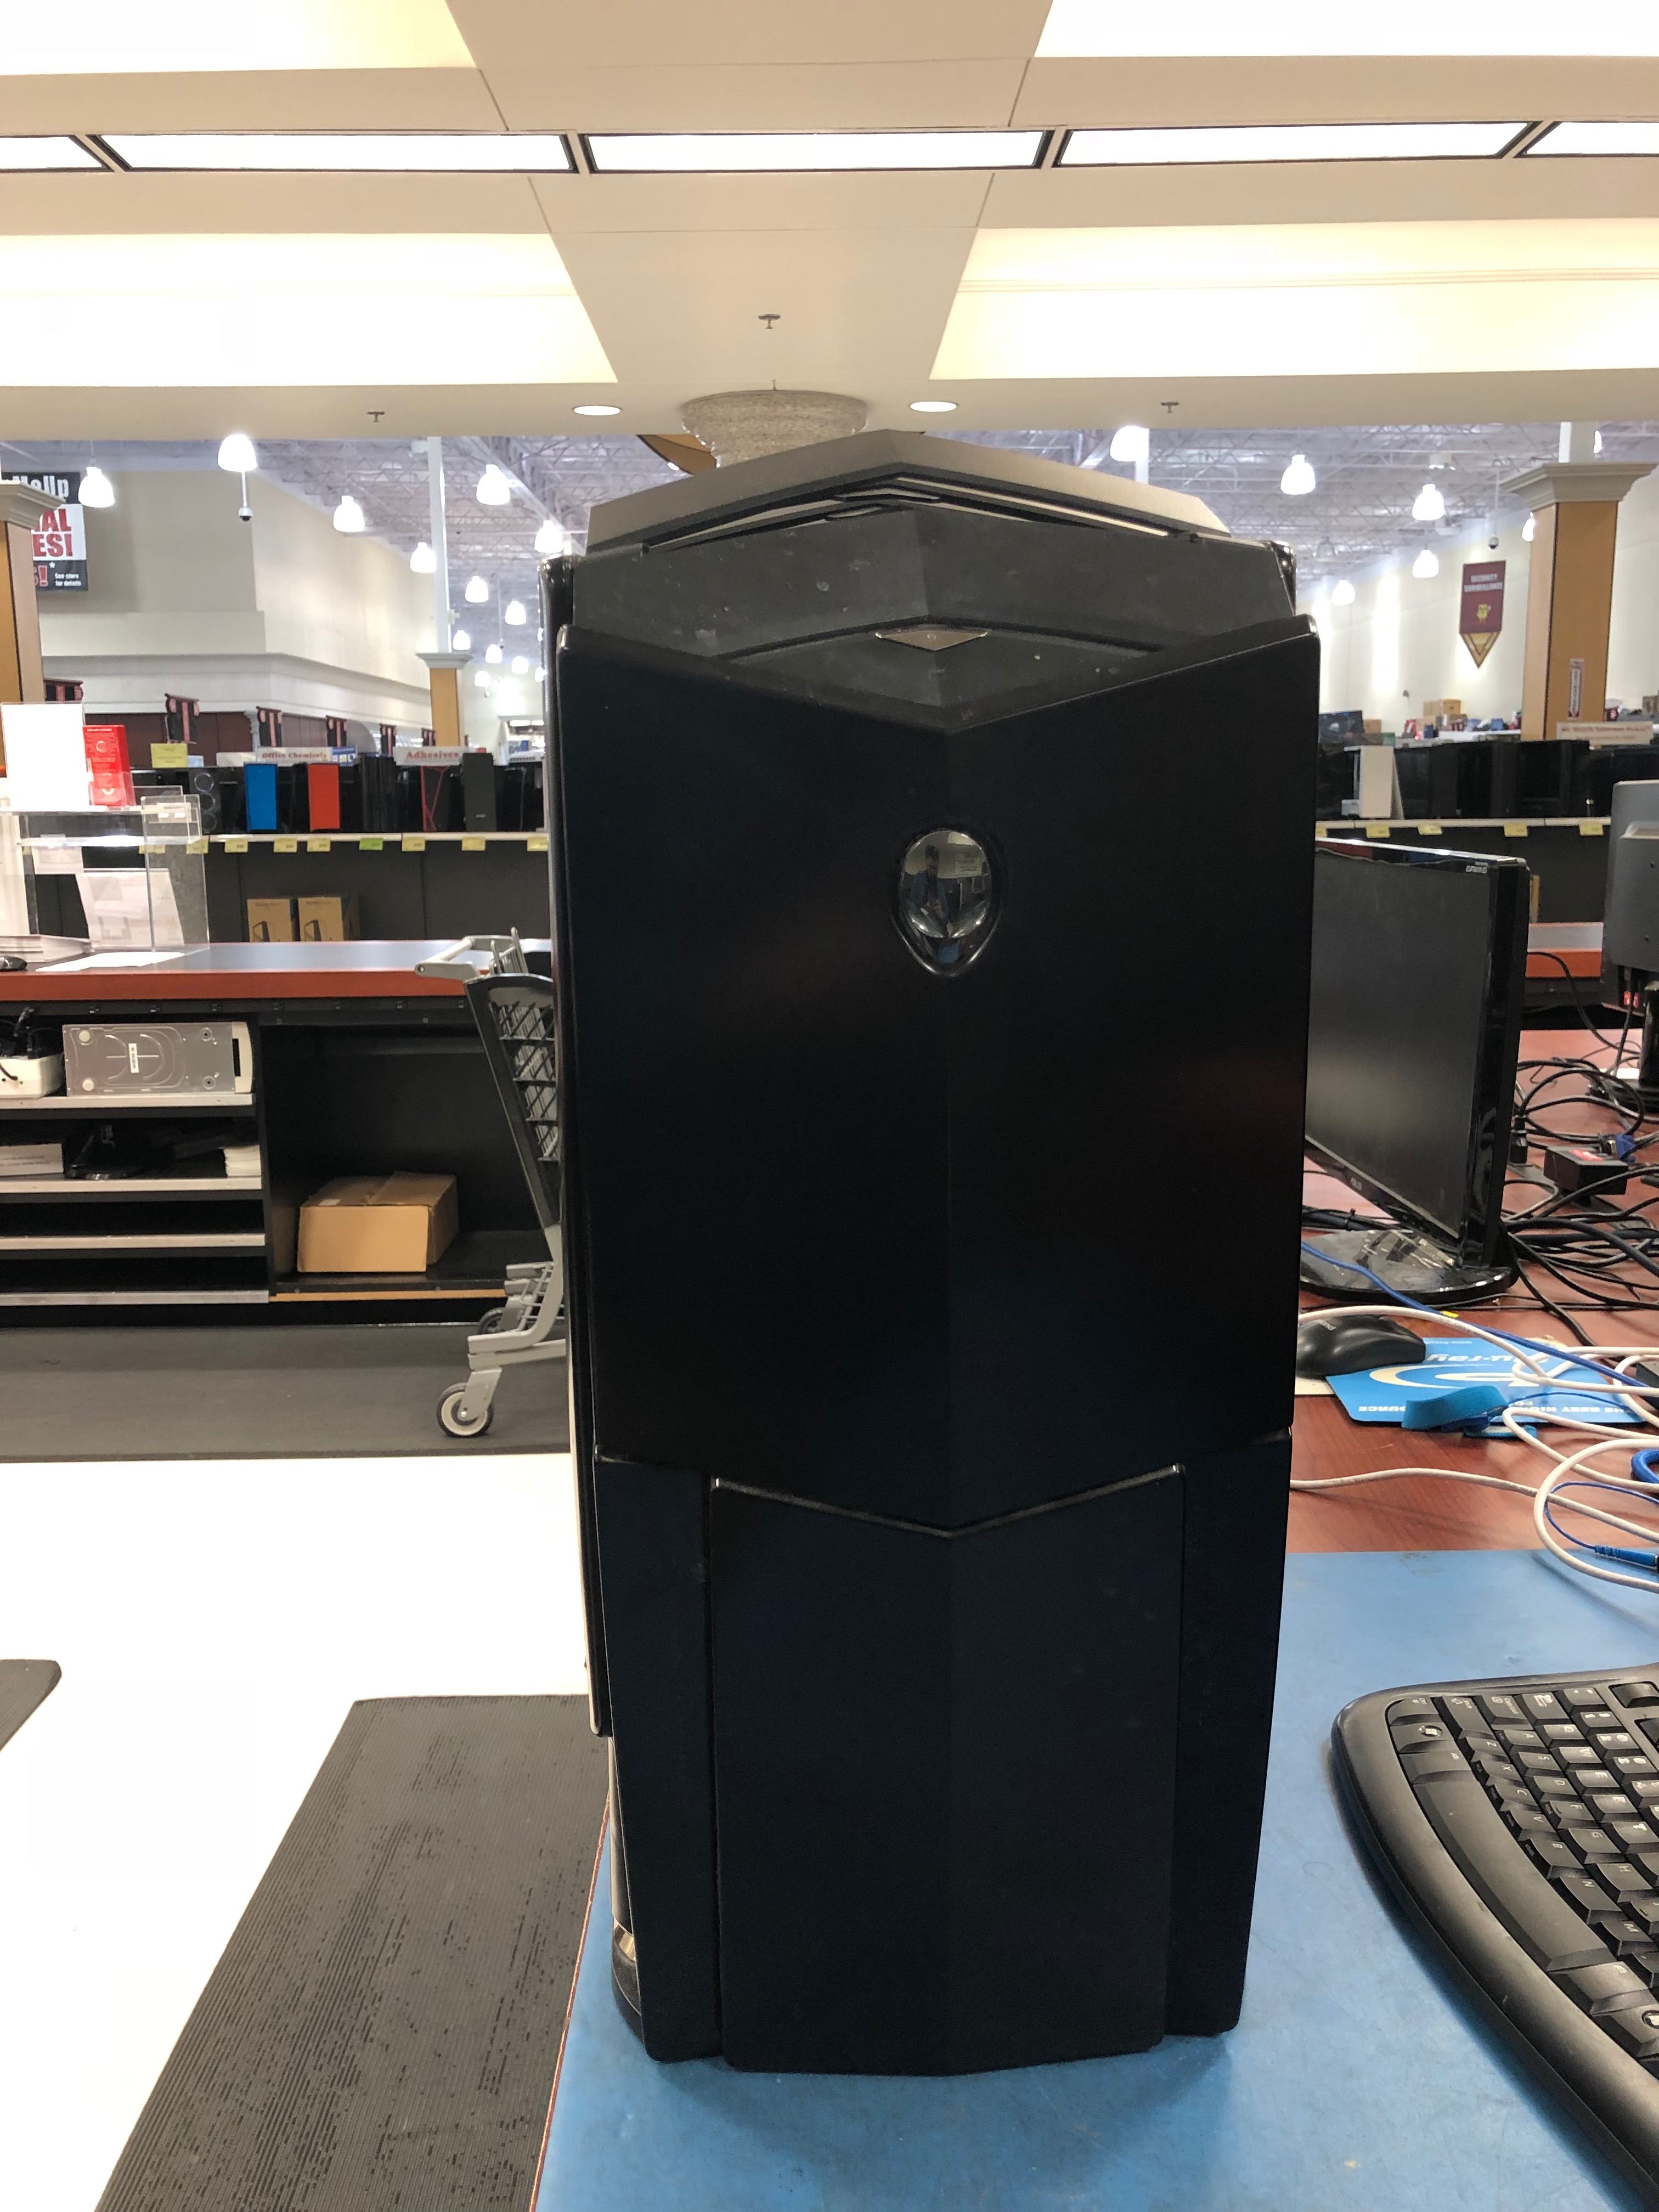
So, I was tasked with taking an older Alienware Area 51 desktop. I called it a behemoth because it was so big and very heavy. Cases at that time were built almost like they wanted them to last and be indestructible. Today, not all cases are built that way.
I took more pictures than I found, unfortunately. However, you can feel the difficulty though the pictures and this blog post to make this unit become more modern. It had a first generation Core i7 and 16GB of DDR3 RAM. The motherboard was fairly custom but the secondary boards were very custom as well as the lighting system and the air vents on the top of the case.

Menacing front. With the Alien head right in the middle of the optical drive bay door.
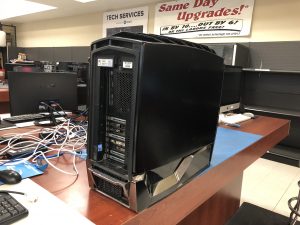
Fairly standard on the rear, the PSU has a handle for easy removal once you disconnect all of the cabling, that is…
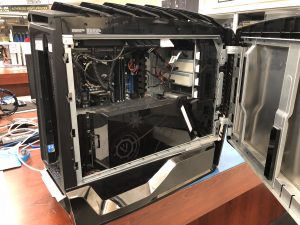
Lots of covers inside the left side of the case to conceal wiring and give it an unique atheistic.
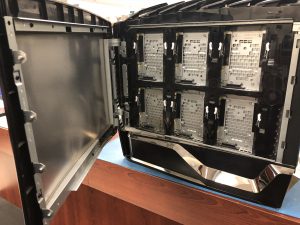
This thing is a tank. Inside the right door is a bay of six hot swappable hard drive bays. Pre-wired so you don’t have to change the wiring, just pop the drive in and out of the bay. Very neat design here.
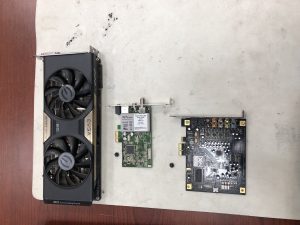
I started by removing the door, the plastic coverings over the wiring and it also concealed some of the expansion cards like the GPU, the sound card, and the WinTV card. That was a thing back then…
This is what it looks like inside with all of the expansion cards removed. The CPU is covered with an Alienware water cooling all-in-one solution. Not normal to have one even these days.d
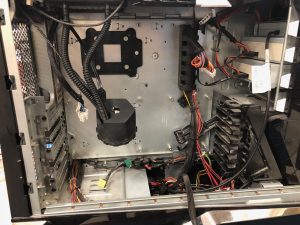
Motherboard removed.

This is what the motherboard looks like. The first generation of i7 processors did not have integrated graphics. We aren’t sure if that tower with the fan is over a built-in GPU chip or what it is actually cooling.
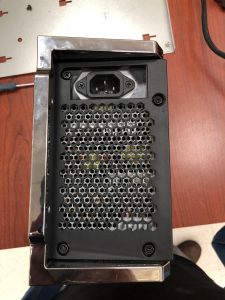
This is the back of the PSU once I struggled to get off that wiring out of the unit. All of the wiring was very well secured inside the case. the PSU had a modular design, but all of the cables were reduced to just one connection. So, modular in a way that the PSU would be easy to replace with the very same model without having to re-wire the entire computer. Again, pretty good stuff for so early on.
\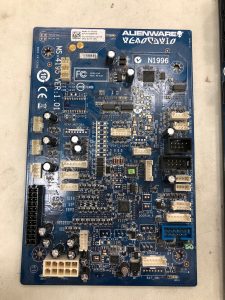
This is one of the custom boards that has a 10-pin 12 volt power connection which no modern PSU has on it. This board does/did (because I found no way to power it) control the vents on top of the unit, lighting inside the unit, the alien head on the front of the unit. I was like a mini-motherboard to be honest. Not just housing connections, but controller chips as well.
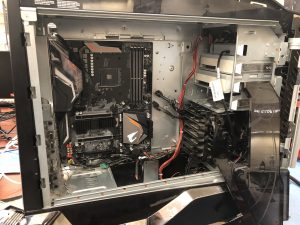
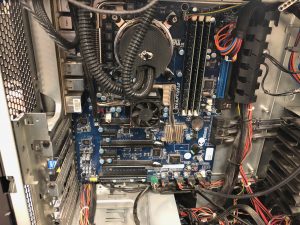
New motherboard installed.
All expansion cards installed.
Went with a new all-in-one water cooling system for two reasons: The power on the old was proprietary and the socket for AM4 (Ryzen) is so much different that we had no way to adapt the old to the new.
The customer chose a Gigabyte B470 Gaming 5 motherboard (AMD AM4 socket); a Samsung Evo 860 pro SSD, an AMD Ryzen 27000x CPU, Corsair H110i All-in-one water cooler solution, EVGA 1000-watt PSU for starters. Everything works great [now].
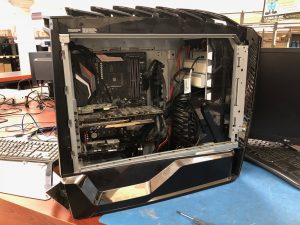
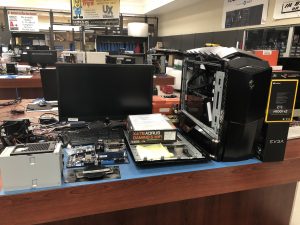
This is the unit almost done with many of the parts that I had. I don’t know how I lost some of my pictures, but sufficed to say this was a very difficult re-build.
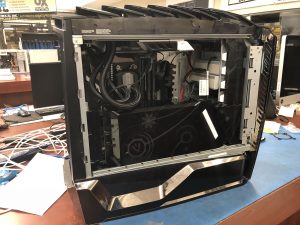
For starters, the unit was using 10 SATA ports. The motherboard (along with most motherboards) only had 6 SATA ports built-in. That meant that I needed to install a SATA controller card. Sounds easy, right? But no, the cables to the drive bays were very specifically made to length. I tried to run them all to the card via the existing wiring channels. But this did not work. Not shown is the struggle of re-routing SATA cables though the right side into the case to reach the new SATA controller card. Wiring the unit was not easy and despite its big size, many of the areas of wiring were in tight places.
This re-build ended up taking a week between working though issue after issue. I had to work closely with the customer to ensure that I got all of the functionality that they wanted included in the final build. Unfortunately, I was unable to fully deliver because I found no solution to power the little controller board for the lighting, etc.
In addition to all of the hardware re-building, I did my first over-clocking with this unit. The CPU is 4.2GHz. The maximum OC speed is 4.7. With the cooling here and motherboard limitations on how much voltage it will allow to the CPU, I was able to get a stable 4.55 GHz. The customer challenged me to get to 4.6, but I couldn’t quite get it there and maintain stability. In the end, in Cinebench scores, the CPU did score 6% higher than stock speeds.
I am very proud of the work I did here. Keeping it looking stock but significantly upgrading the internals. That is a win. The customer has brought in a smaller Alienware for me to re-build. That project is ramping up this week. Of course, I will bring you a blog post as soon as I can.