This is a post on how I accomplished installing Windows Server 2016 (Evaluation Version) in VirtualBox on an iMac. At the end of the post, I will share with you my sources that I used to help me accomplish this task. Additionally, there will be at least 2 more entries in this series of posts:
- Promoting the server to a Domain Controller including addition of Active Directory Services.
- Getting around Active Directory, a necessary skill for help desk and Desktop Technicians.
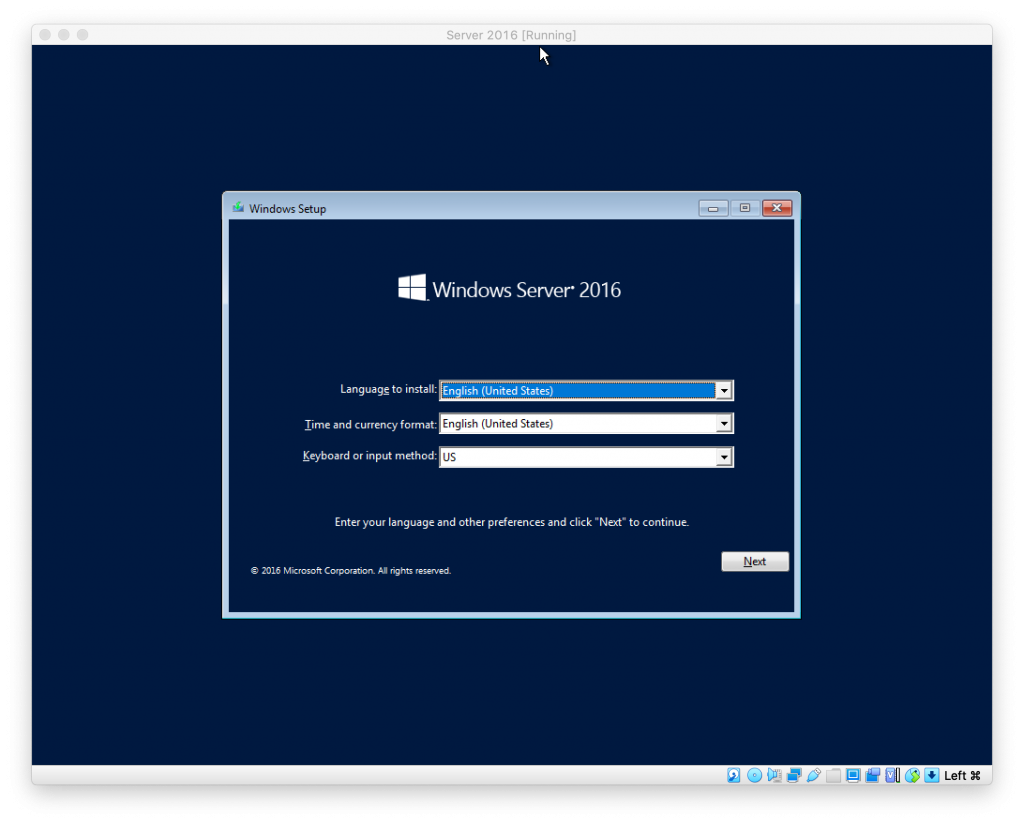
So, here goes. This blog post will assume user has already installed VirtualBox and have downloaded the ISO you wish to install. This guide can be used to install Windows desktop OS as well as macOS, Linux, and Windows Server. There are tutorials on YouTube on how to actually install VirtualBox. ** Disclaimer: VirtualBox is a free open-source virtual machine software. It can be used to install many different types of guests and on a variety of host platforms. I am using the macOS version. **
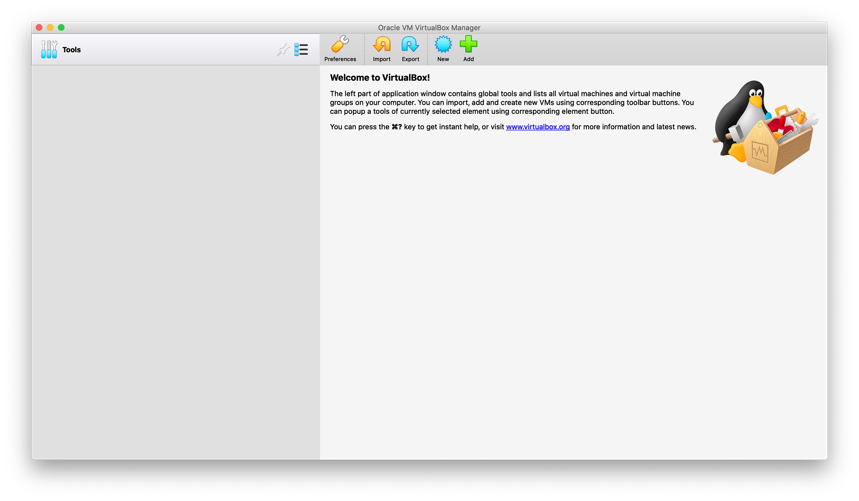
Figure 1. This is the initial screen you see when launching VirtualBox.
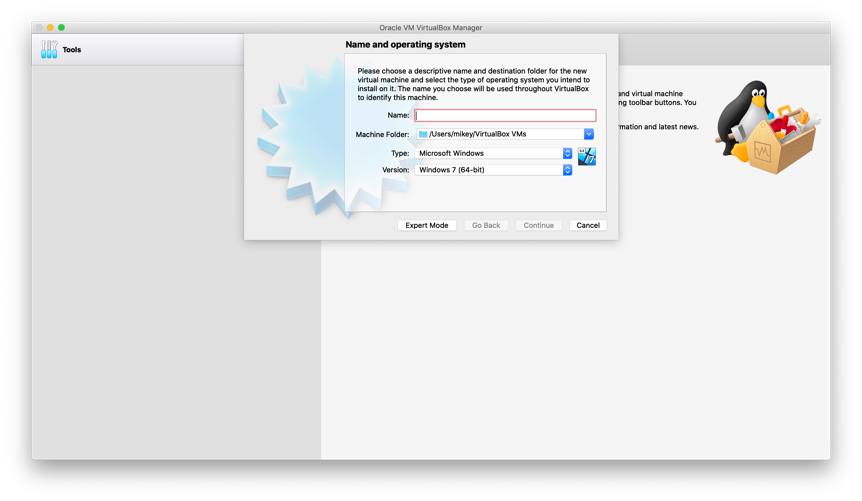
Figure 2. This is a place to name your installation. Because you could install Windows 10 or Server 2016 multiple times, you will want to give each installation a unique name.
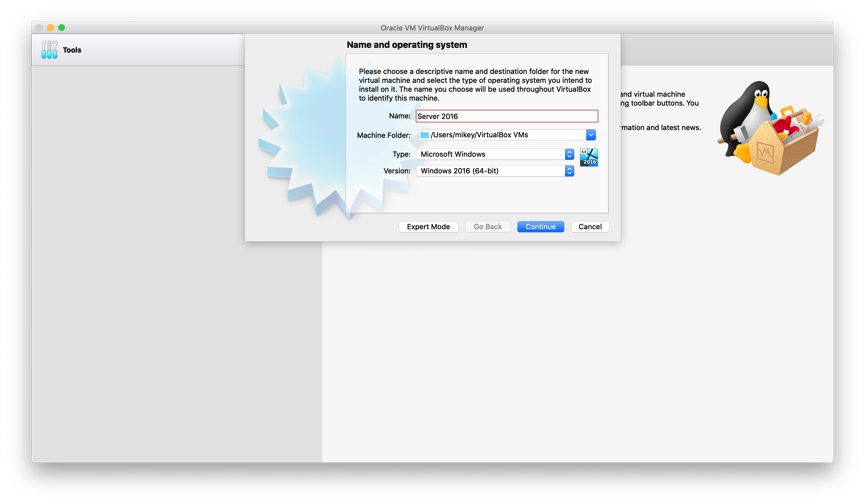
Figure 3. I am not going to do multiple installations, so I am giving my installation a generic name. Also, I have to tell it which version of Windows that I am installing. In this case, it’s Windows 2016. In your case, it could be Windows 10, Windows 7, etc. Click Continue.
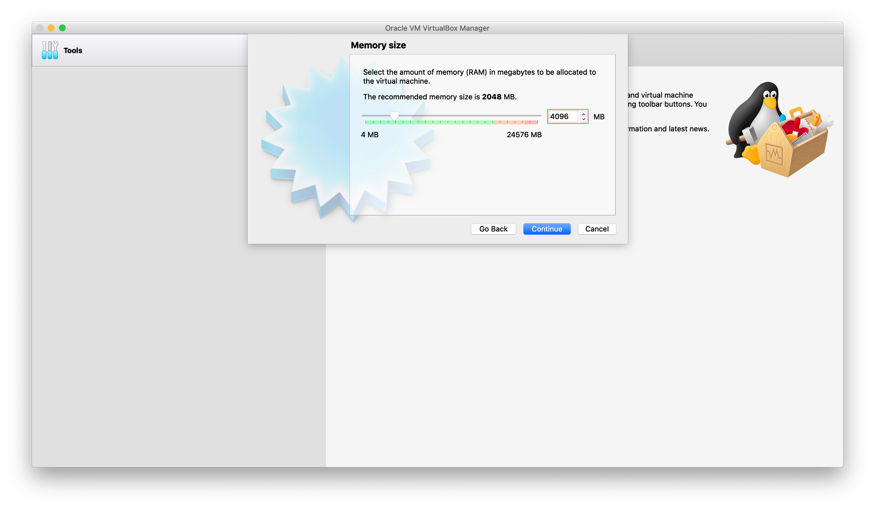
Figure 4. Here you will tell VB how much of your total system RAM you want to dedicate to your guest OS. I am giving 4GB even though my host (iMac) has 24GB and I certainly could give the guest OS (Windows Server 2016) more RAM, I will stick with this because it really doesn’t demand a larger quantity of RAM. Click Continue.
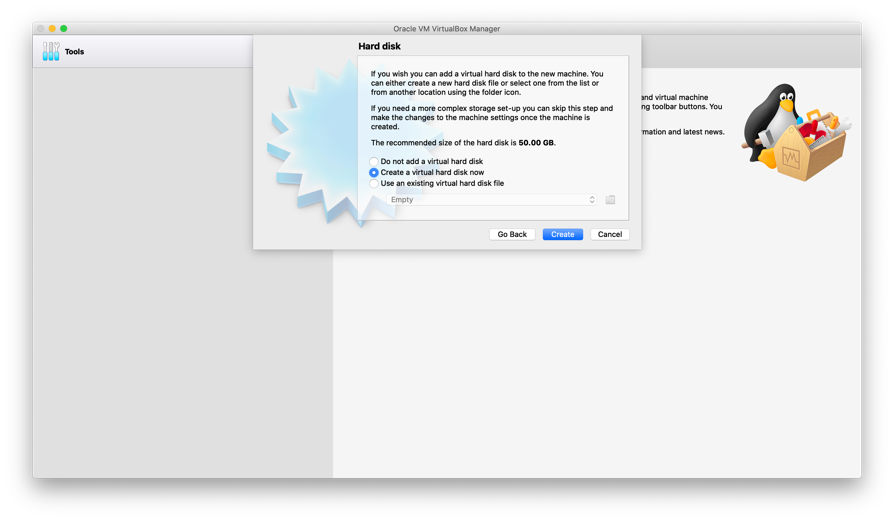
Figure 5. Here you can specify how you want to utilize your hard disk. Select Create a virtual hard disk now. Click Create.
Do not add a virtual hard disk means that you will be setting up a one-time virtual machine (kind of like a Linux Live CD), Create a virtual hard disk will create 1 big file on your hard drive that contains the entire guestOS, etc. This is great because if you mess something up or it gets infected with a virus, you can throw it out and start over. However, if you get your VM where you want it like at the end of an OS installation. You can copy that file to another folder or external media. That leads to the third option, which is to use an existing file. Say this installation fails or I mess it up completely, instead of going through this entire process again, I can just use a back up of that file selecting Use an existing virtual hard disk file.
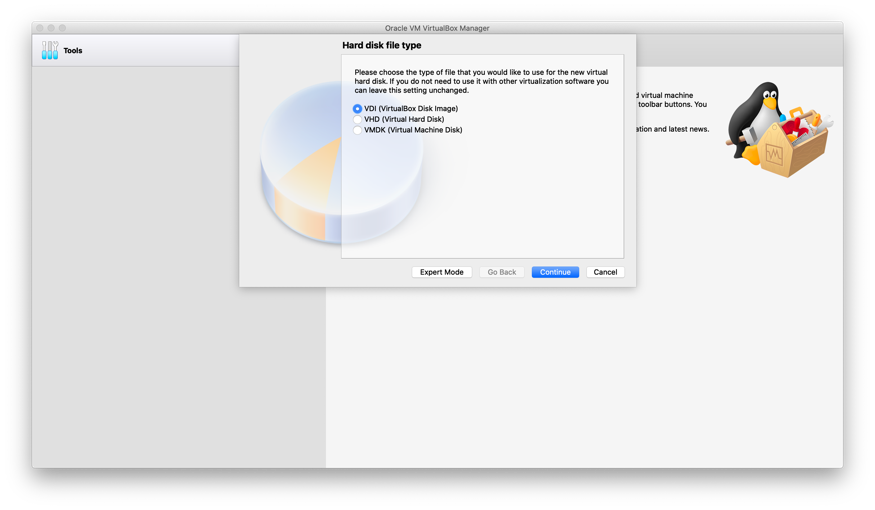
Figure 6. Here, I would just go with the default. Click Continue.
I am not familiar with the other options as those may be compatible with other VM software.
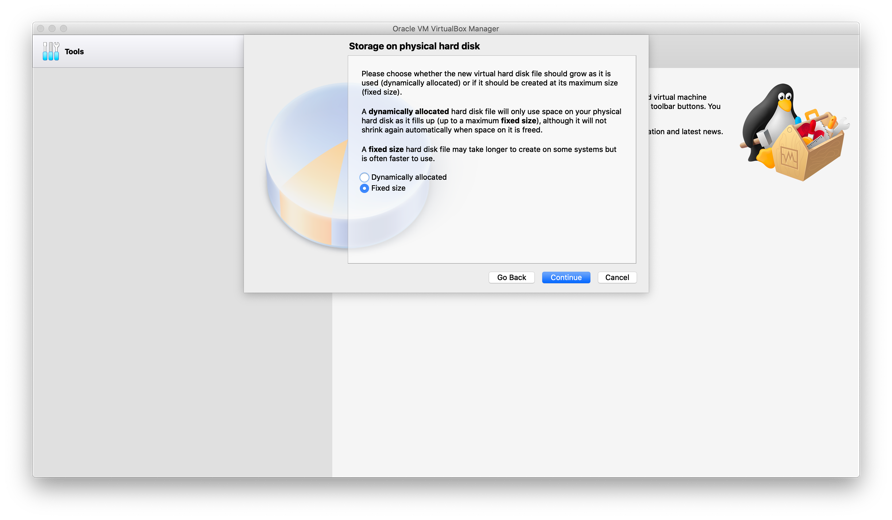
Figure 7. Here, you can choose if you want the virtual hard drive you set up in the previous step to be a fixed size or variable size (dynamically allocated). Click Continue.
Fixed means just that. Fixed like your computer’s hard drive. Dynamic (or variable) will add space when needed. You could start out at 20GB and end up with 100GB depending on how you use your virtual machine.

Figure 8. Here you tell VirtualBox where to store your virtual hard drive and if you chose fixed, what size to create. I accepted the defaults of both. Click Create.
I really could have reduced the size down to 25GB and still had space left over, but 50 is a good round number.
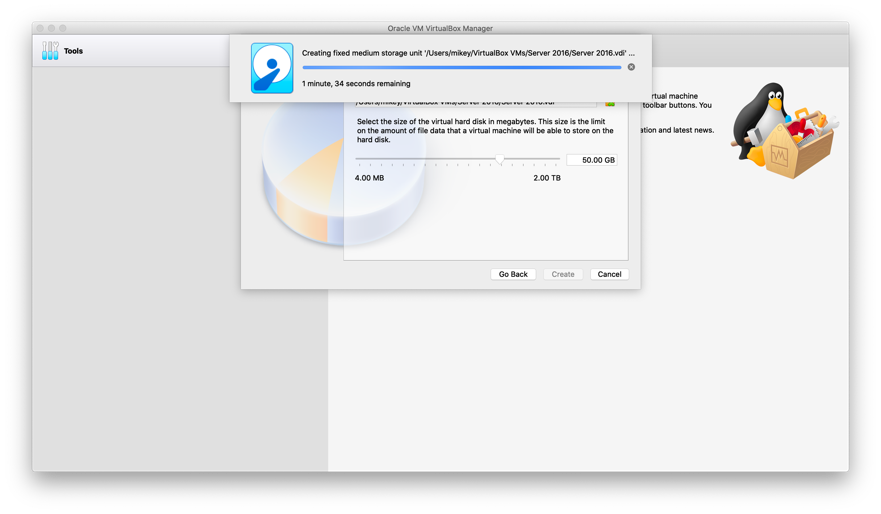
Figure 9. VirtualBox is creating your virtual hard drive.
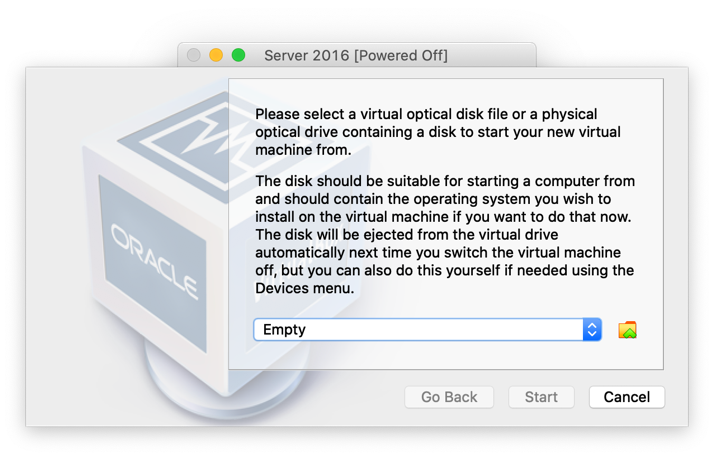
Figure 10. Finally, going to install the guest OS. You will need your ISO downloaded from Microsoft or a Linux bistro.
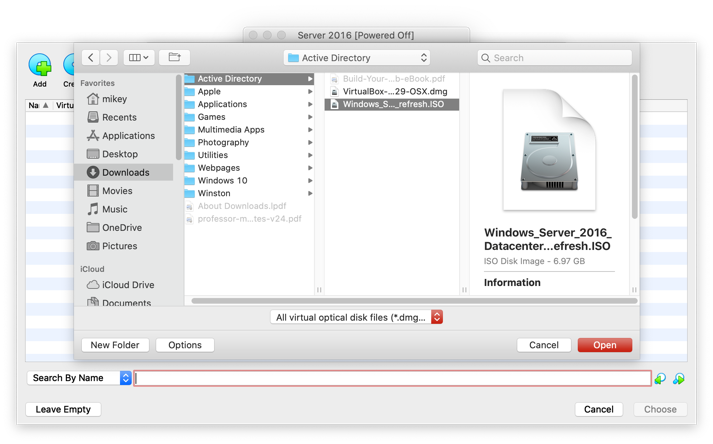
Figure 11. This is where I have my ISO for Windows Sever 2016 stored. I select it and click Open.
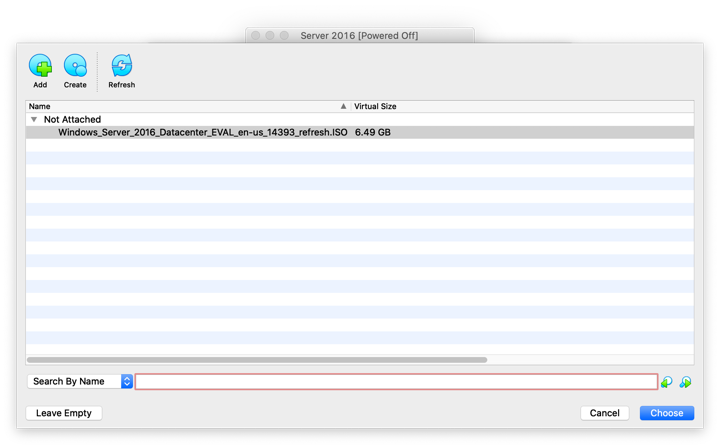
Figure 12. Ready to go. Click Choose.
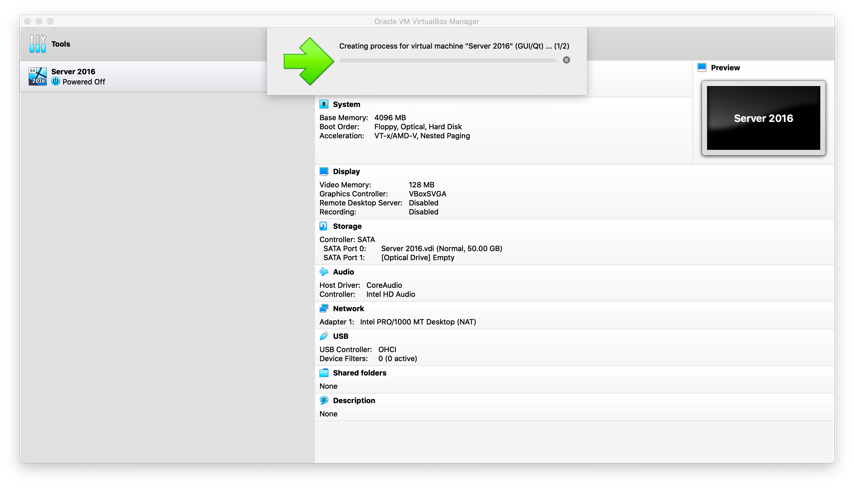
Figure 13. Your VM is being created.
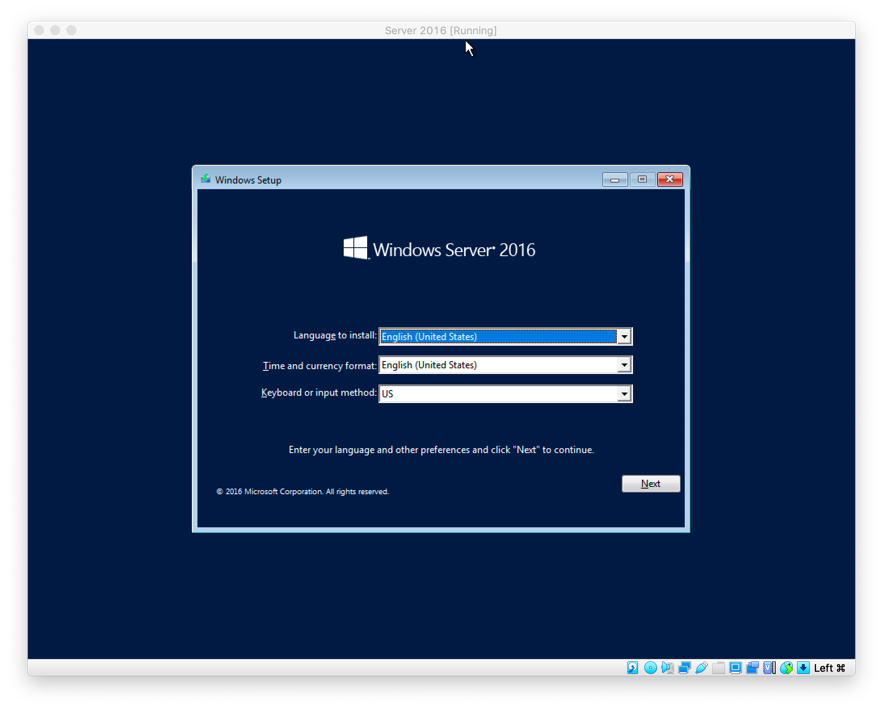
Figure 14. Looks like a Windows 8/10 installation. Let’s get started and click Next.
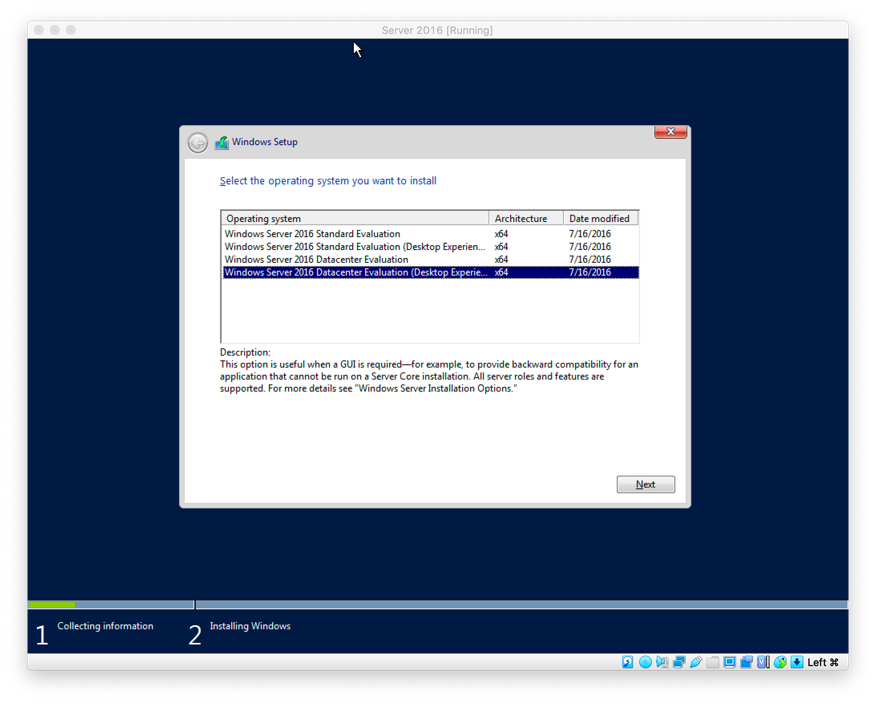
Figure 15. Select your edition and click Next. I chose the DataCenter version. The instructions I had specified that version. Make sure that if you want a Windows GUI to select the “Desktop Experience” version. The regular editions are command-prompt only. That might be used in some situations.
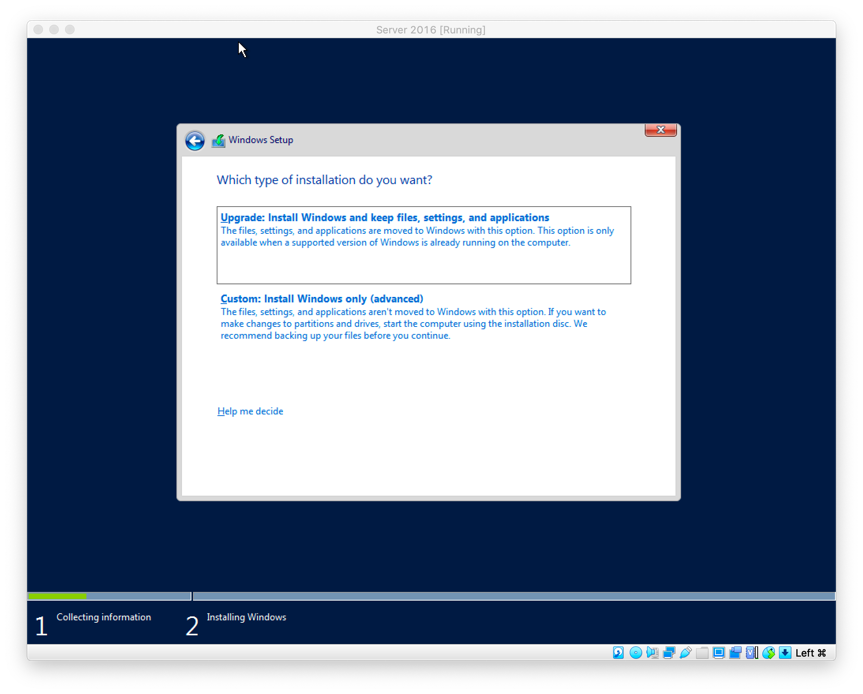
Figure 16. In a clean install, always select “Custom: Install Windows Only (Advanced)”.
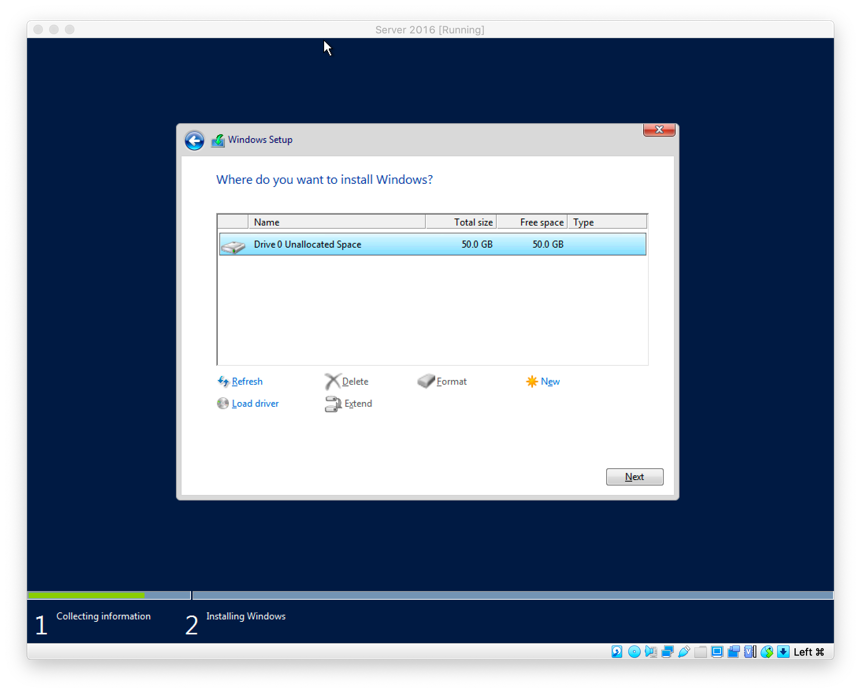
Figure 17. This is the drive selection screen. Notice that the drive available is the same 50GB virtual drive I created above. Yup, that is the drive we want to install Windows on… in fact, in this case, it’s the only one. Click Next.
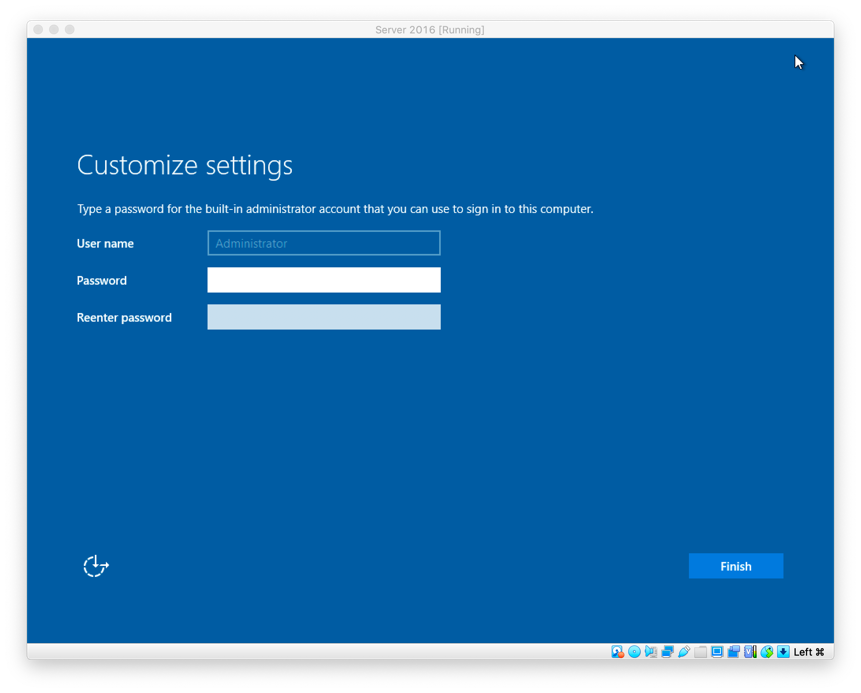
Figure 18. Enter an Administrator password and click Finish. Unlike installing a desktop OS (such as Windows 10), you are presented with an Administrator account. The built-in Administrator account. This account is hidden by default in Windows desktop OSes.
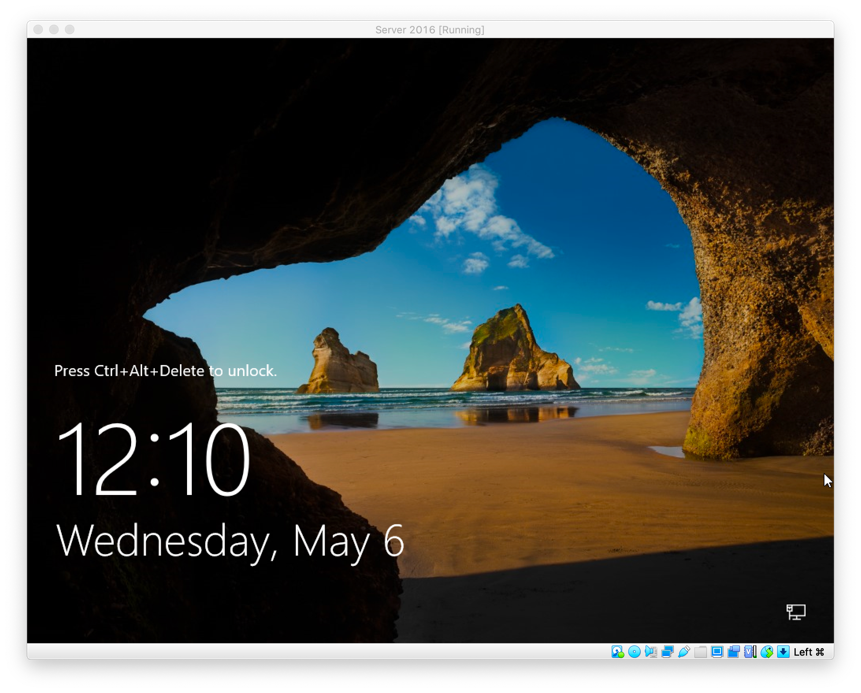
Figure 19. Done! Ready to login now. CTL-ALT-DELETE and away we go.
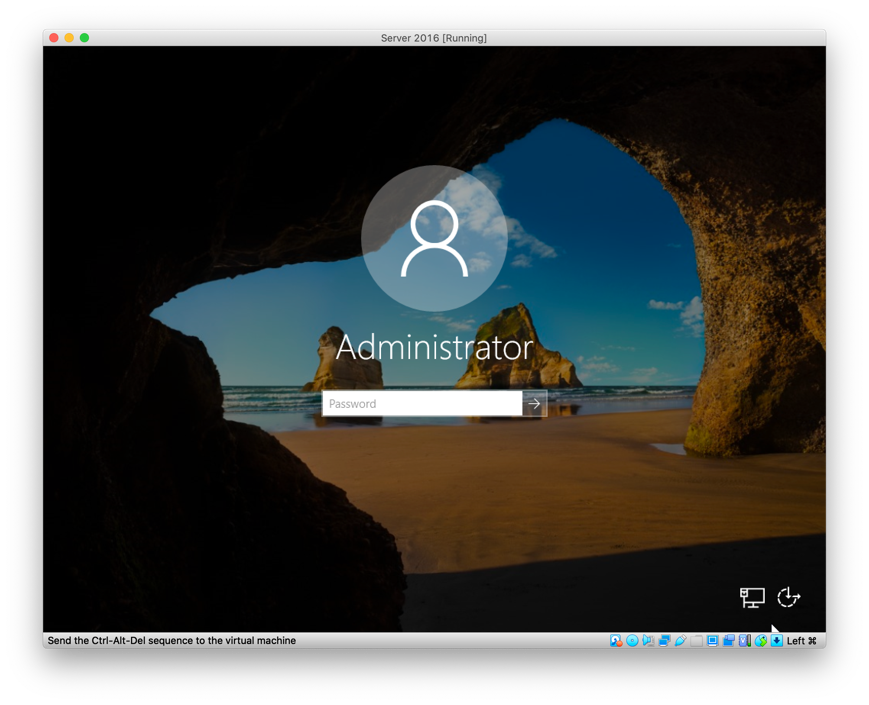
Figure 20. This is the password entered just a few minutes ago. That is the Administrator account. This is used to set up other users on this machine once the machine is configured in Active Directory, other accounts will be available. There are groups for Administrators, Domain Administrators and Users.
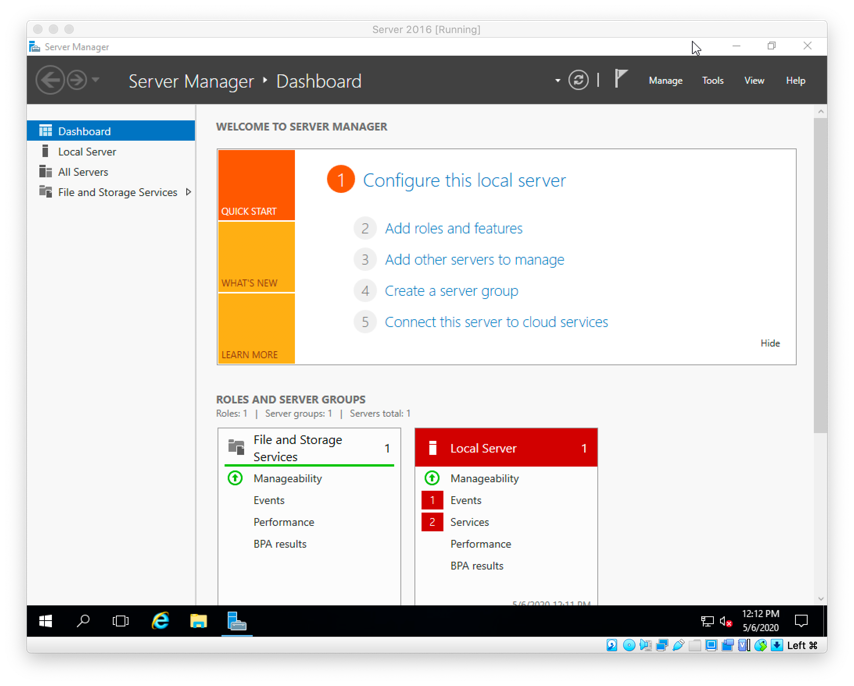
Figure 21. The Server Manager launches by default upon successful boot.
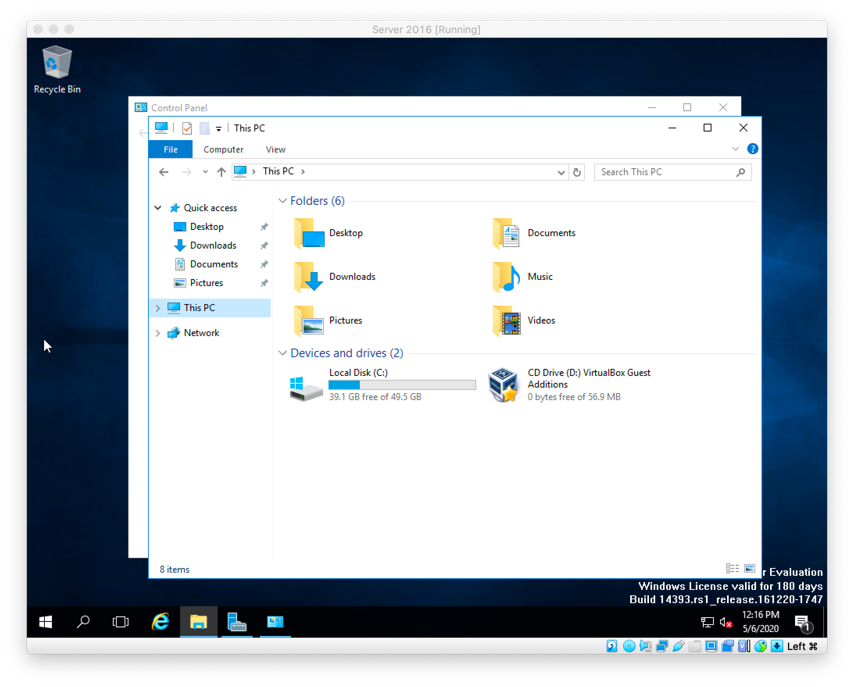
Figure 22. For our purposes, need to mount and run the VirtualBox Guest Additions. This has additional drivers for video and audio.
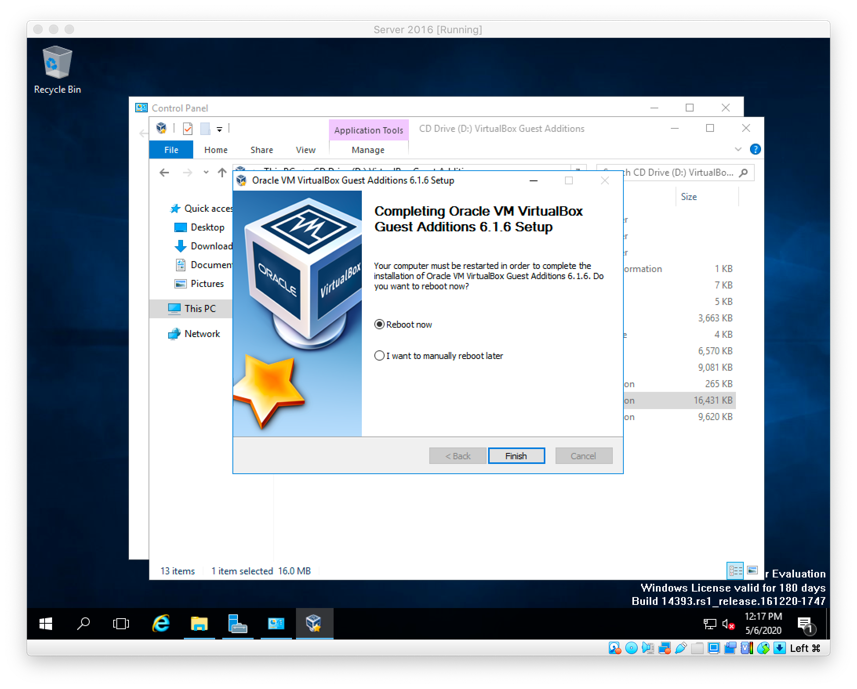
Figure 23. Once the Guest Additions have been installed, you will want to re-boot. Once re-booted, the Server in the VM environment will be ready for use.
References:
A PDF guide to installing Windows Sever 2016 in Virtual Box. I found an introductory video to Active Directory on YouTube, which lead me to all of this. Instructor Paul.


