
This is a look back at my favorite build of 2019 from working at Fry’s. None of these parts were purchased at Fry’s and most of them are not carried there, anyway.
Look at these parts… the customer who put these parts together did his homework. Not just because these are quality parts but:
- He had a theme in mind. He has been watching many YouTubers in preparation of this build.
- He took his time acquiring these parts. He didn’t compromise on the parts selected. There were selected with reason
- He is the only customer who brought in sleeved cable extensions. These greatly enhance the appearance of the build.
Let’s see how these parts come together into a beautiful (and powerful) build.
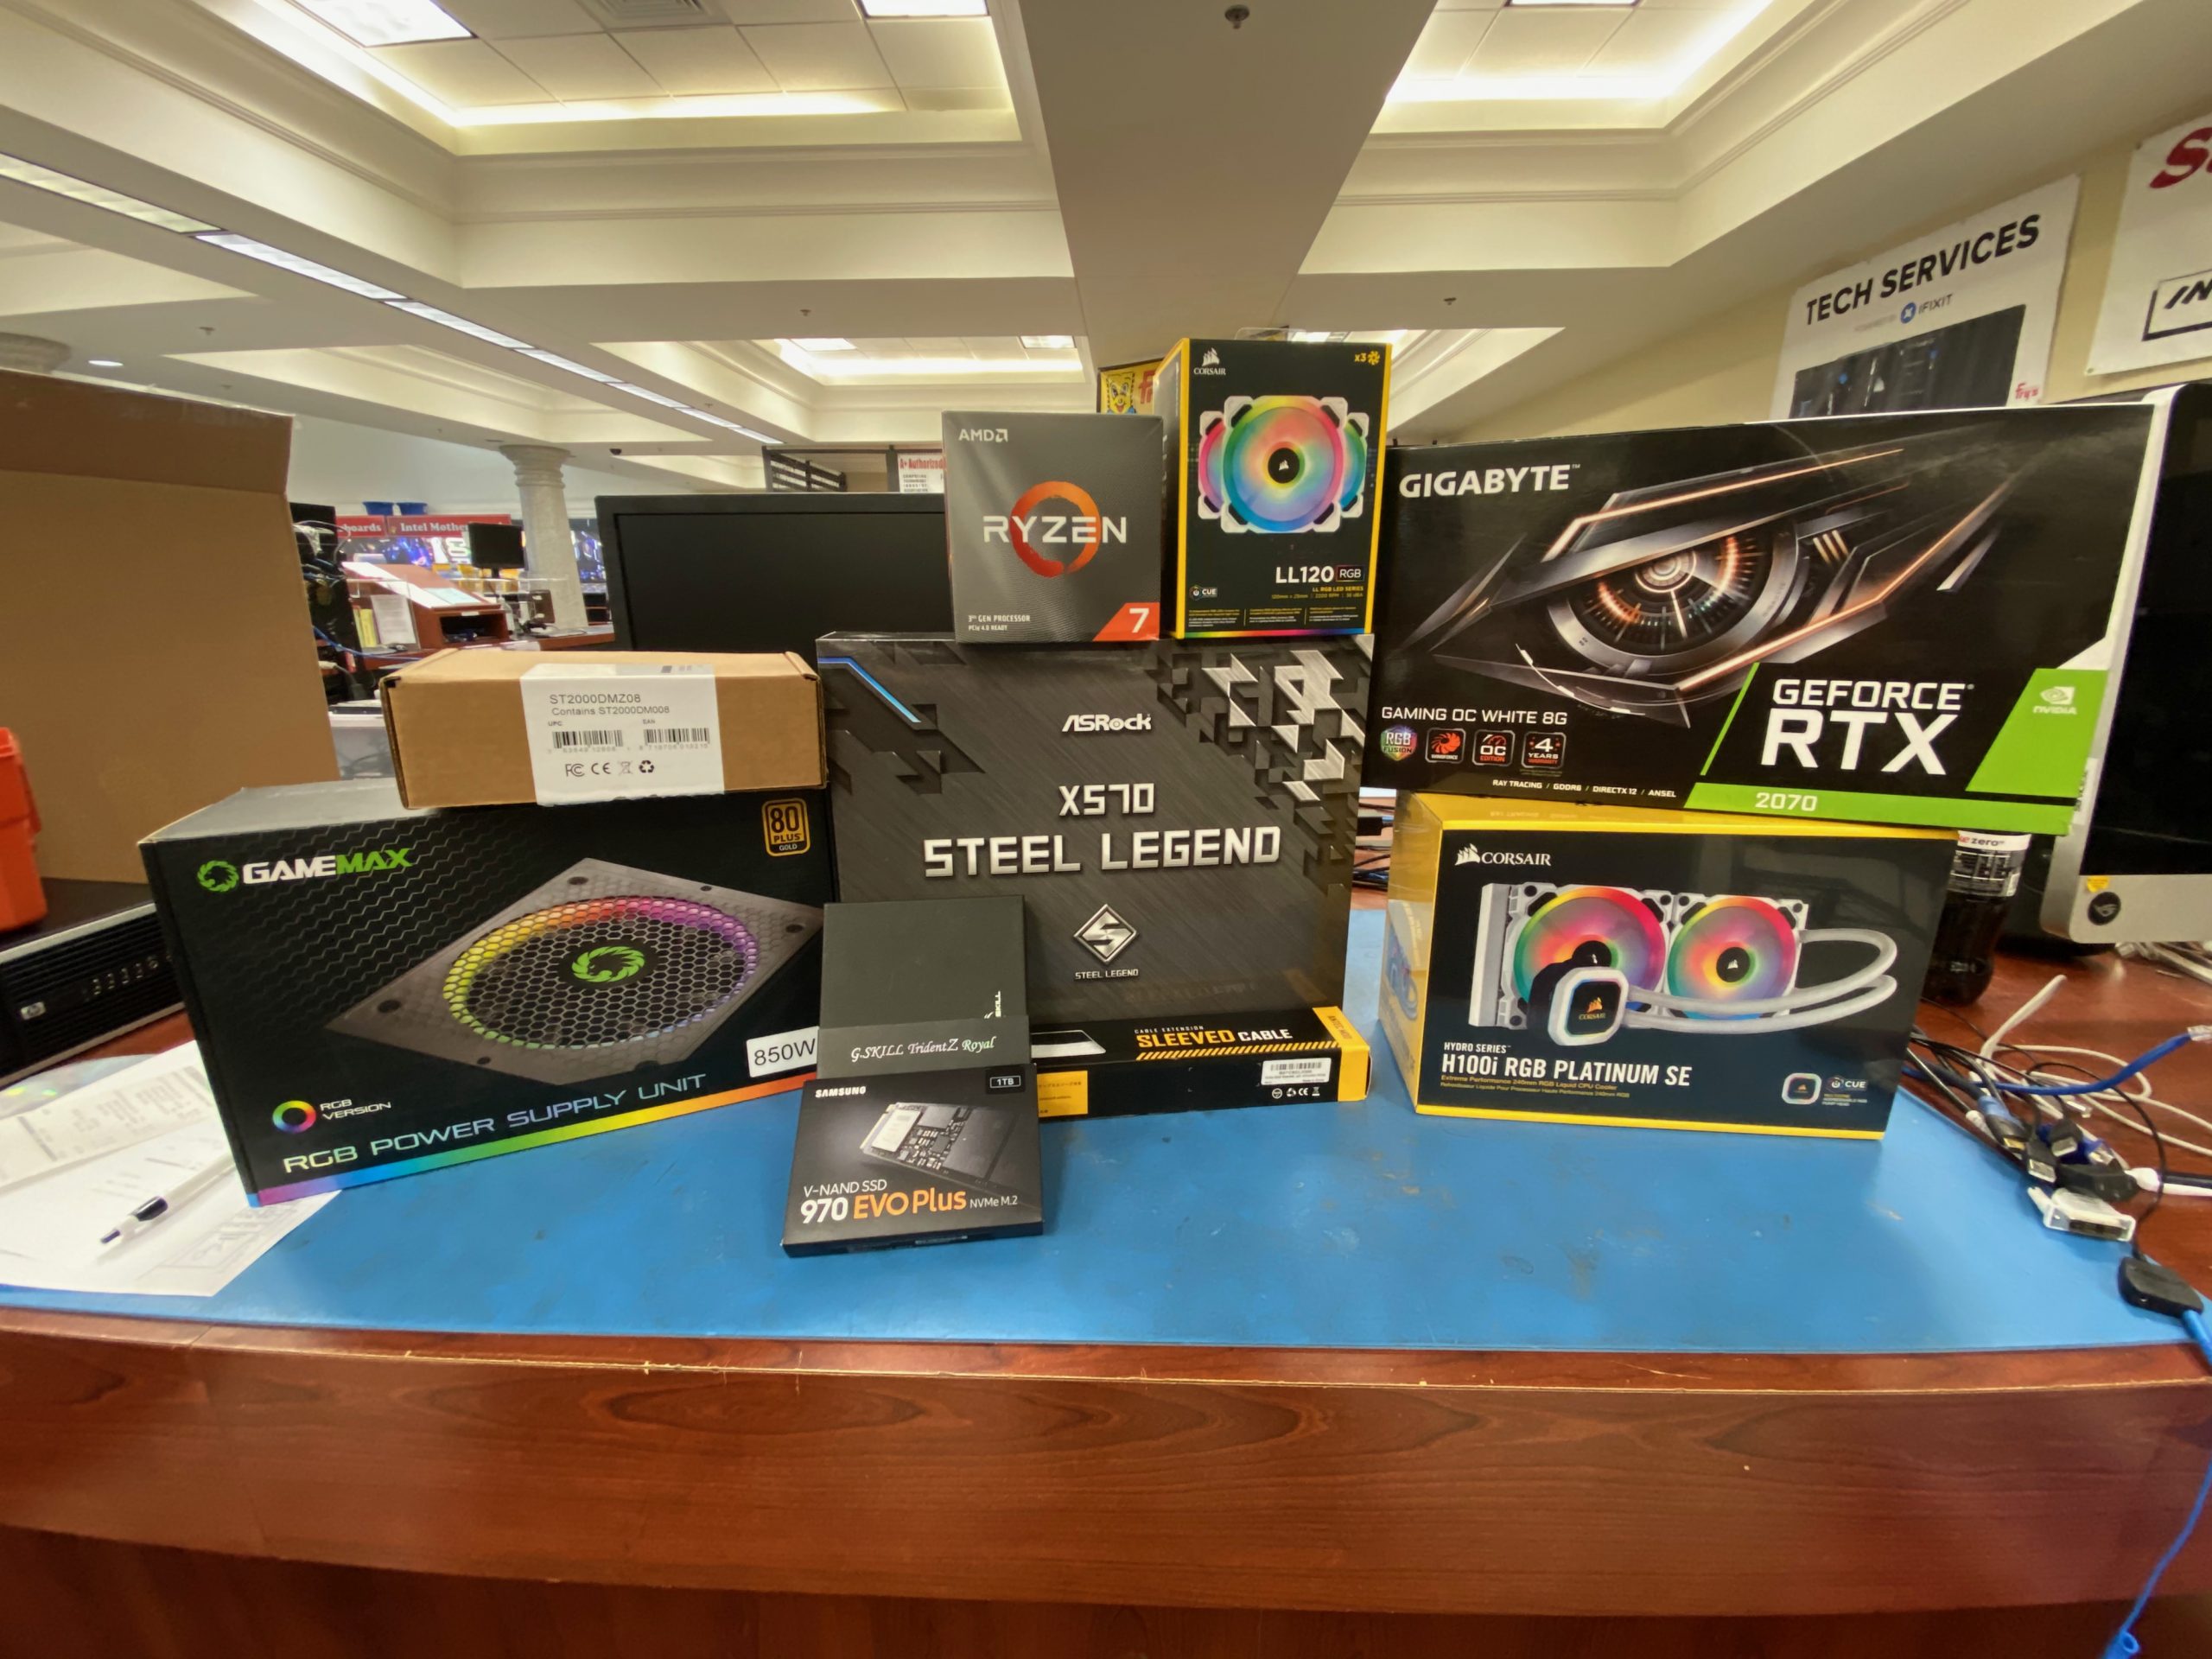
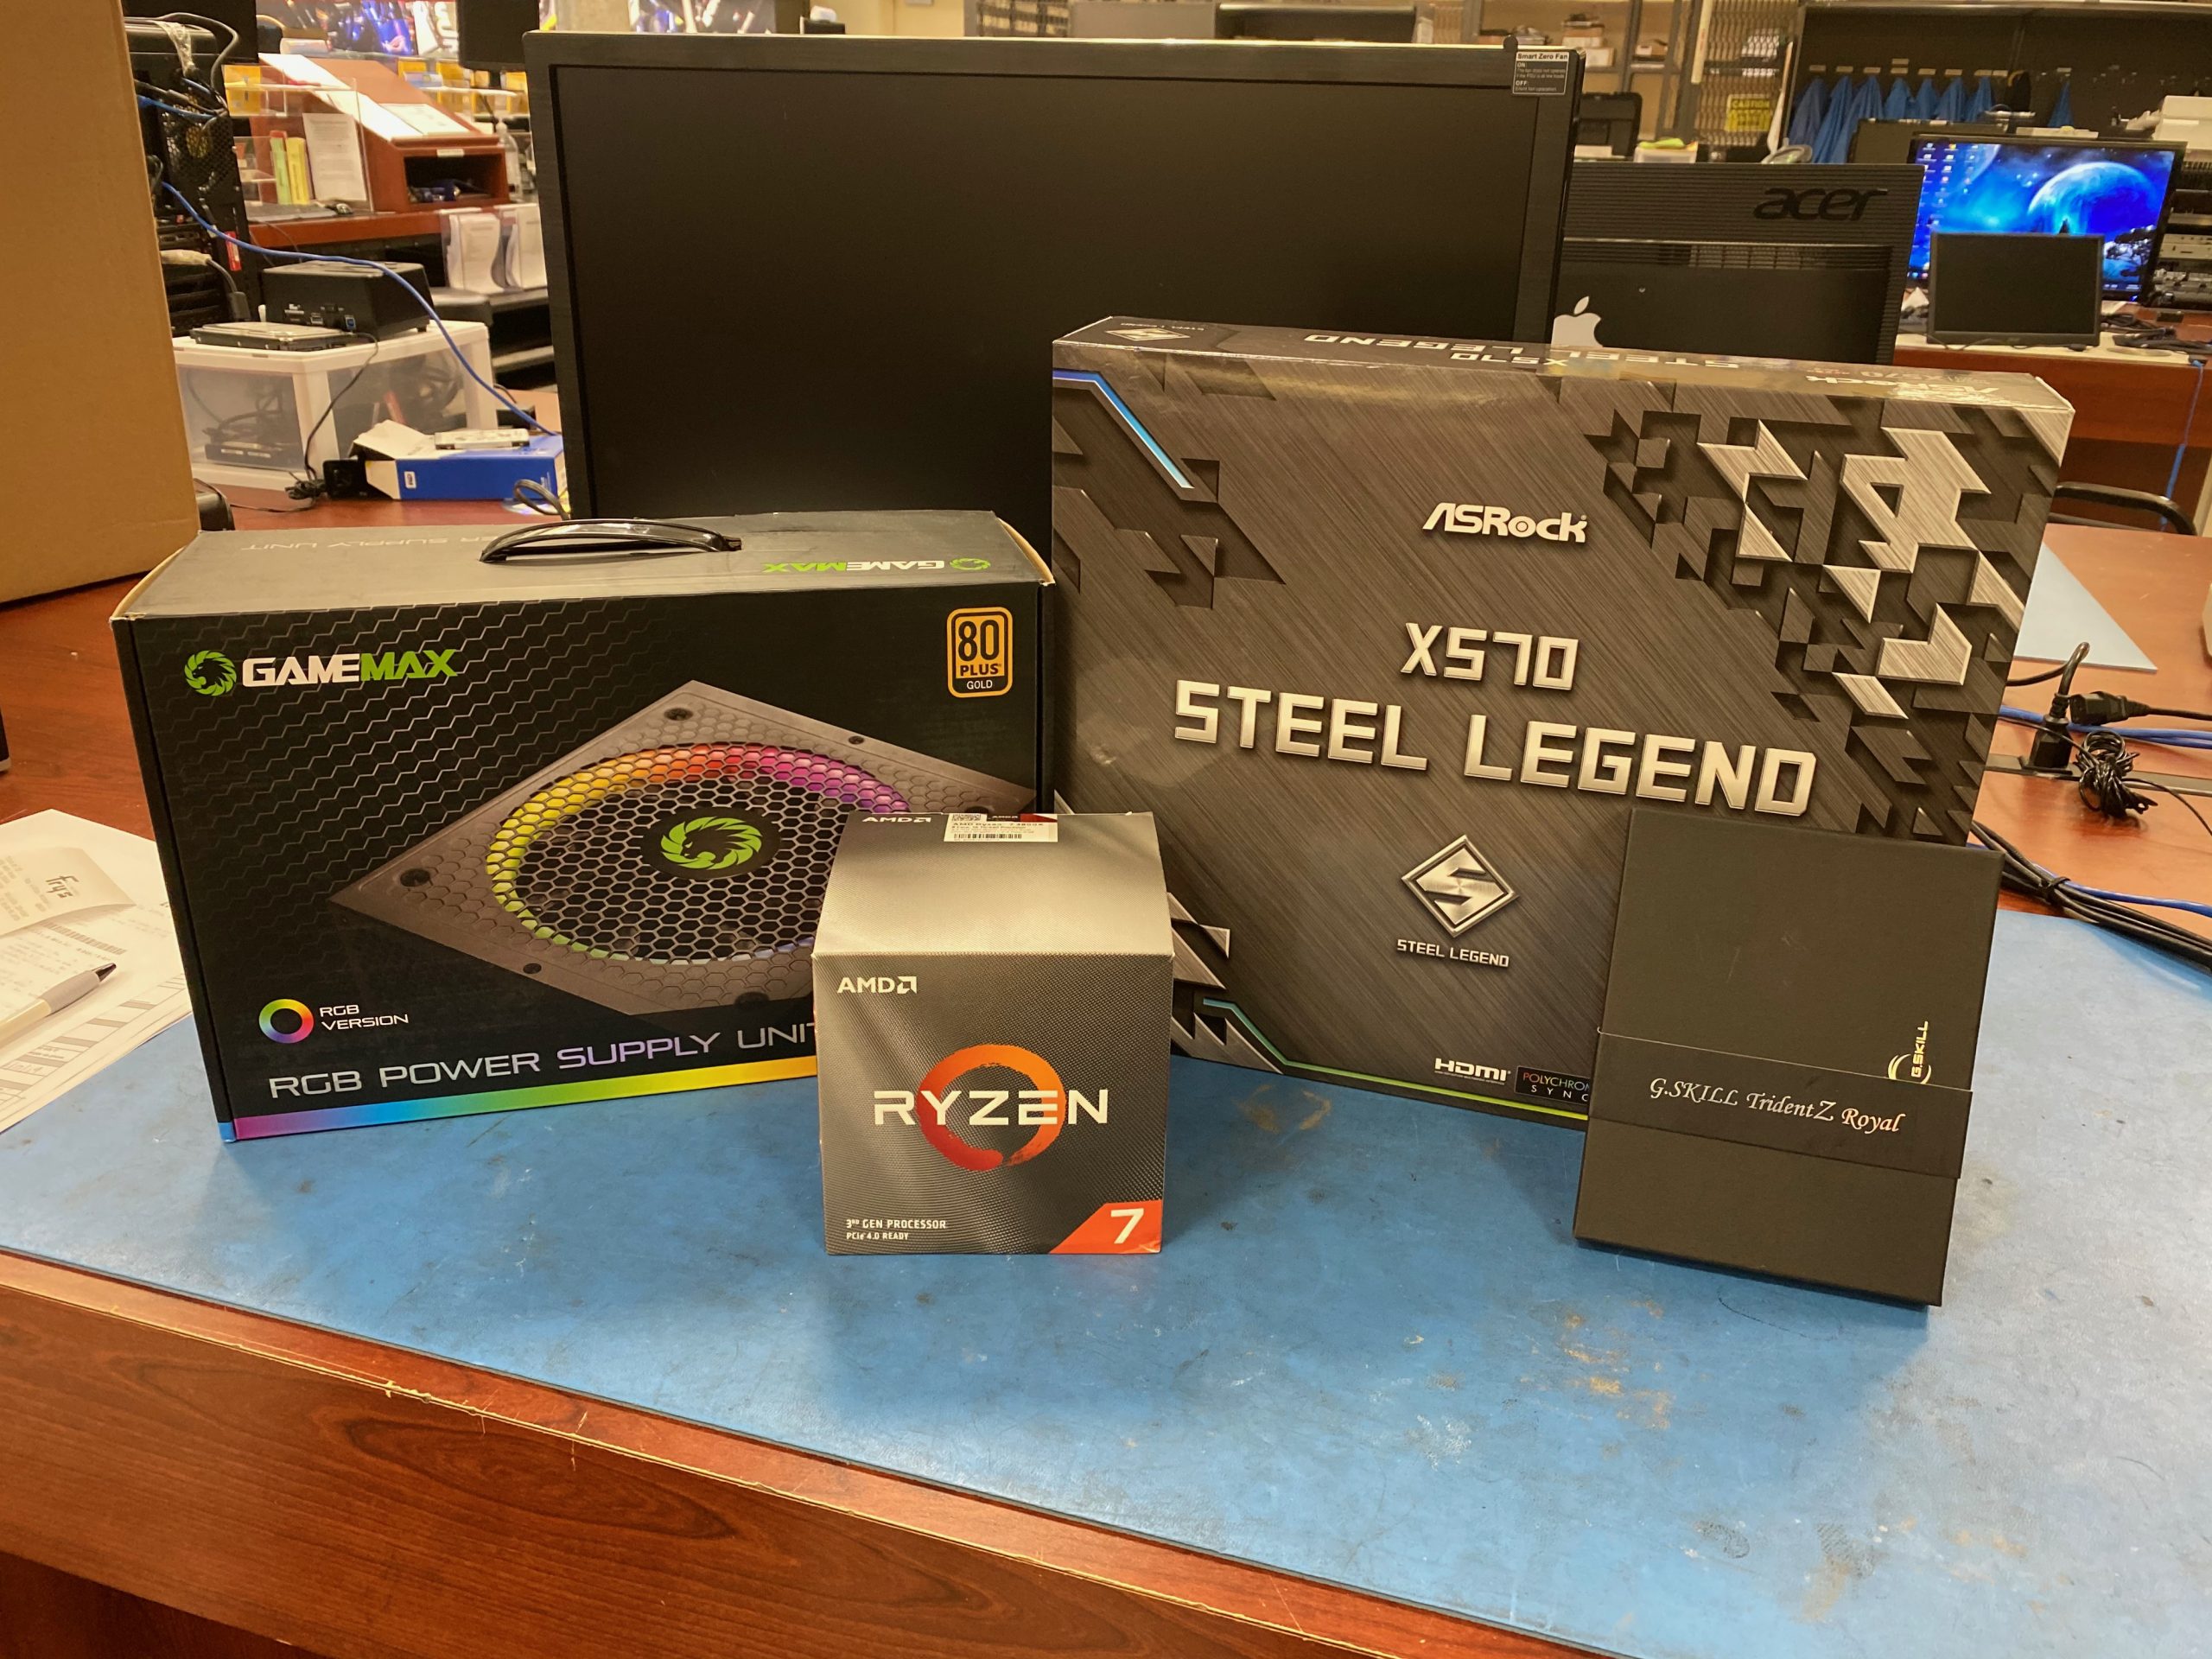
Here are the parts.
- GameMax RGB PSU. It is 80-plus Gold so, that is a big plus in efficiency. 850W will definitely get the job done. This was a new brand to me, but I actually bought one of their air coolers for my personal build and it works great. GameMax is more well known in the UK.
- Seagate Baracuda 2TB Mechanical HDD. Great choice for inexpensive mass storage. Hard disks are falling out of favor for SSD and rightfully so, but for mass storage on the cheap, they still can’t be beat.
- Samsung 970 Evo Plus M.2 NVMe SSD. This 1TB model will give plenty of space for the OS and quite a few games and applications in addition to crazy speed. Data such as music, movies, pictures, etc are all better served on the HDD.
- G-Skill Trident-Z Royal DDR4 RAM. I didn’t know what it meant to be royal until I opened the box. Amazing.
- Antec Sleeved Cable Extension Kit. This is a first and last for me at Fry’s. I use them in my personal build.
- ASRock X570 Steel Legend Motherboard. I admit to not being a big fan of ASRock, but this motherboard was hefty and very well made.
- Ryzen 7 3800X CPU. Screamer. Unless you really need the cores, no need to step up the Ryzen 9 platform. This will more than get the job done with gaming.
- Corsair LL120 RGB Fan Kit. I didn’t think this was needed. You’ll find out later if I was right. This is the white version. There is a theme here.
- Gigabyte RTX 2070 GPU. This is the white version. Kinda of rare to see a white GPU. Theme?
- Corsair H100i RGB Platinum SE AIO Water Cooler. White. Do you have the theme yet?
- NZXT H510 Elite Case. White… (not pictured here)
Gathered together the parts necessary to do a POST test. This is done so that I can be sure that the computer will POST once inside the case. I’d rather know that it will POST before installing in the case so I can troubleshoot from outside the case. So much easier.
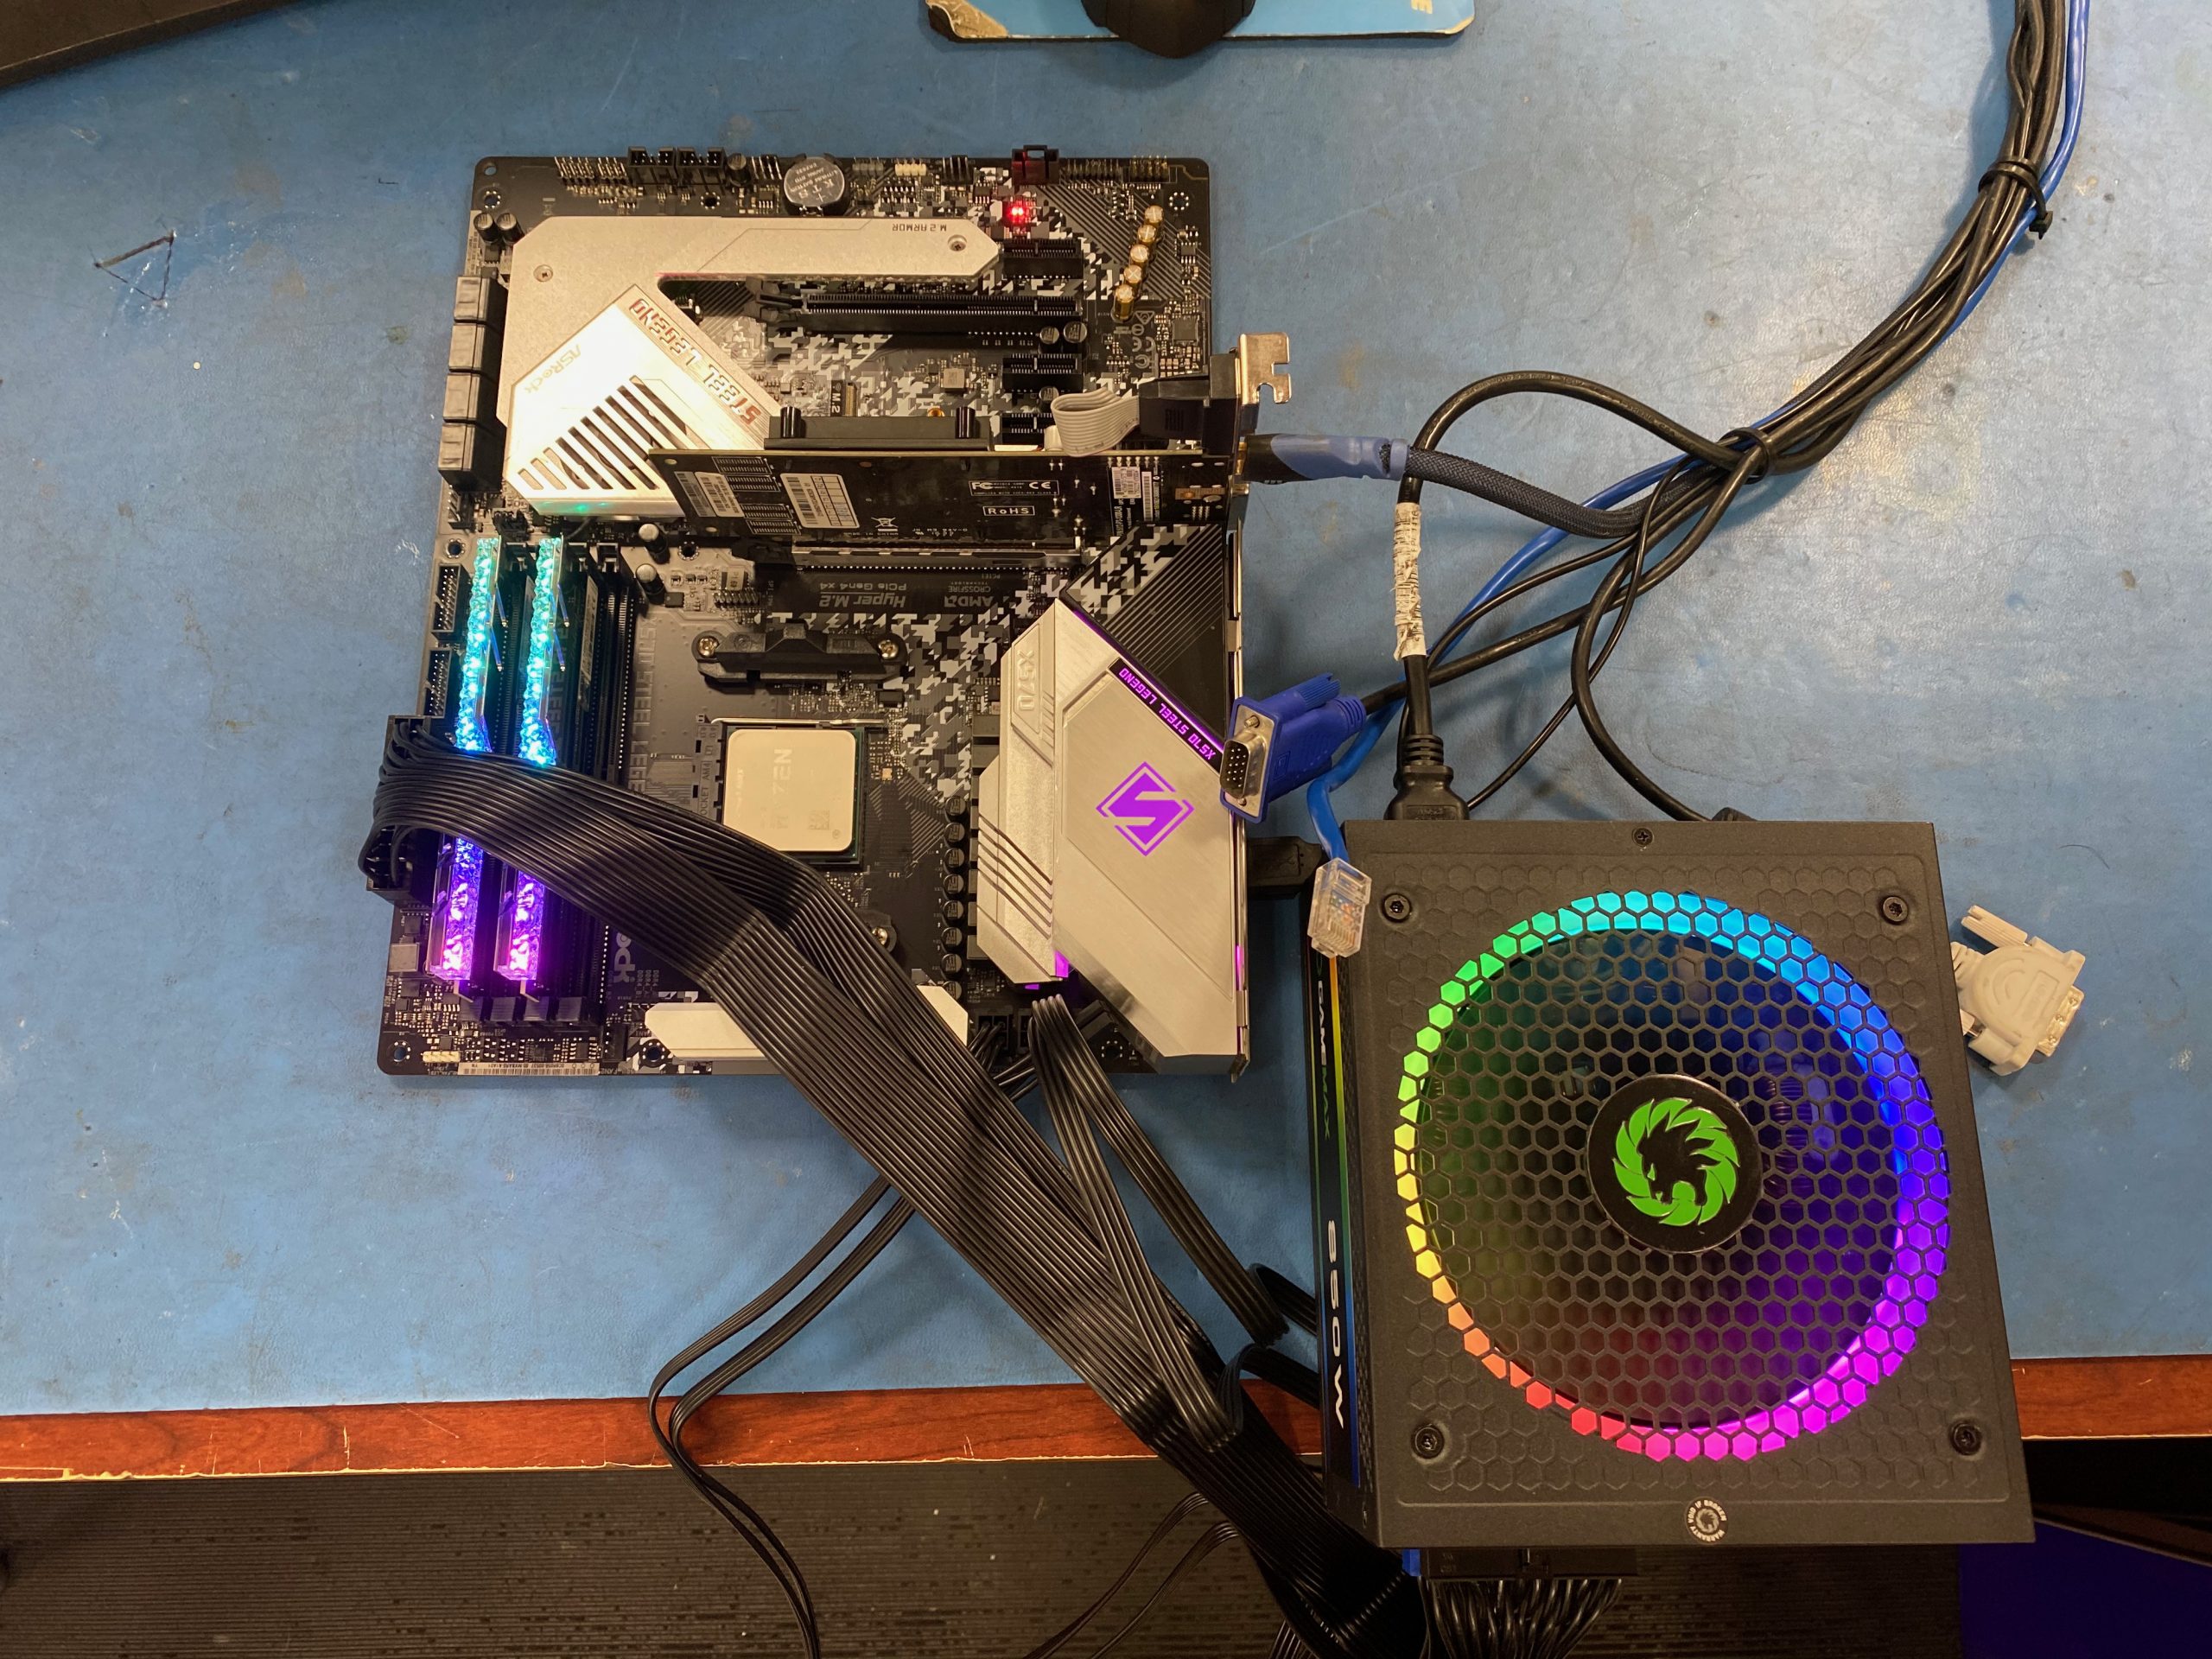
The parts are all installed and powered on. I understand if you are freaking out that there is no cooler on the CPU at this point. I only need it to get to where the POST screen is displayed. If there was a air cooler I was installing, I would have done it before the POST test. Since this is going to be water cooled, I did the POST test without a cooler. I doesn’t hurt the CPU but if I keep it on long enough, it will reach TJmax and will shut down.
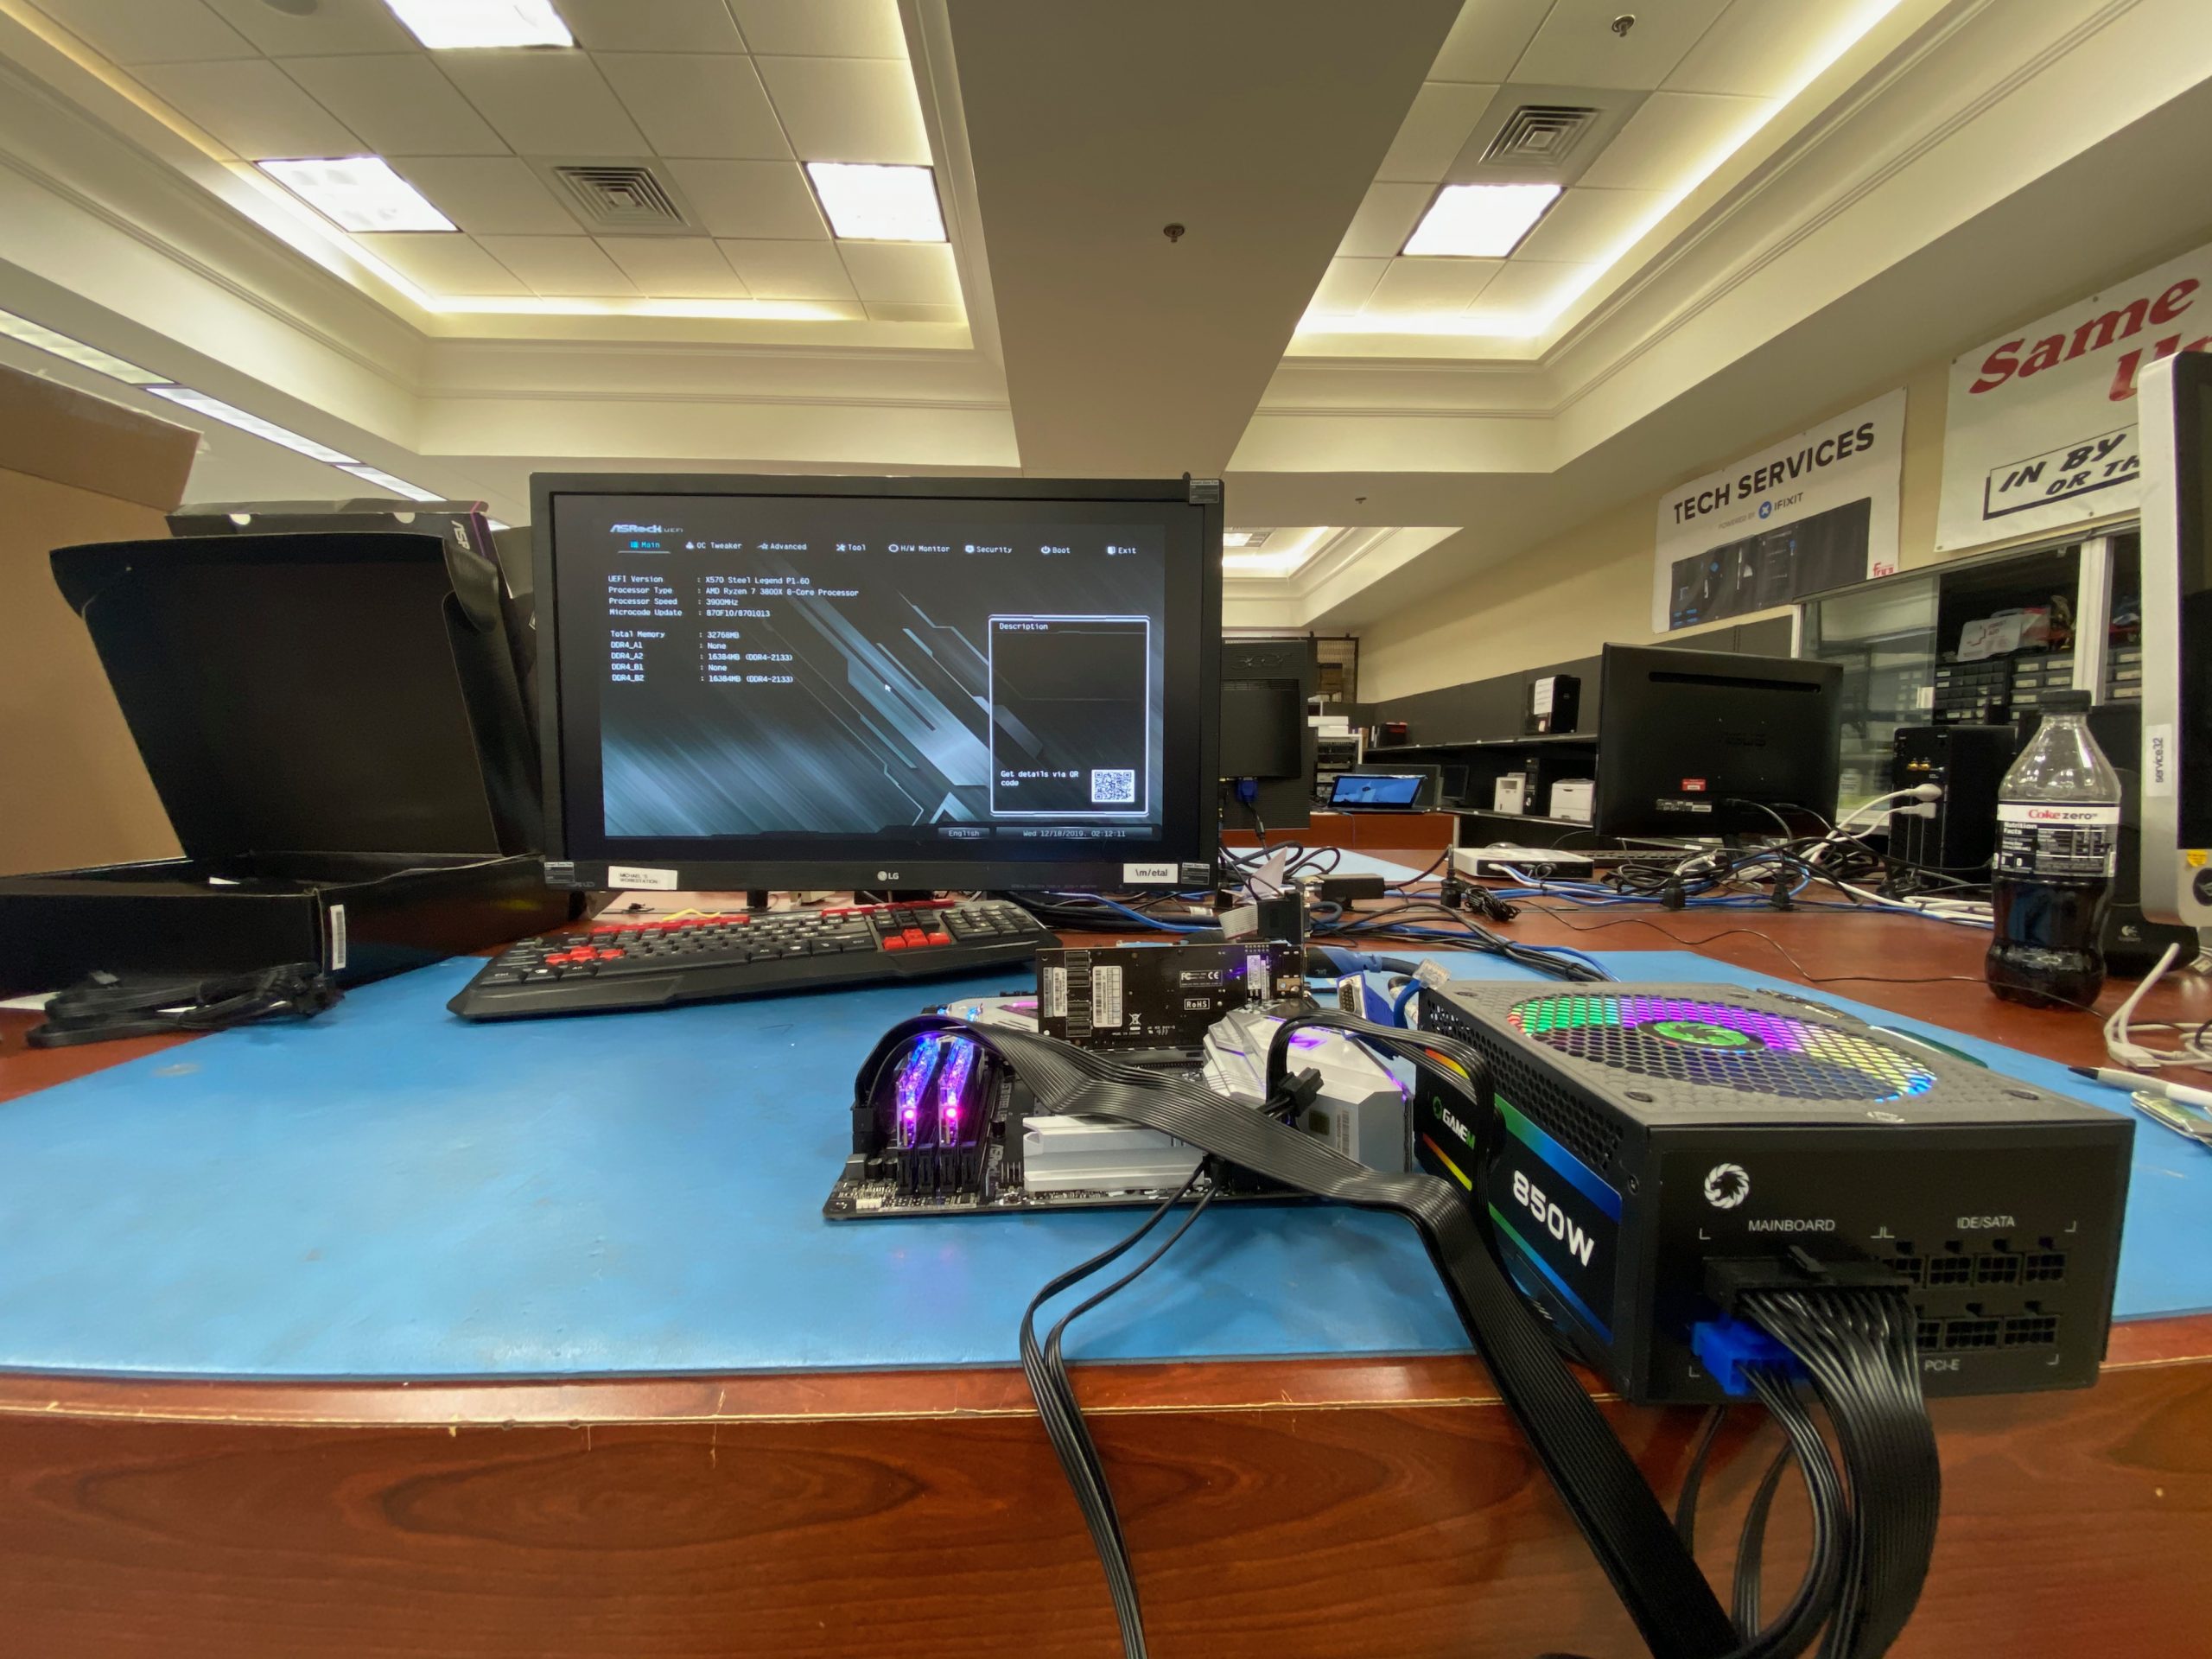
Here, you can see that it did, indeed, reach the POST screen. Right after this, I shut it down. No CPUs were harmed in the building of this computer. Notice, too that because the 3800X does not have integrated graphics, I had to install a GPU. Instead of using the big GPU, I used an old GPU that we have in our department for this type of application.
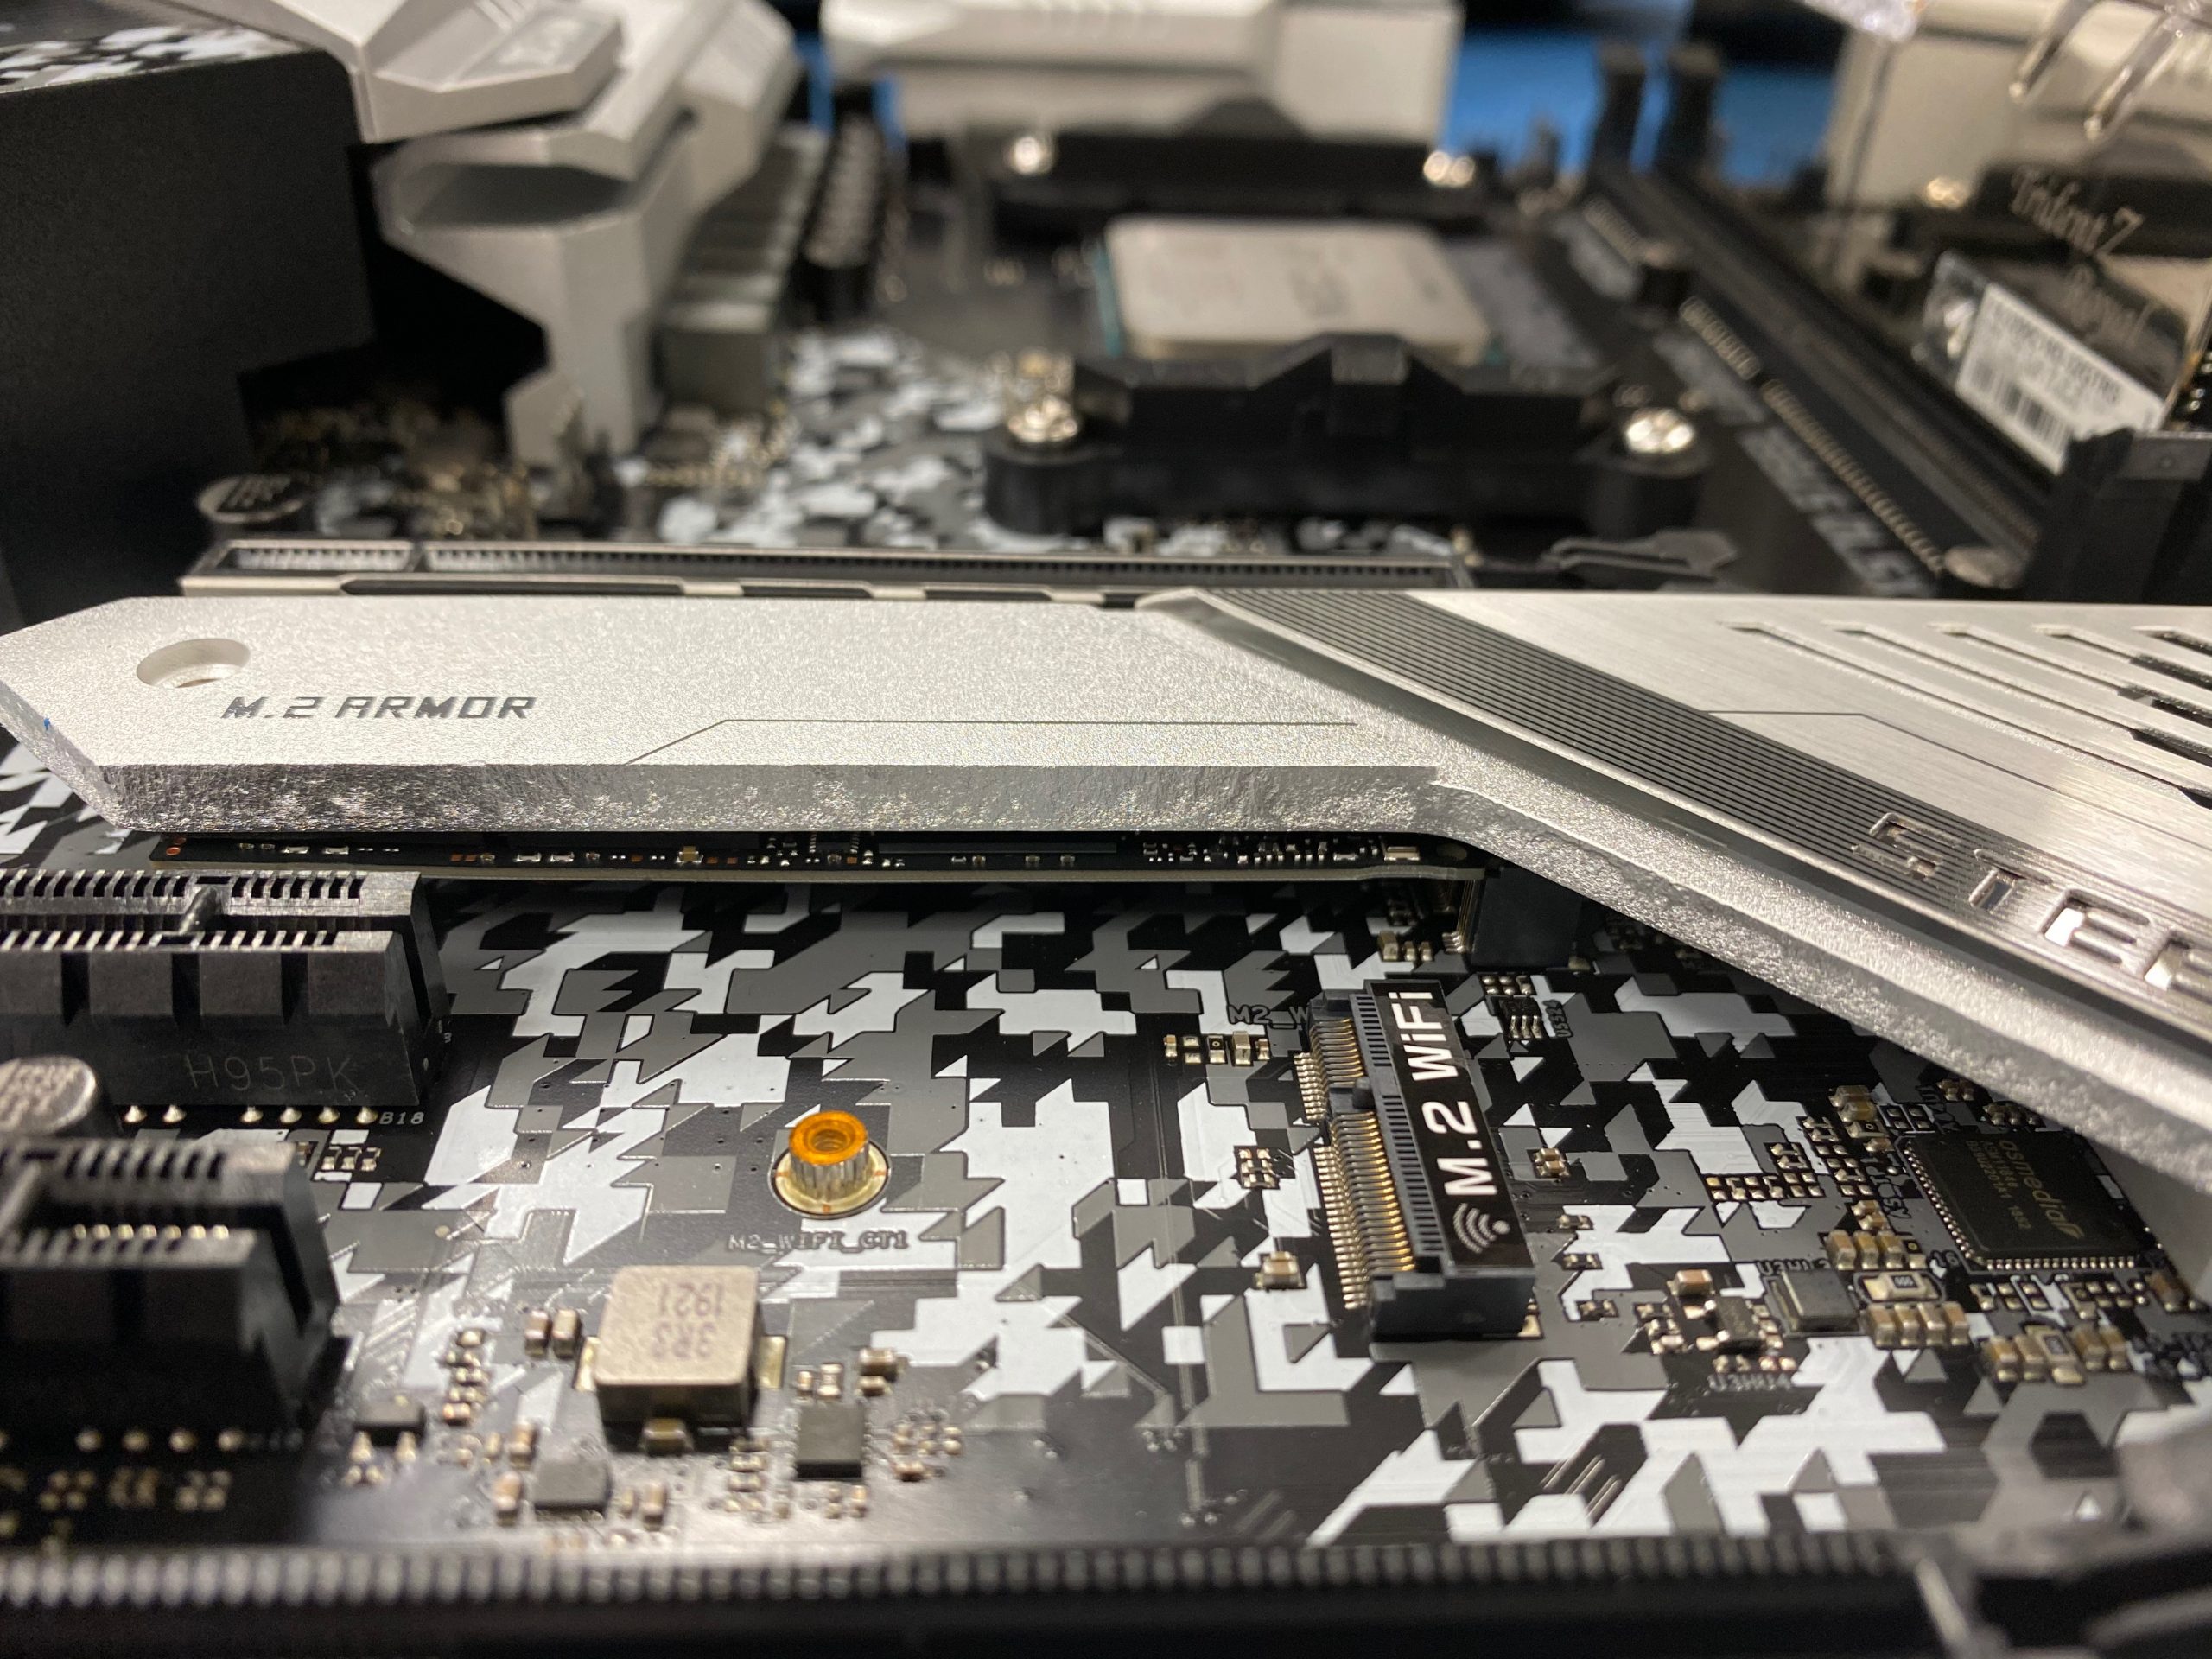
The NVMe SSD has been installed. The X570 board supports PCI-E V4, which includes massive speed improvements for parts such as expansion cards (GPU, etc) and NVMe-based SSD, customer has a V3 NVMe. This is not a big deal. PCI-E V3 has more then enough bandwidth for gaming. If the customer was a content creator and could use the extra speed from V4, then it would make sense to have one. In this case, it was not needed. Also, notice this board has support for M.2 WiFI cards (not installed in this build). This is for form-factor only. A standard card will work just fine.
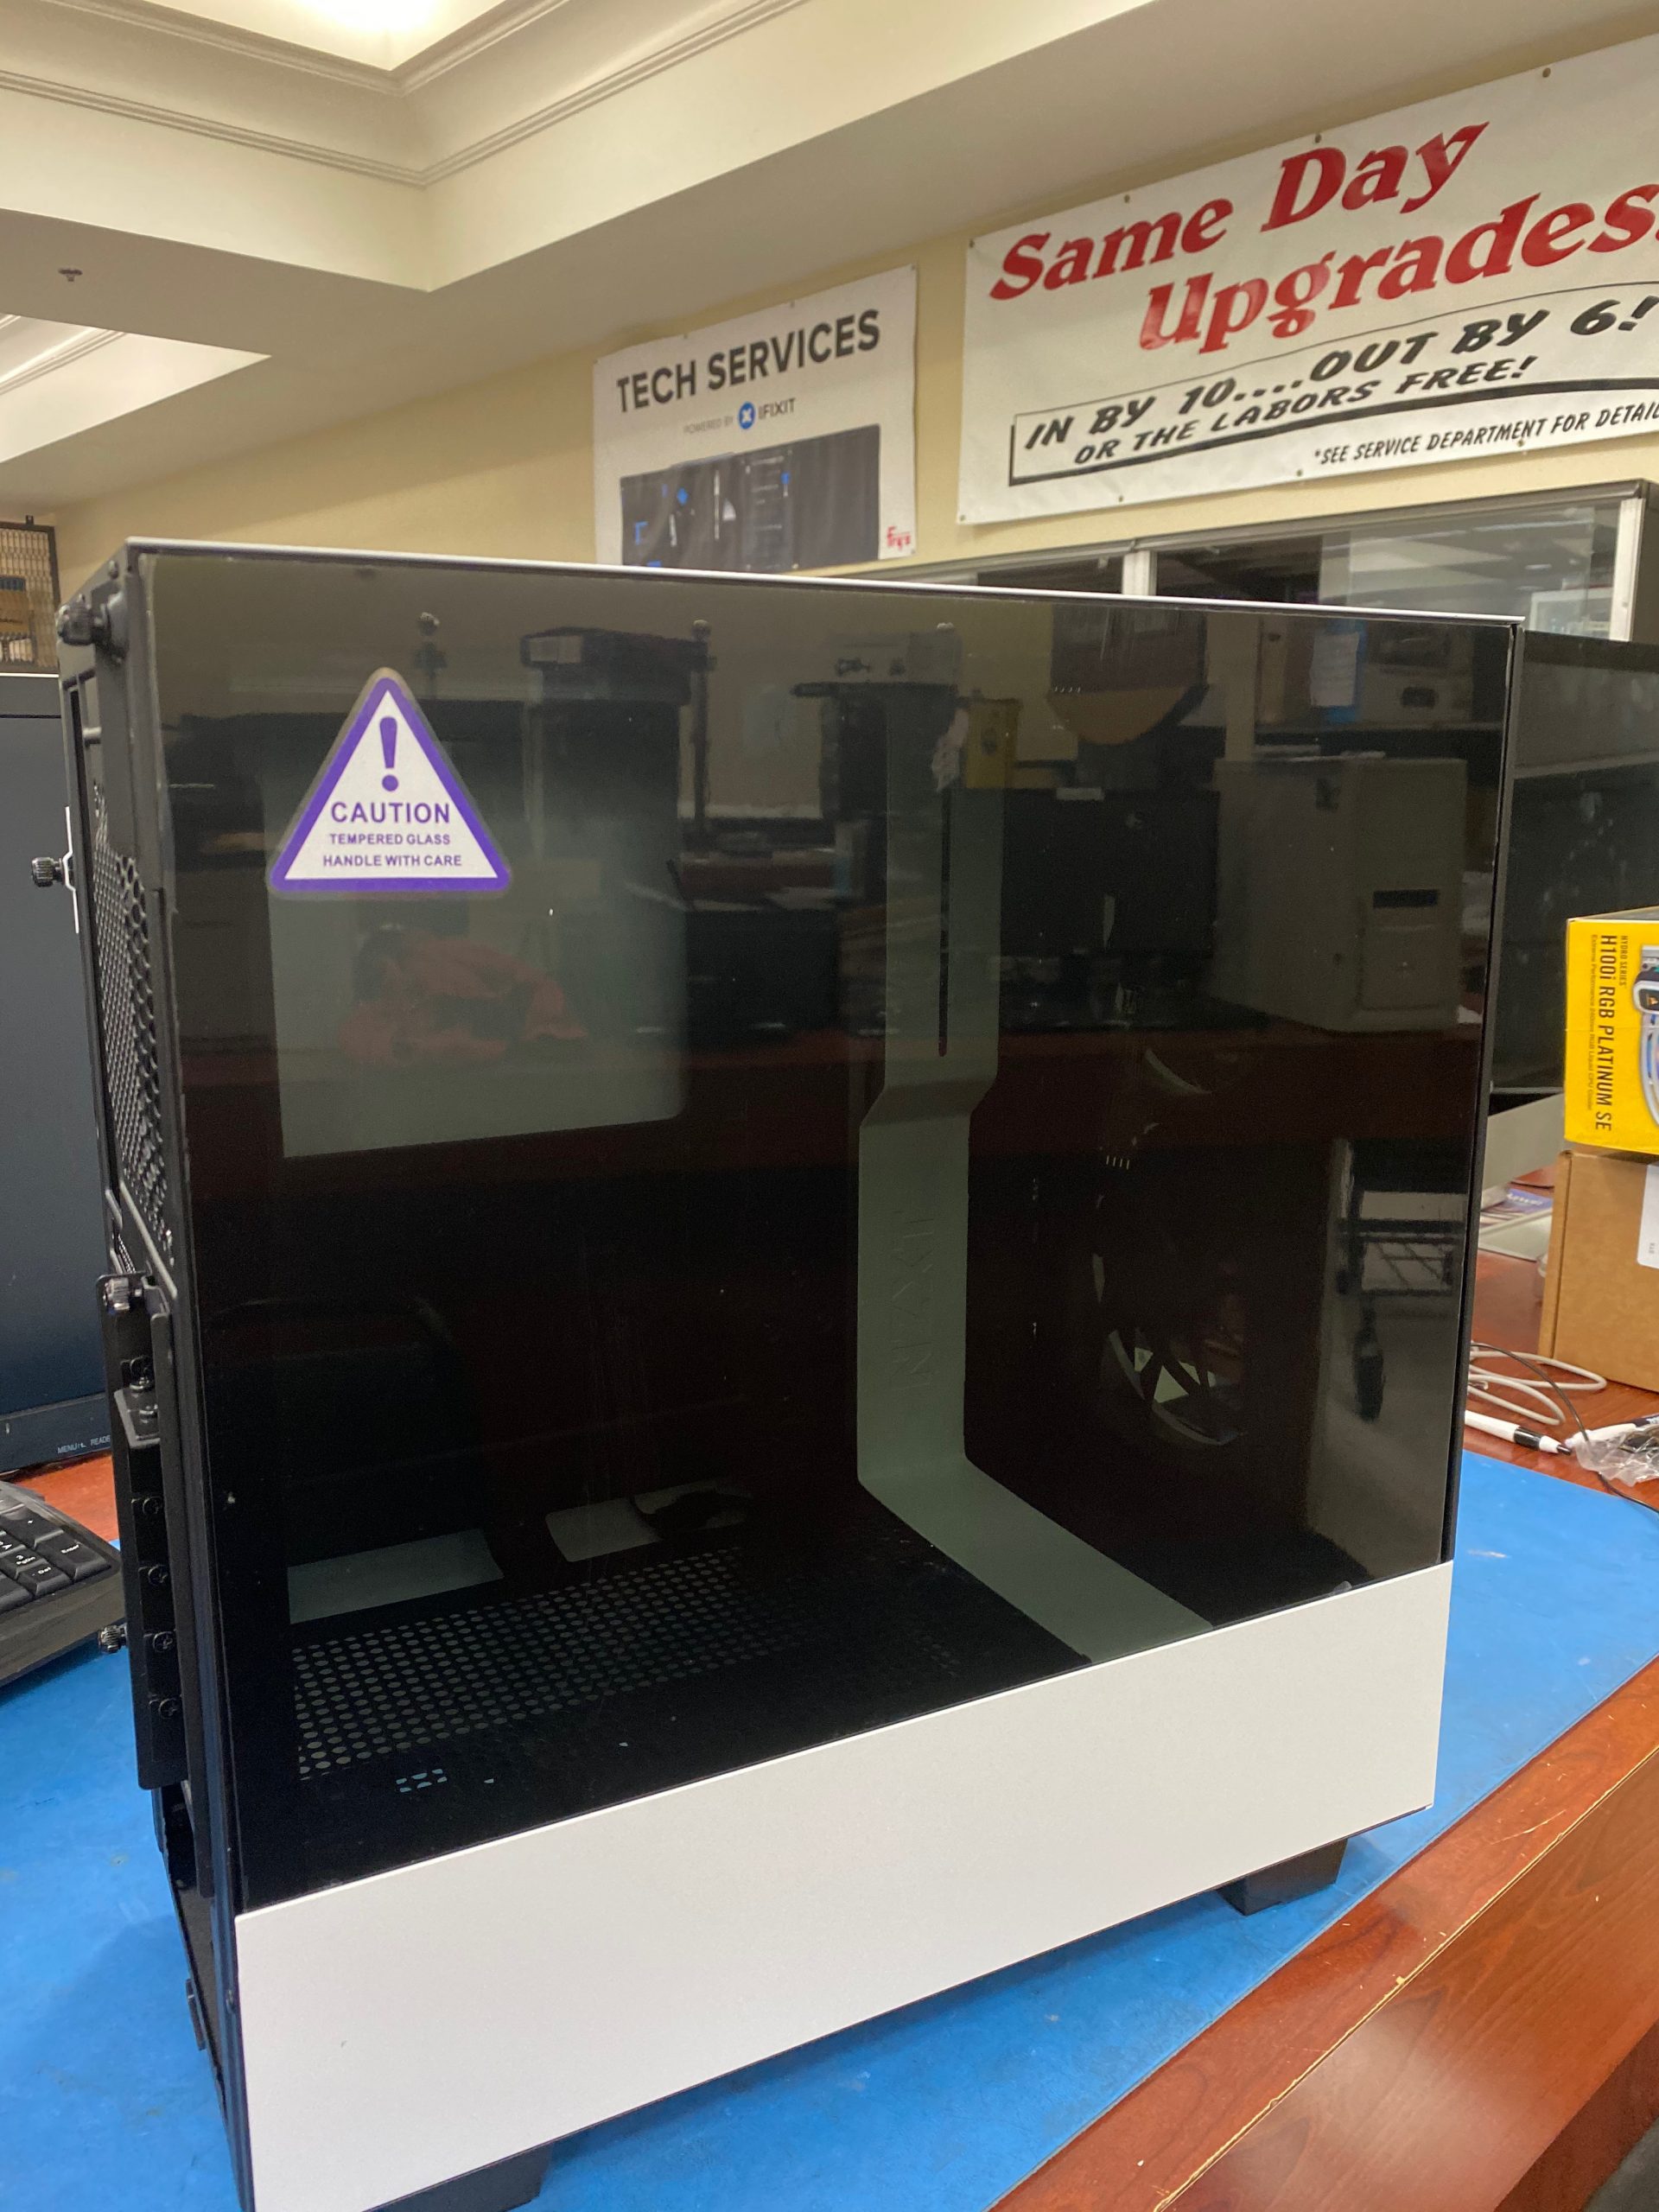
The case has been unleashed from its box!
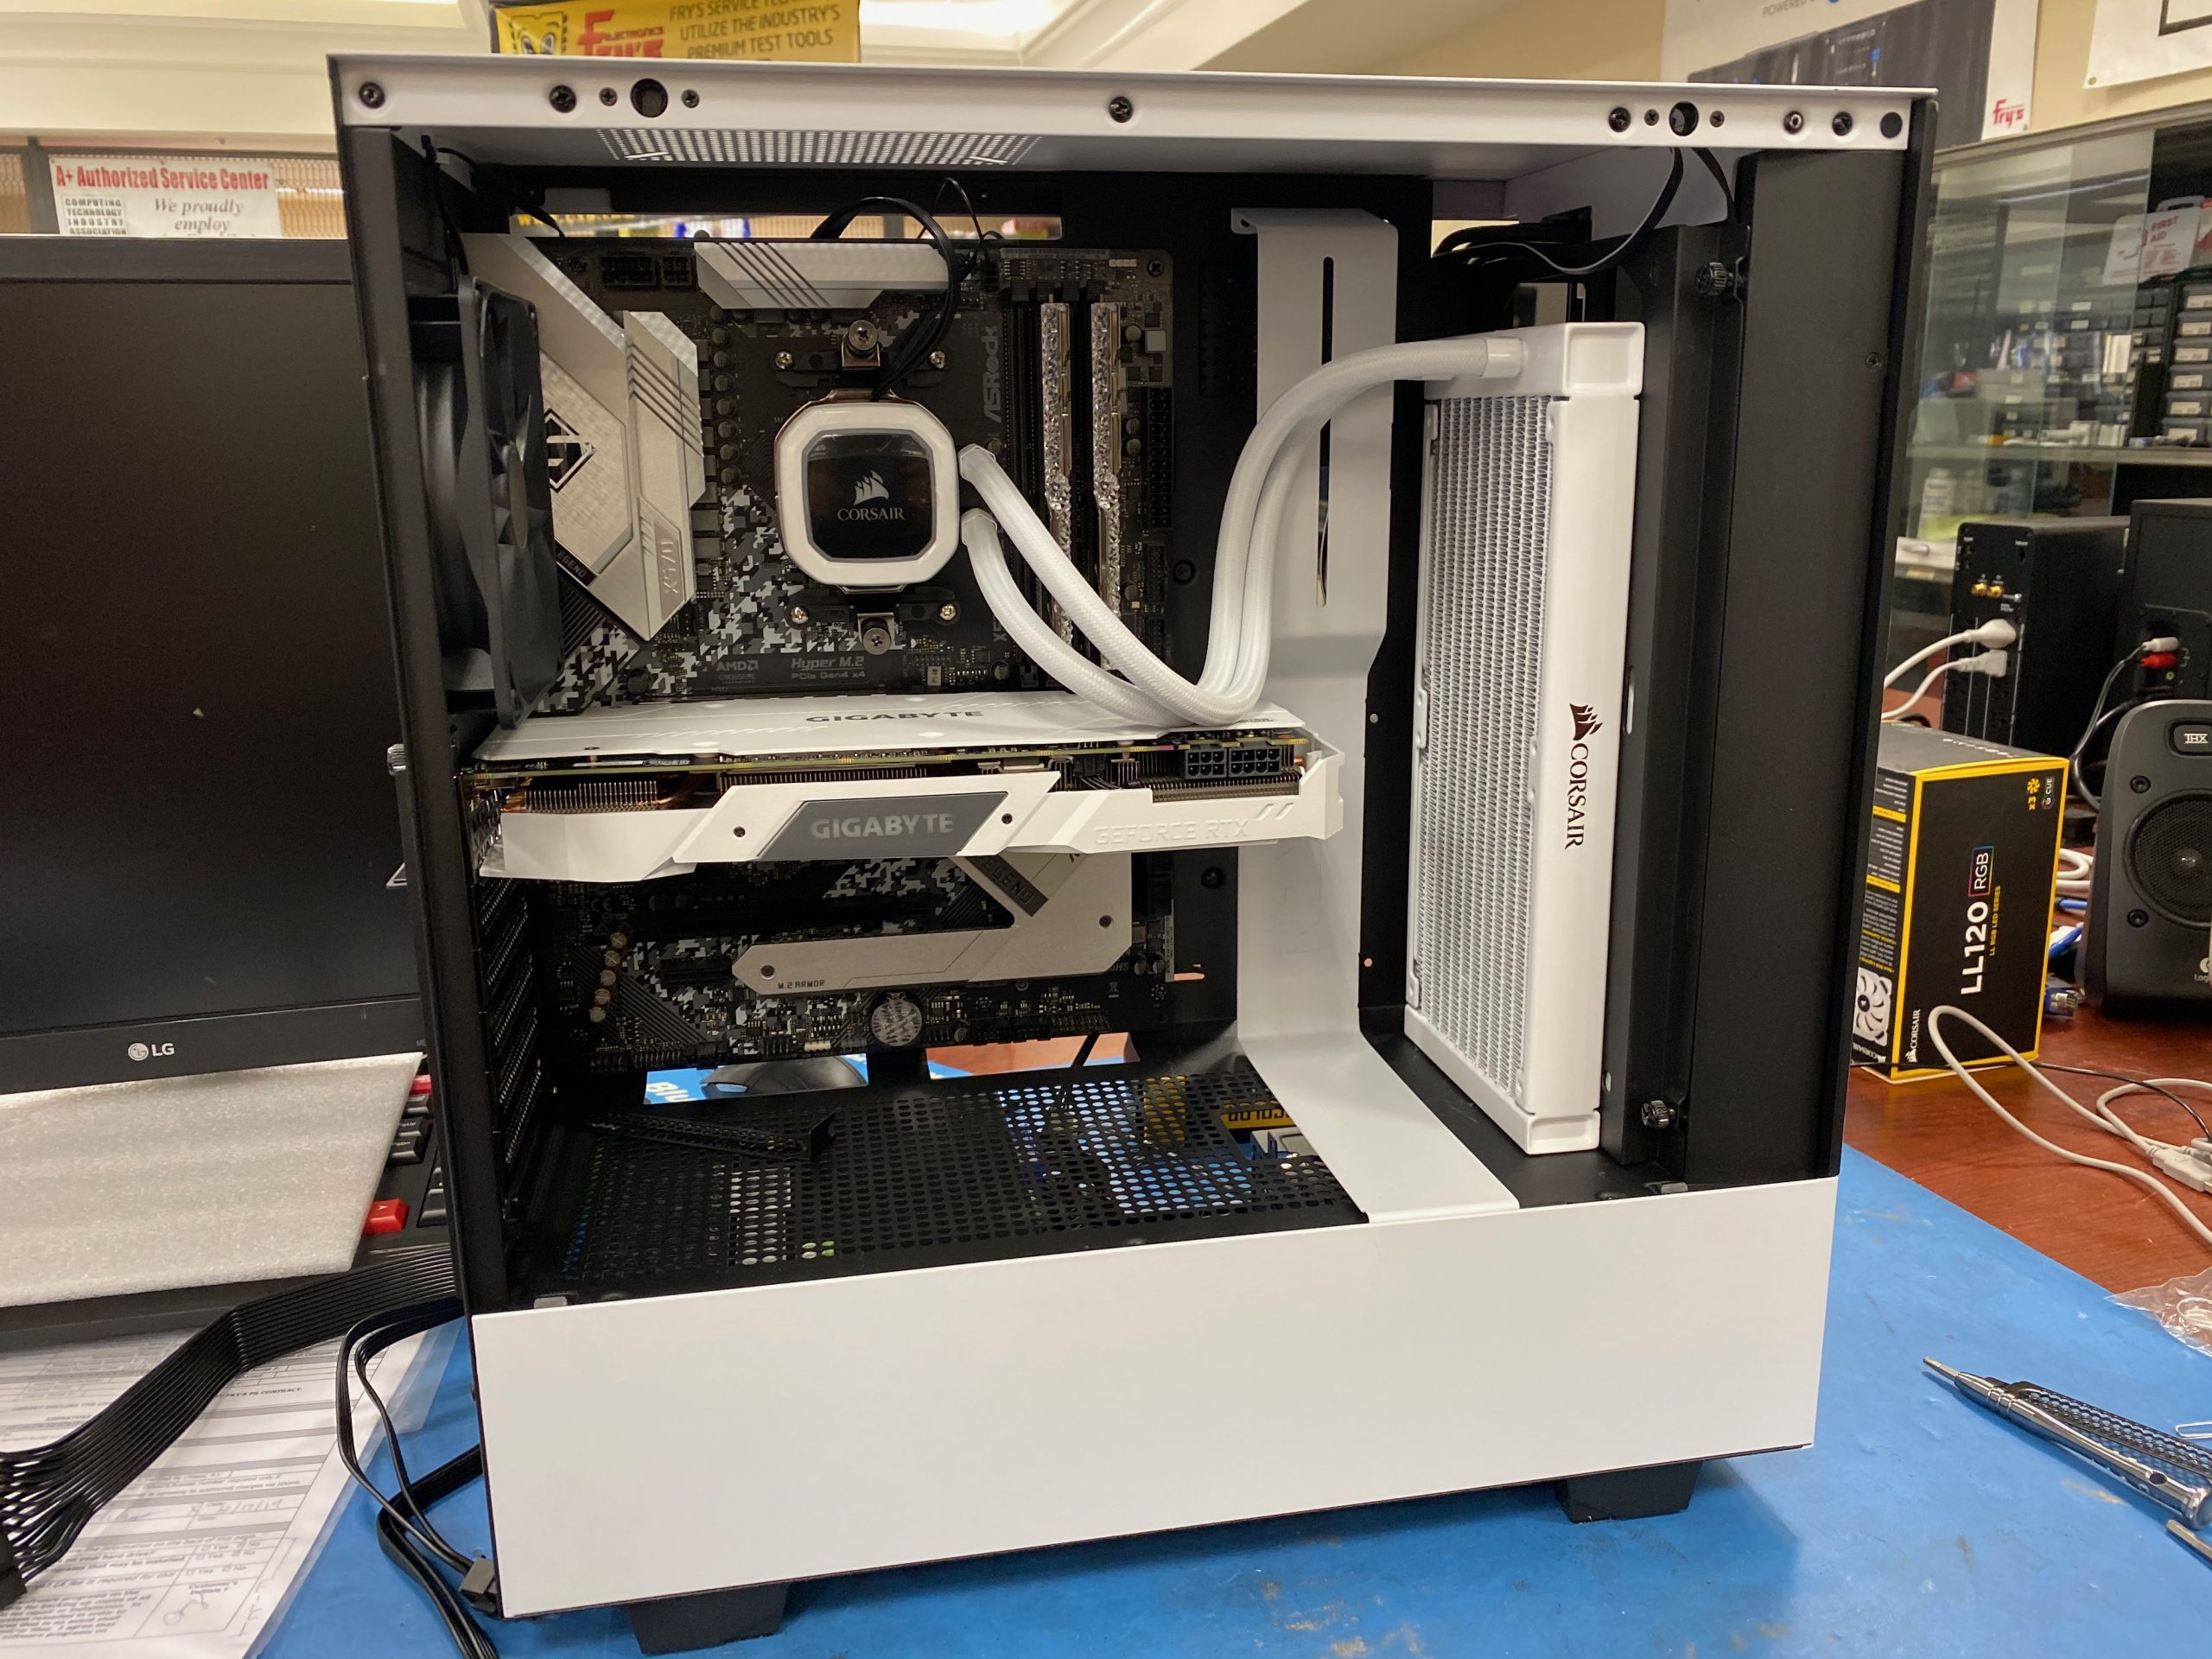
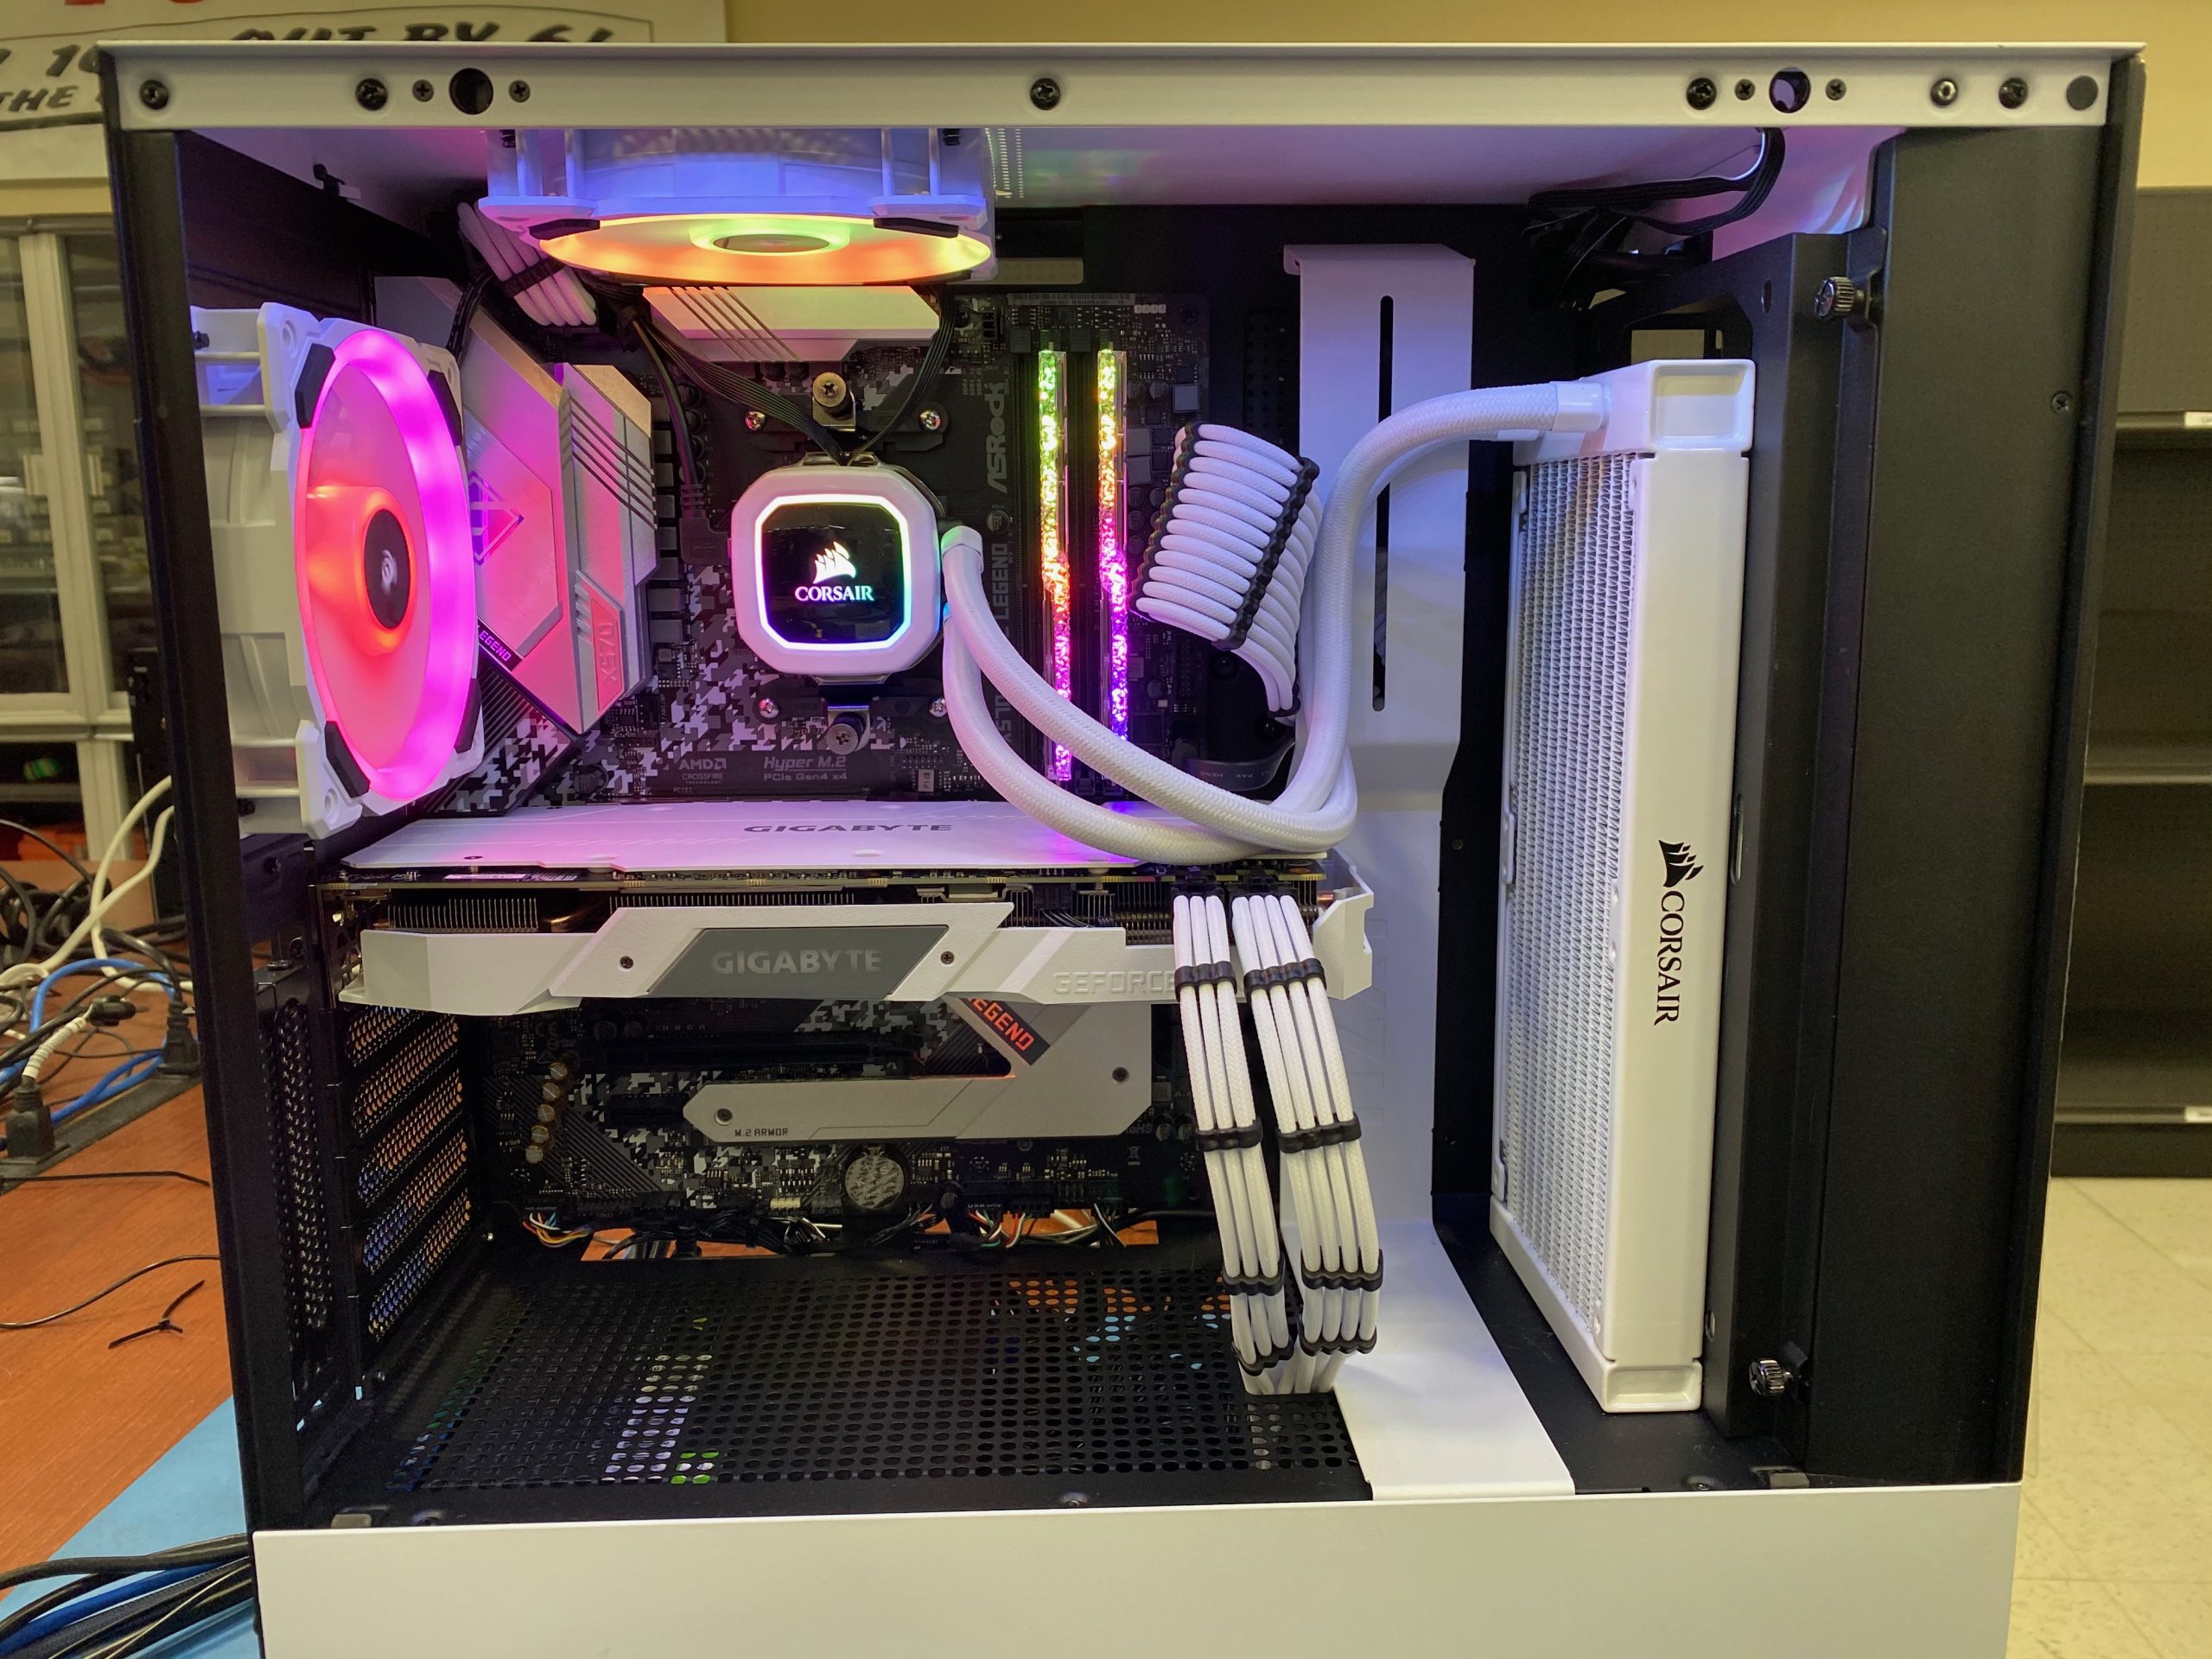
Skipping ahead, here is the unit with all of the hardware installed. I believe that you can see the theme now if you couldn’t imagine it before.
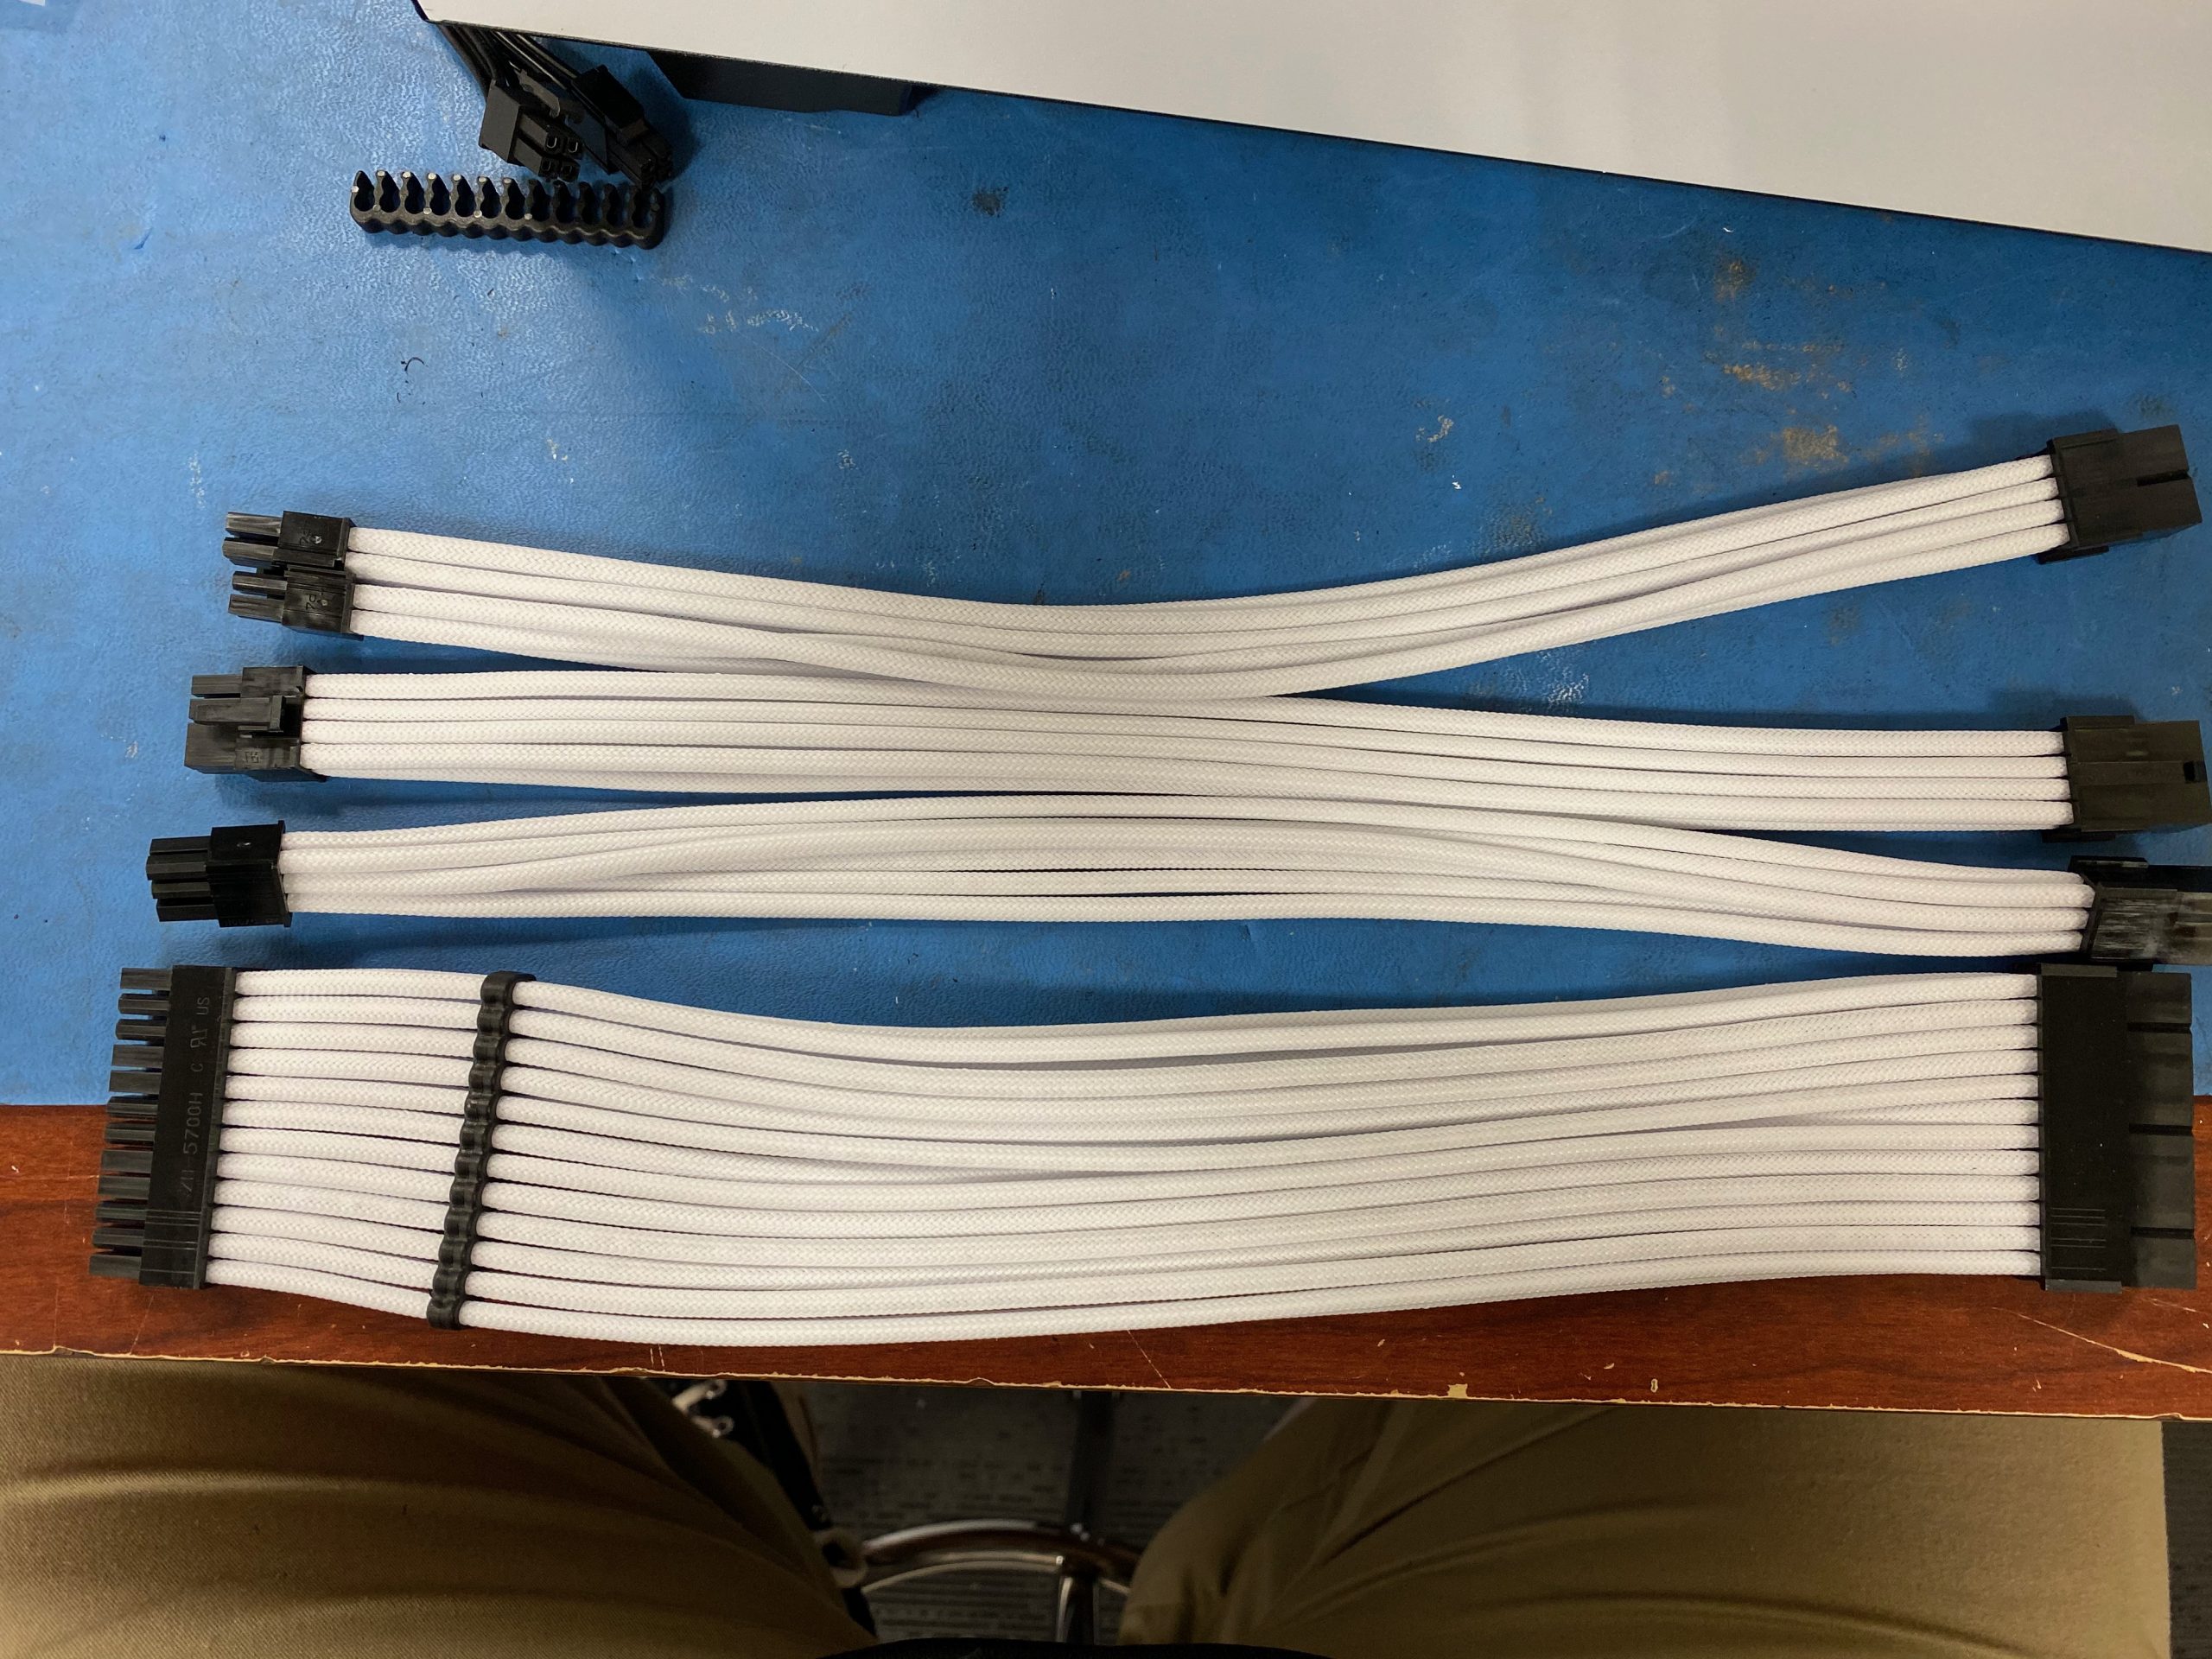
Here is the cable extension kit. I am starting to install the cable combs.
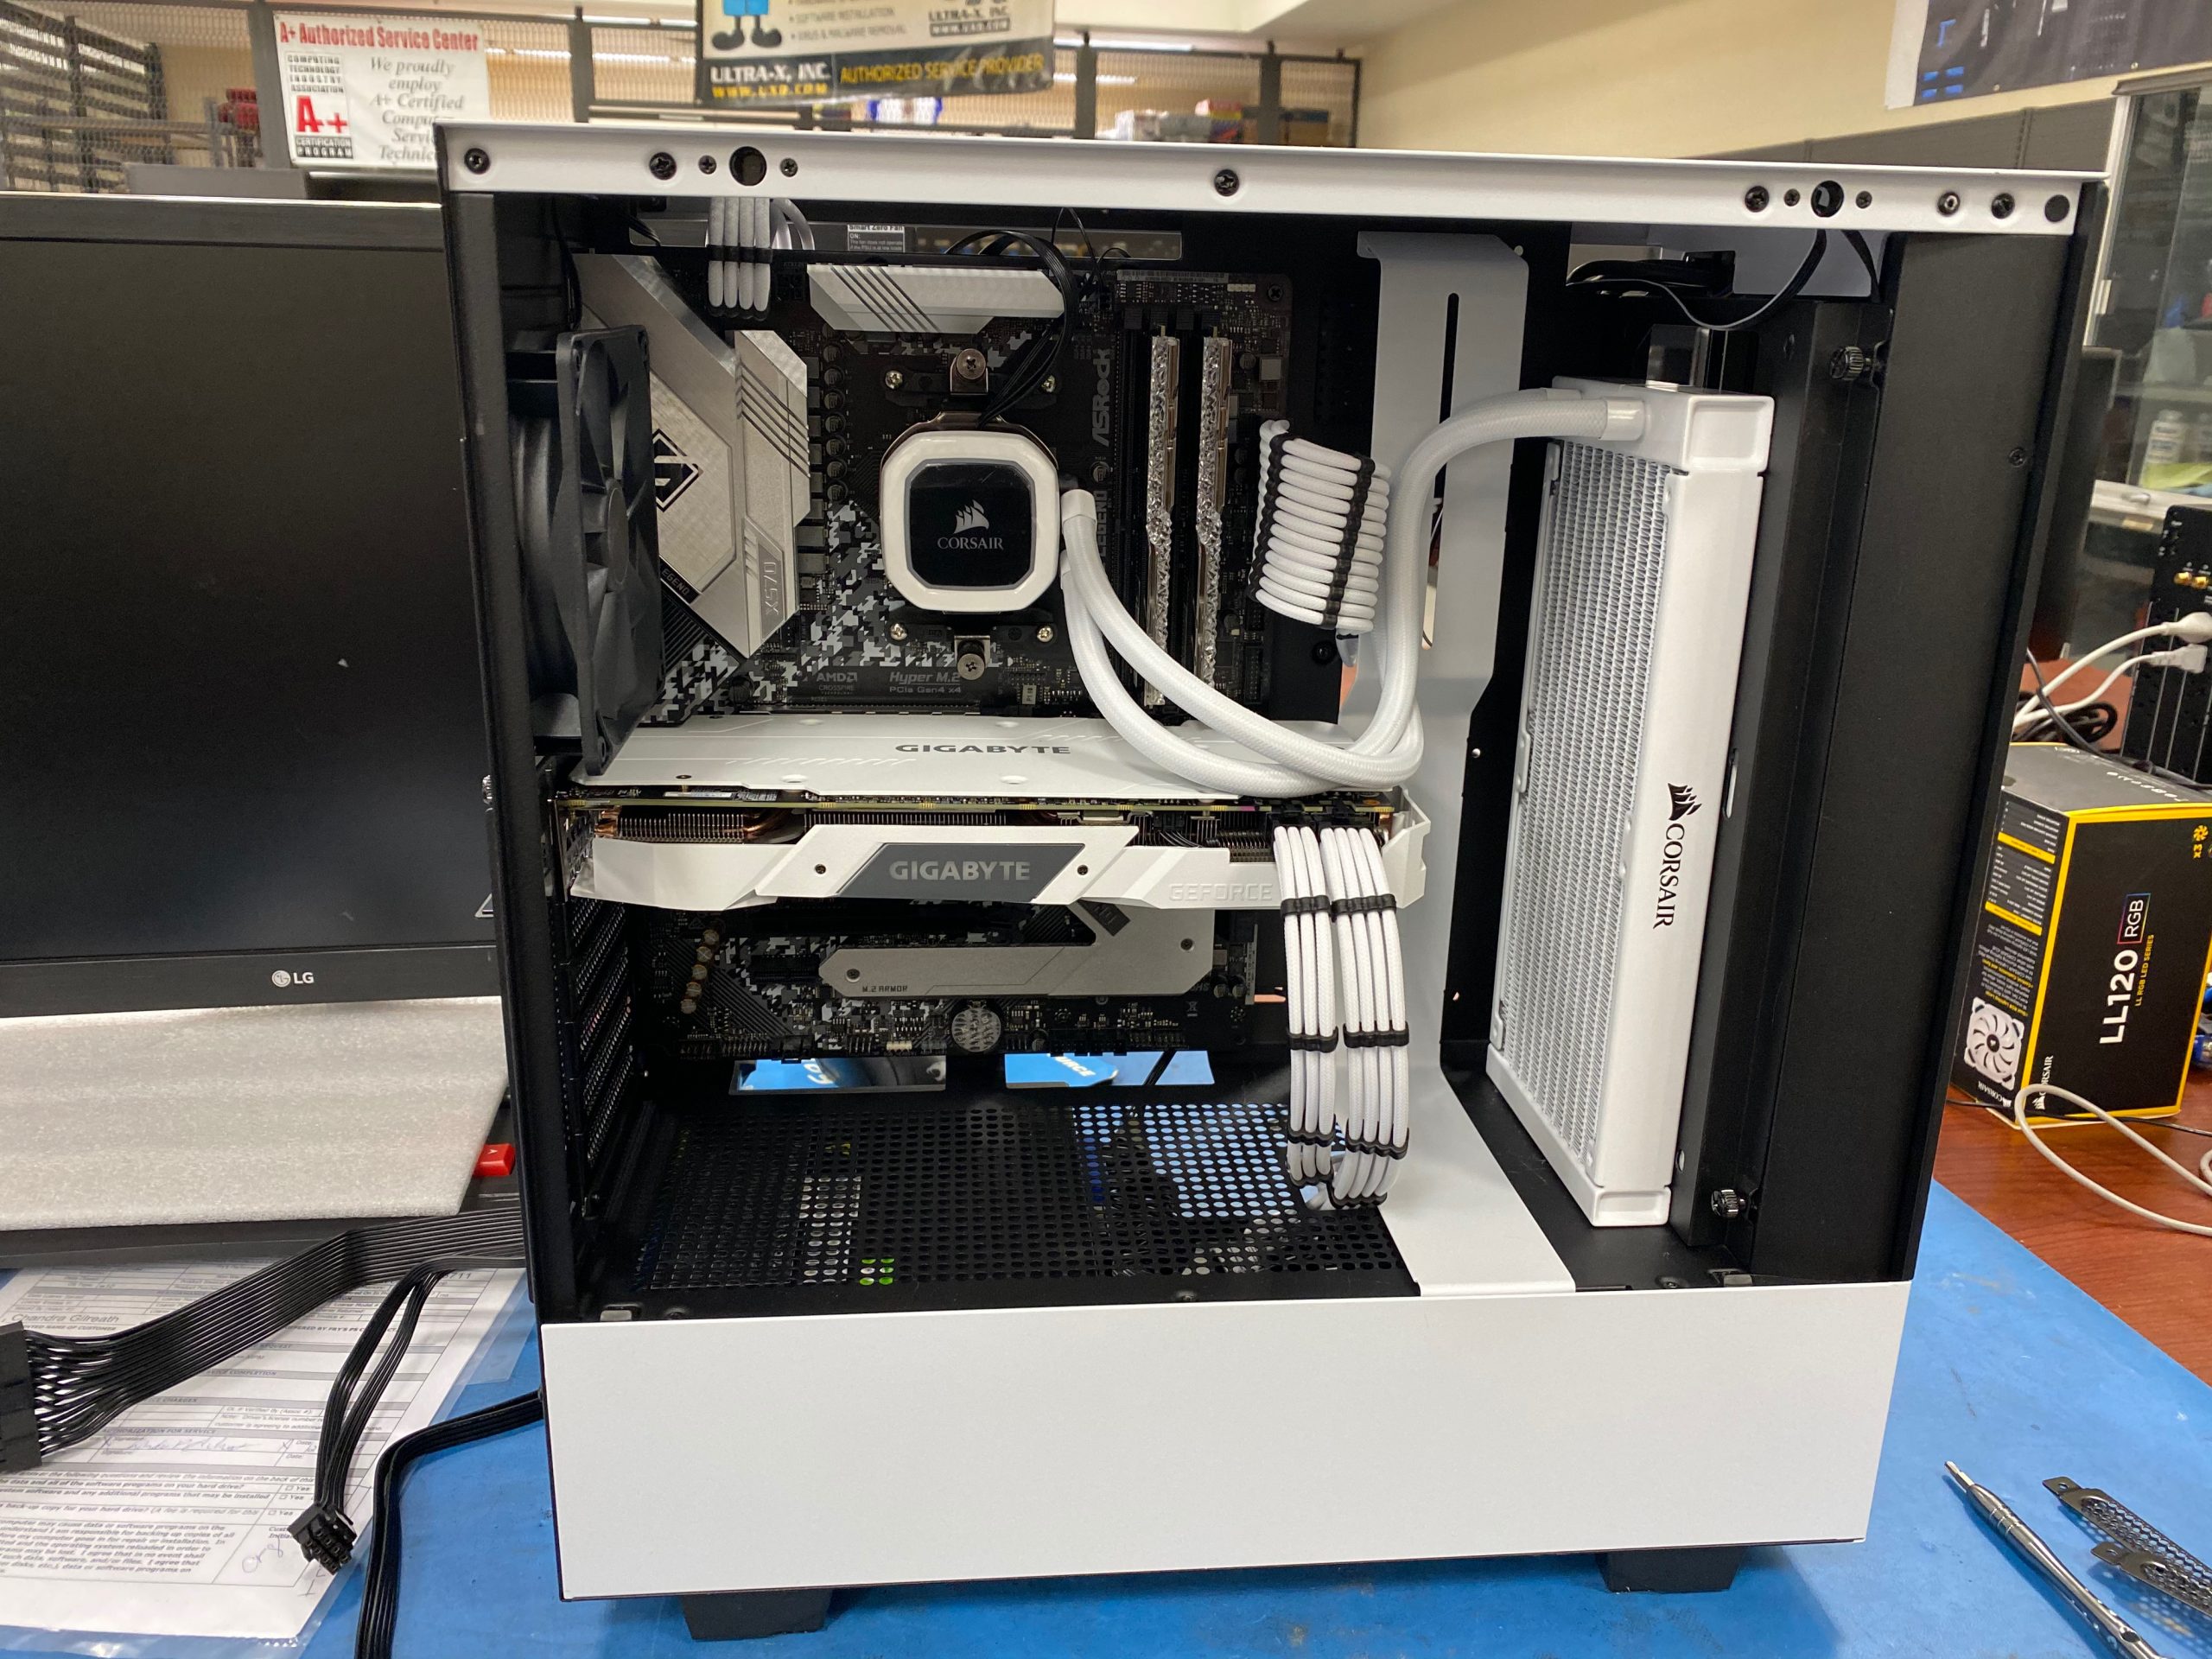
Here, I have installed the cable extensions. This is an indication of how the final build will look… keep in mind, the LL120 kit that I still haven’t opened at this point…
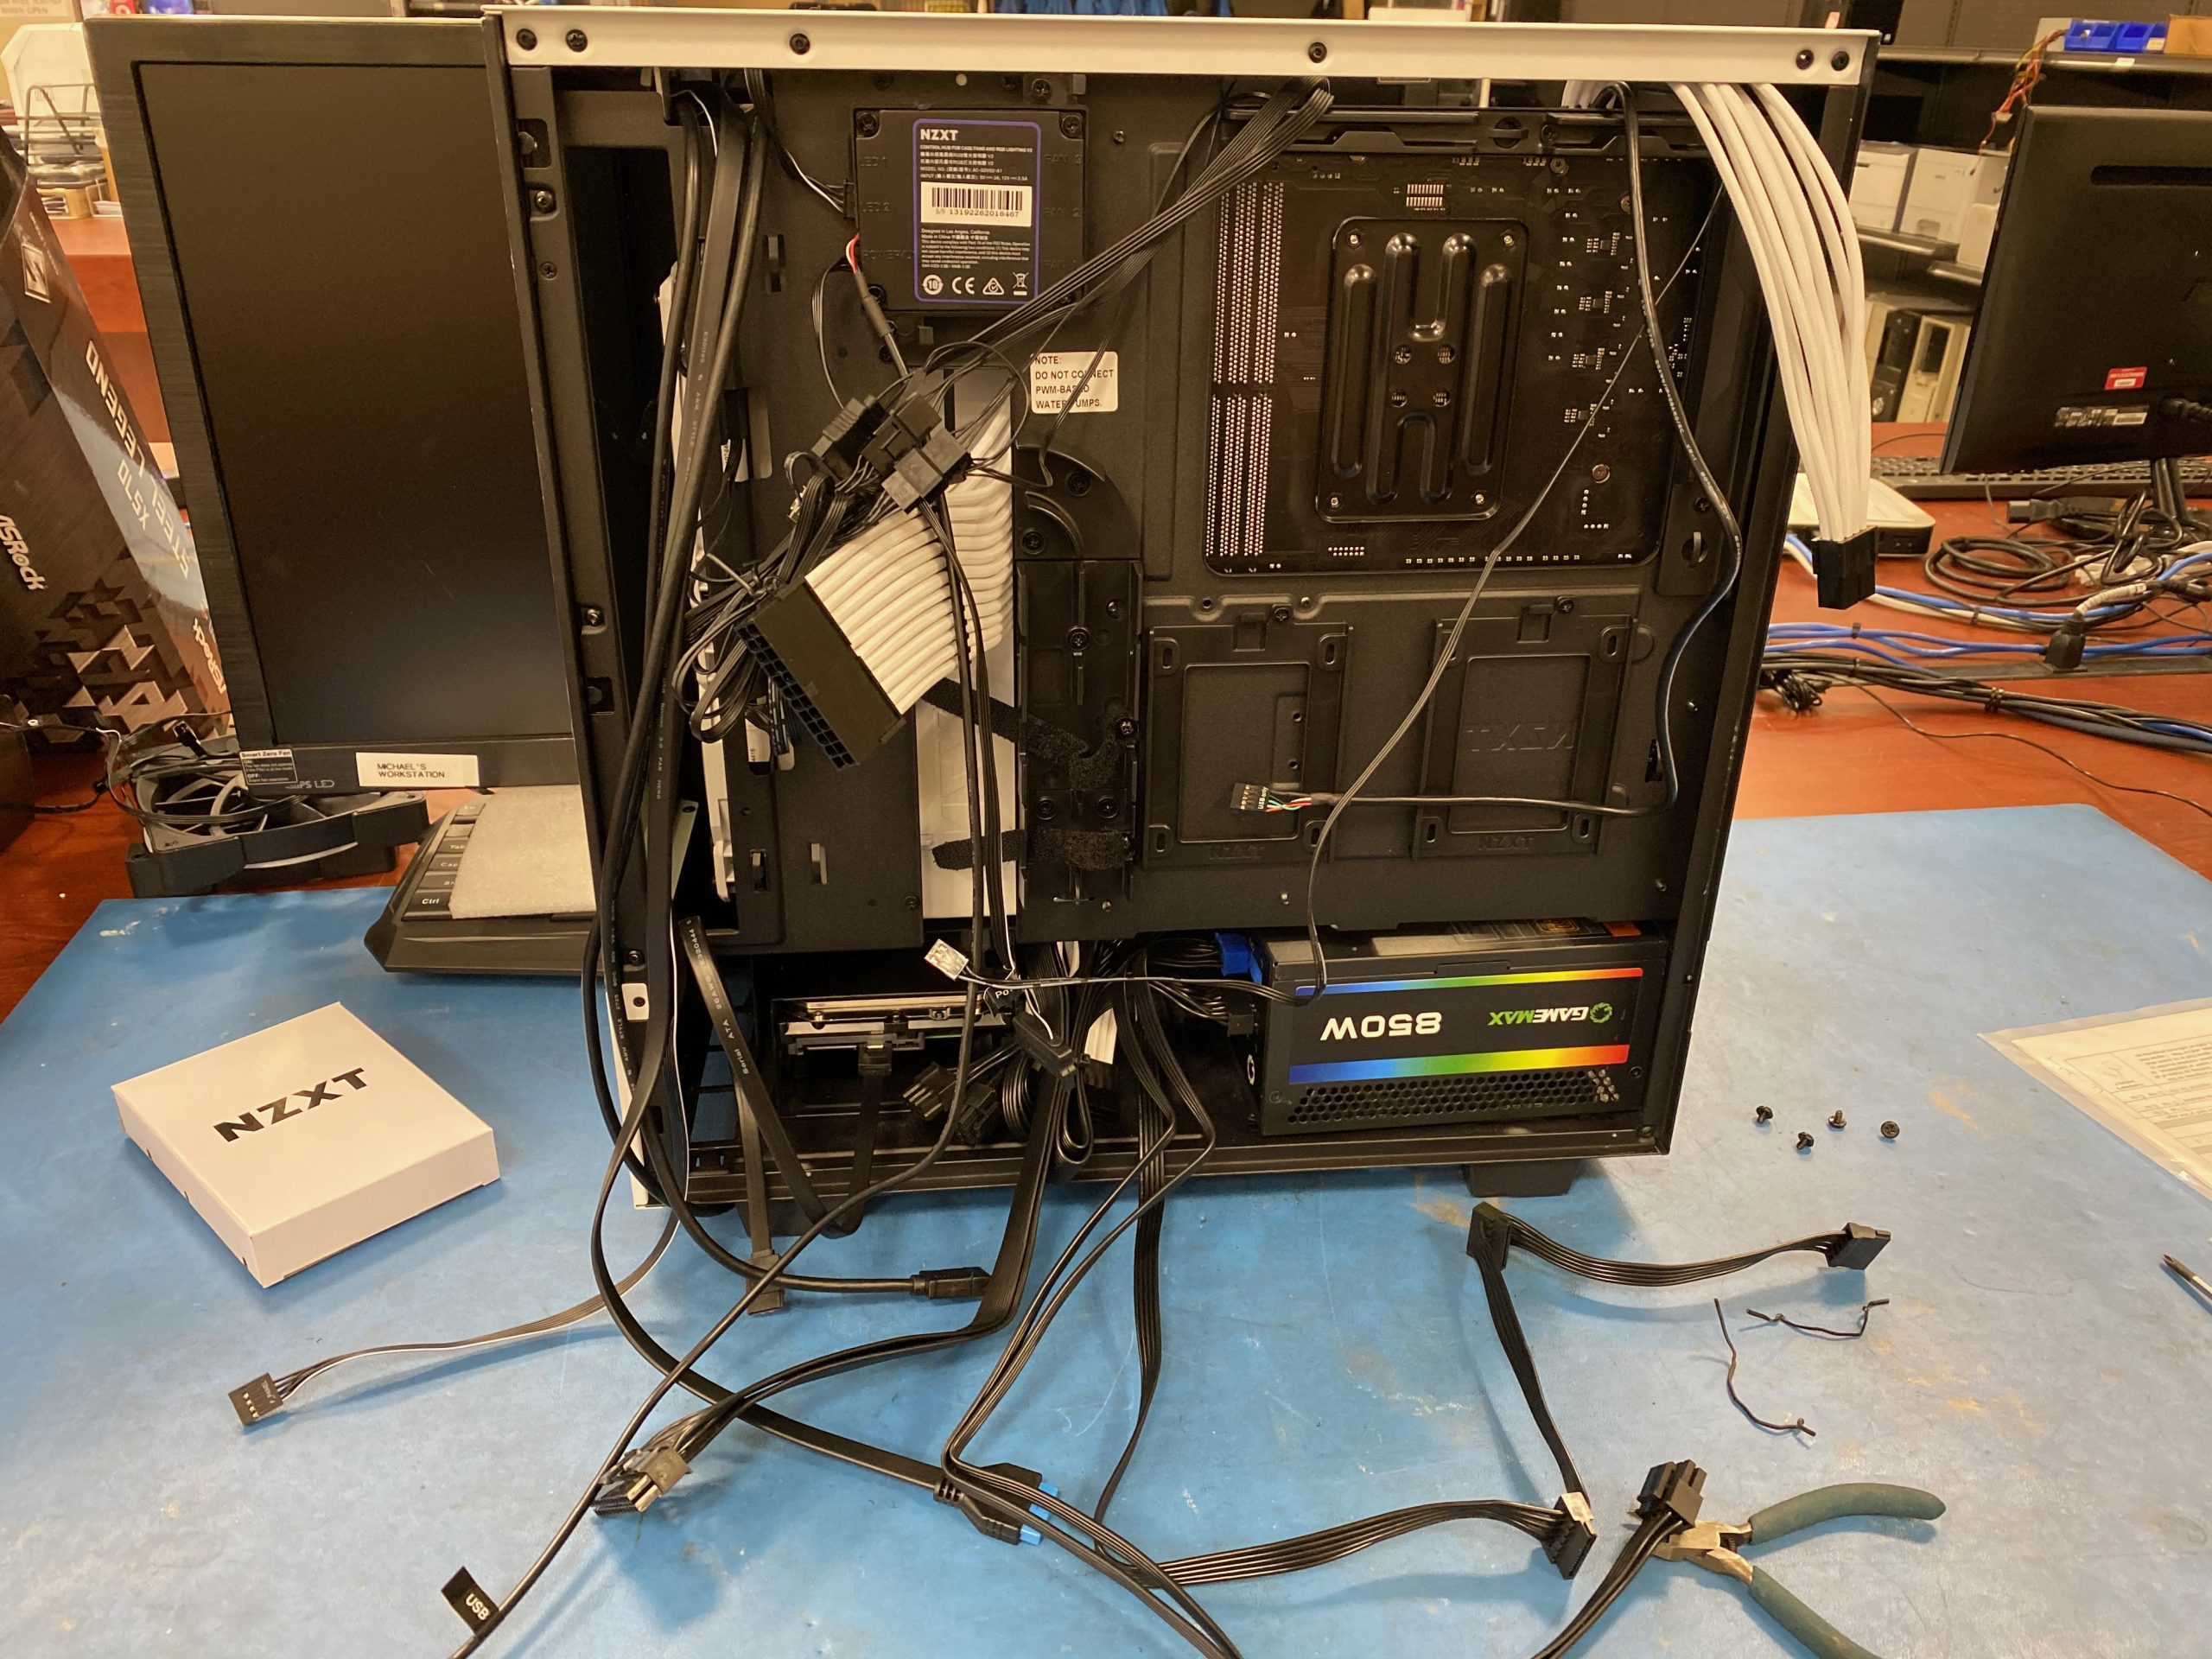
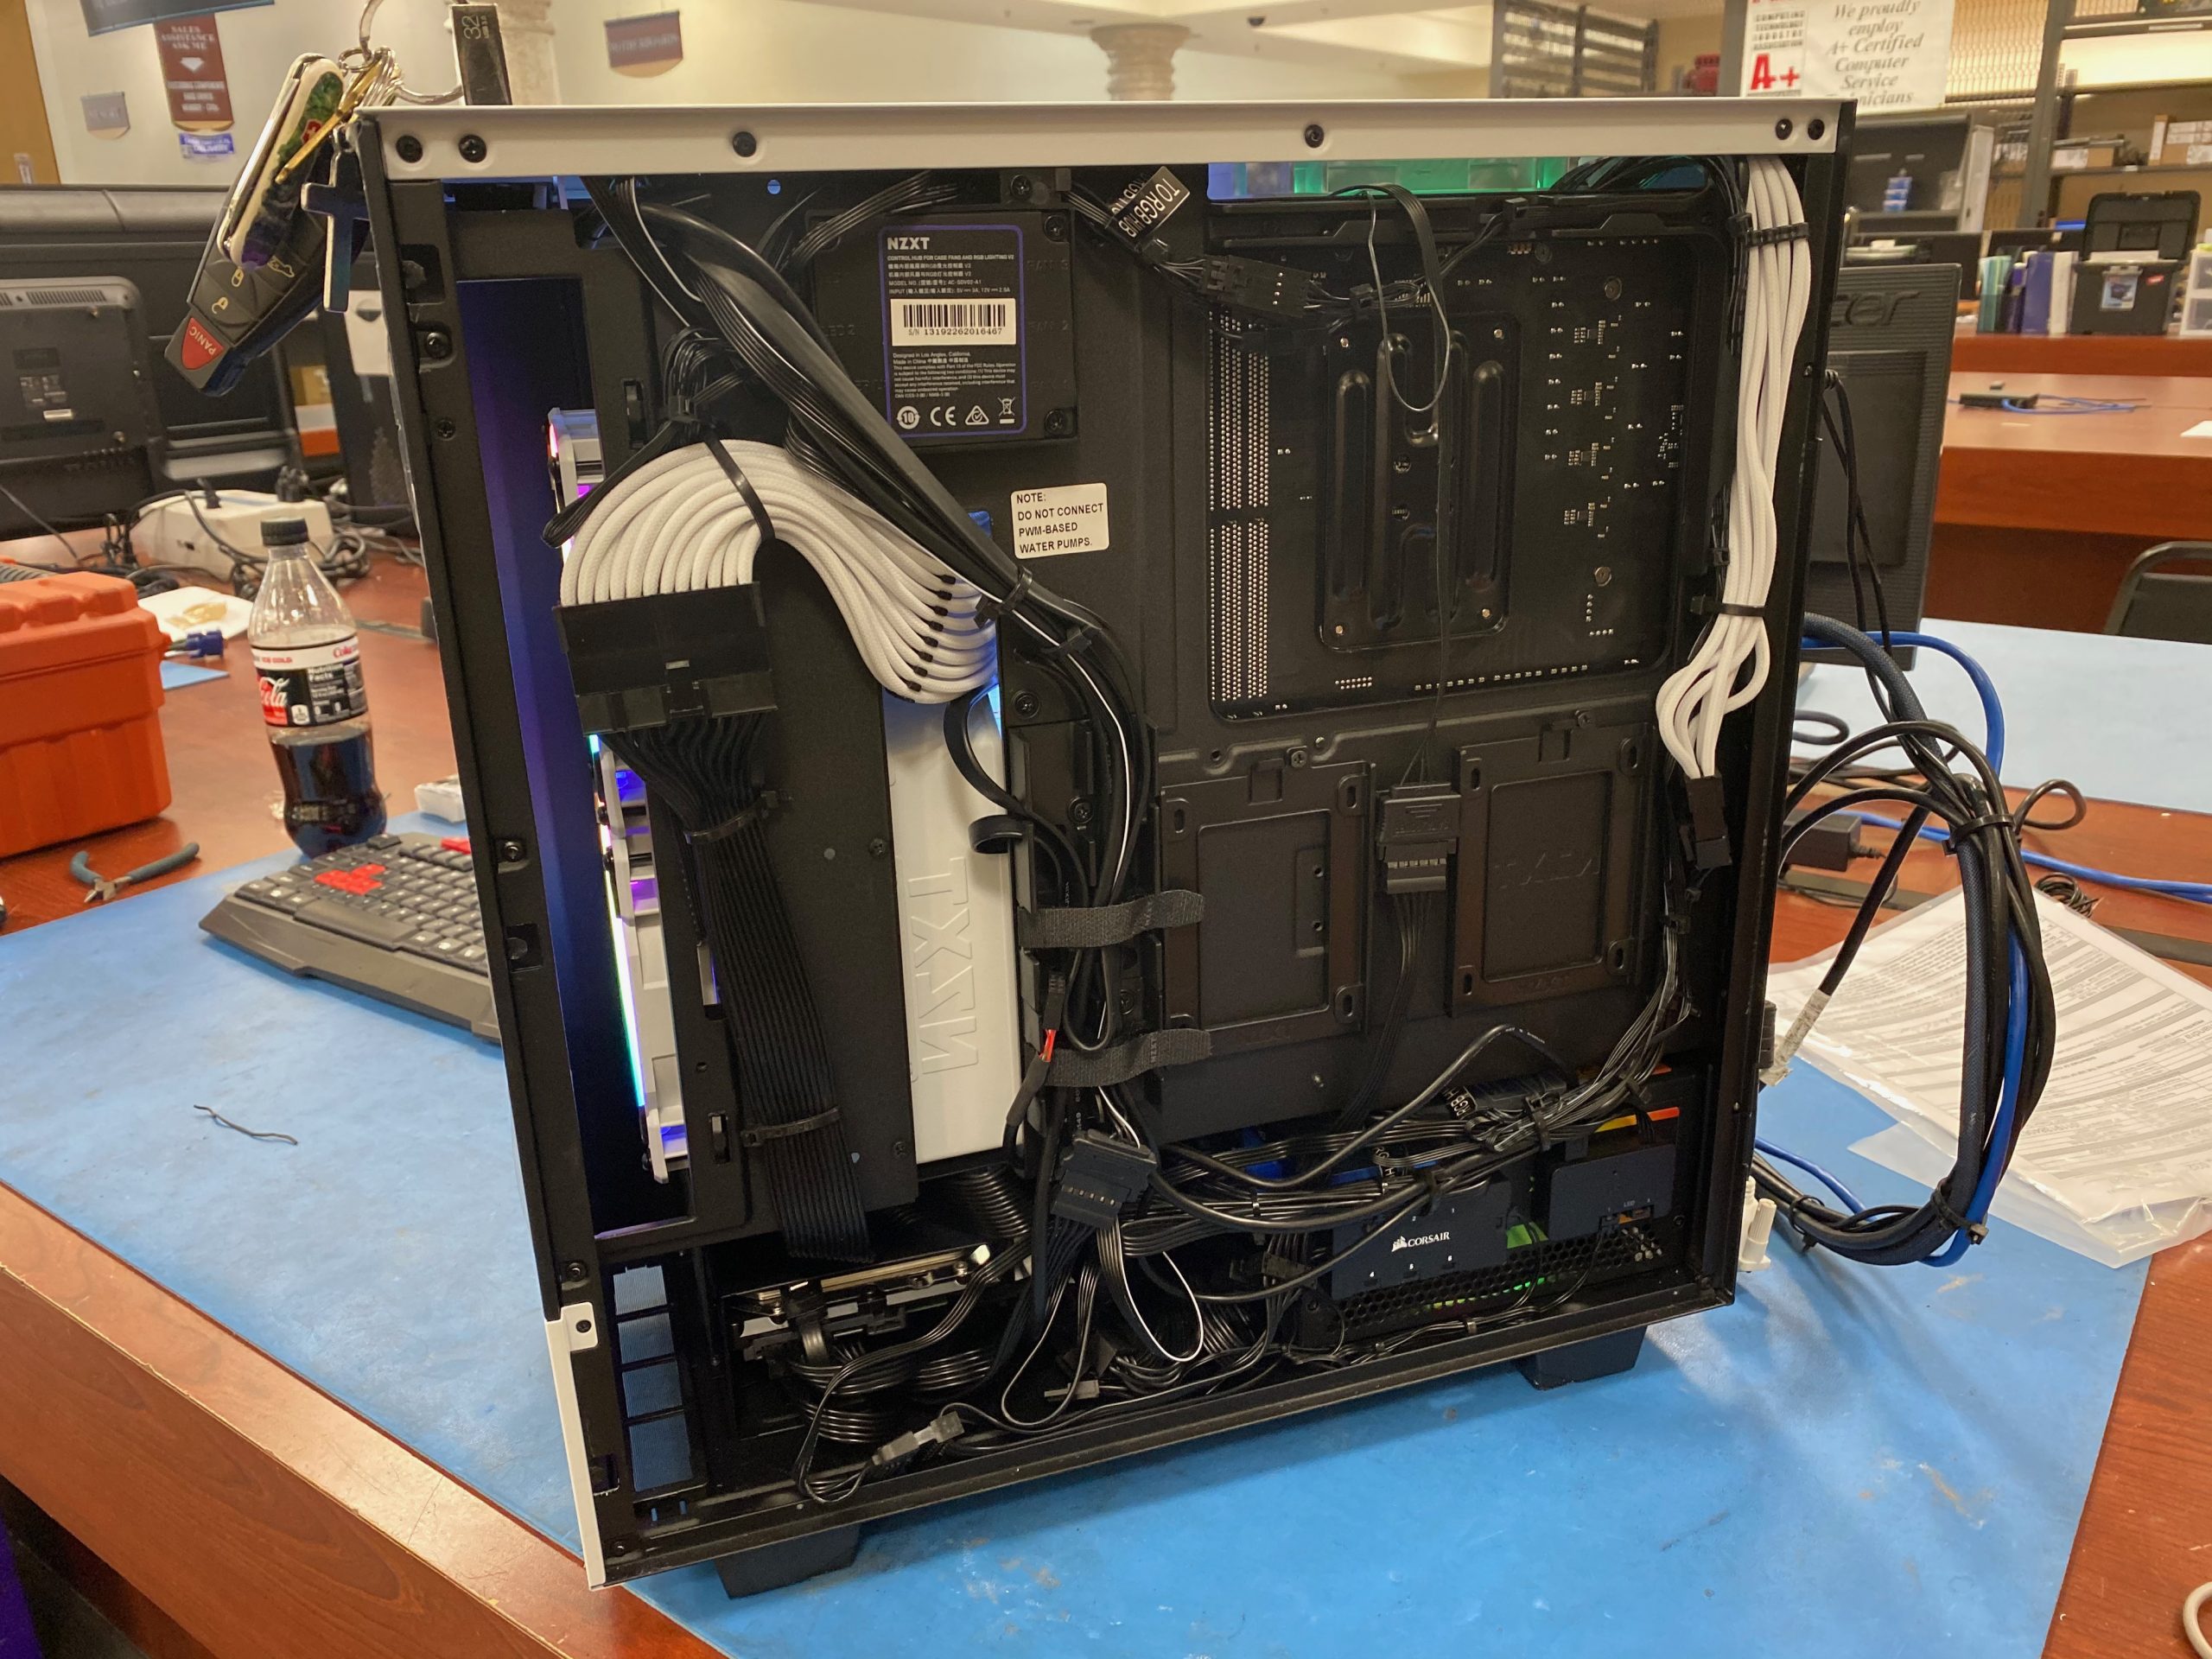
Behind all great looking builds is a mess of wiring. This isn’t all of it… Hopefully, I can cable manage this mess!
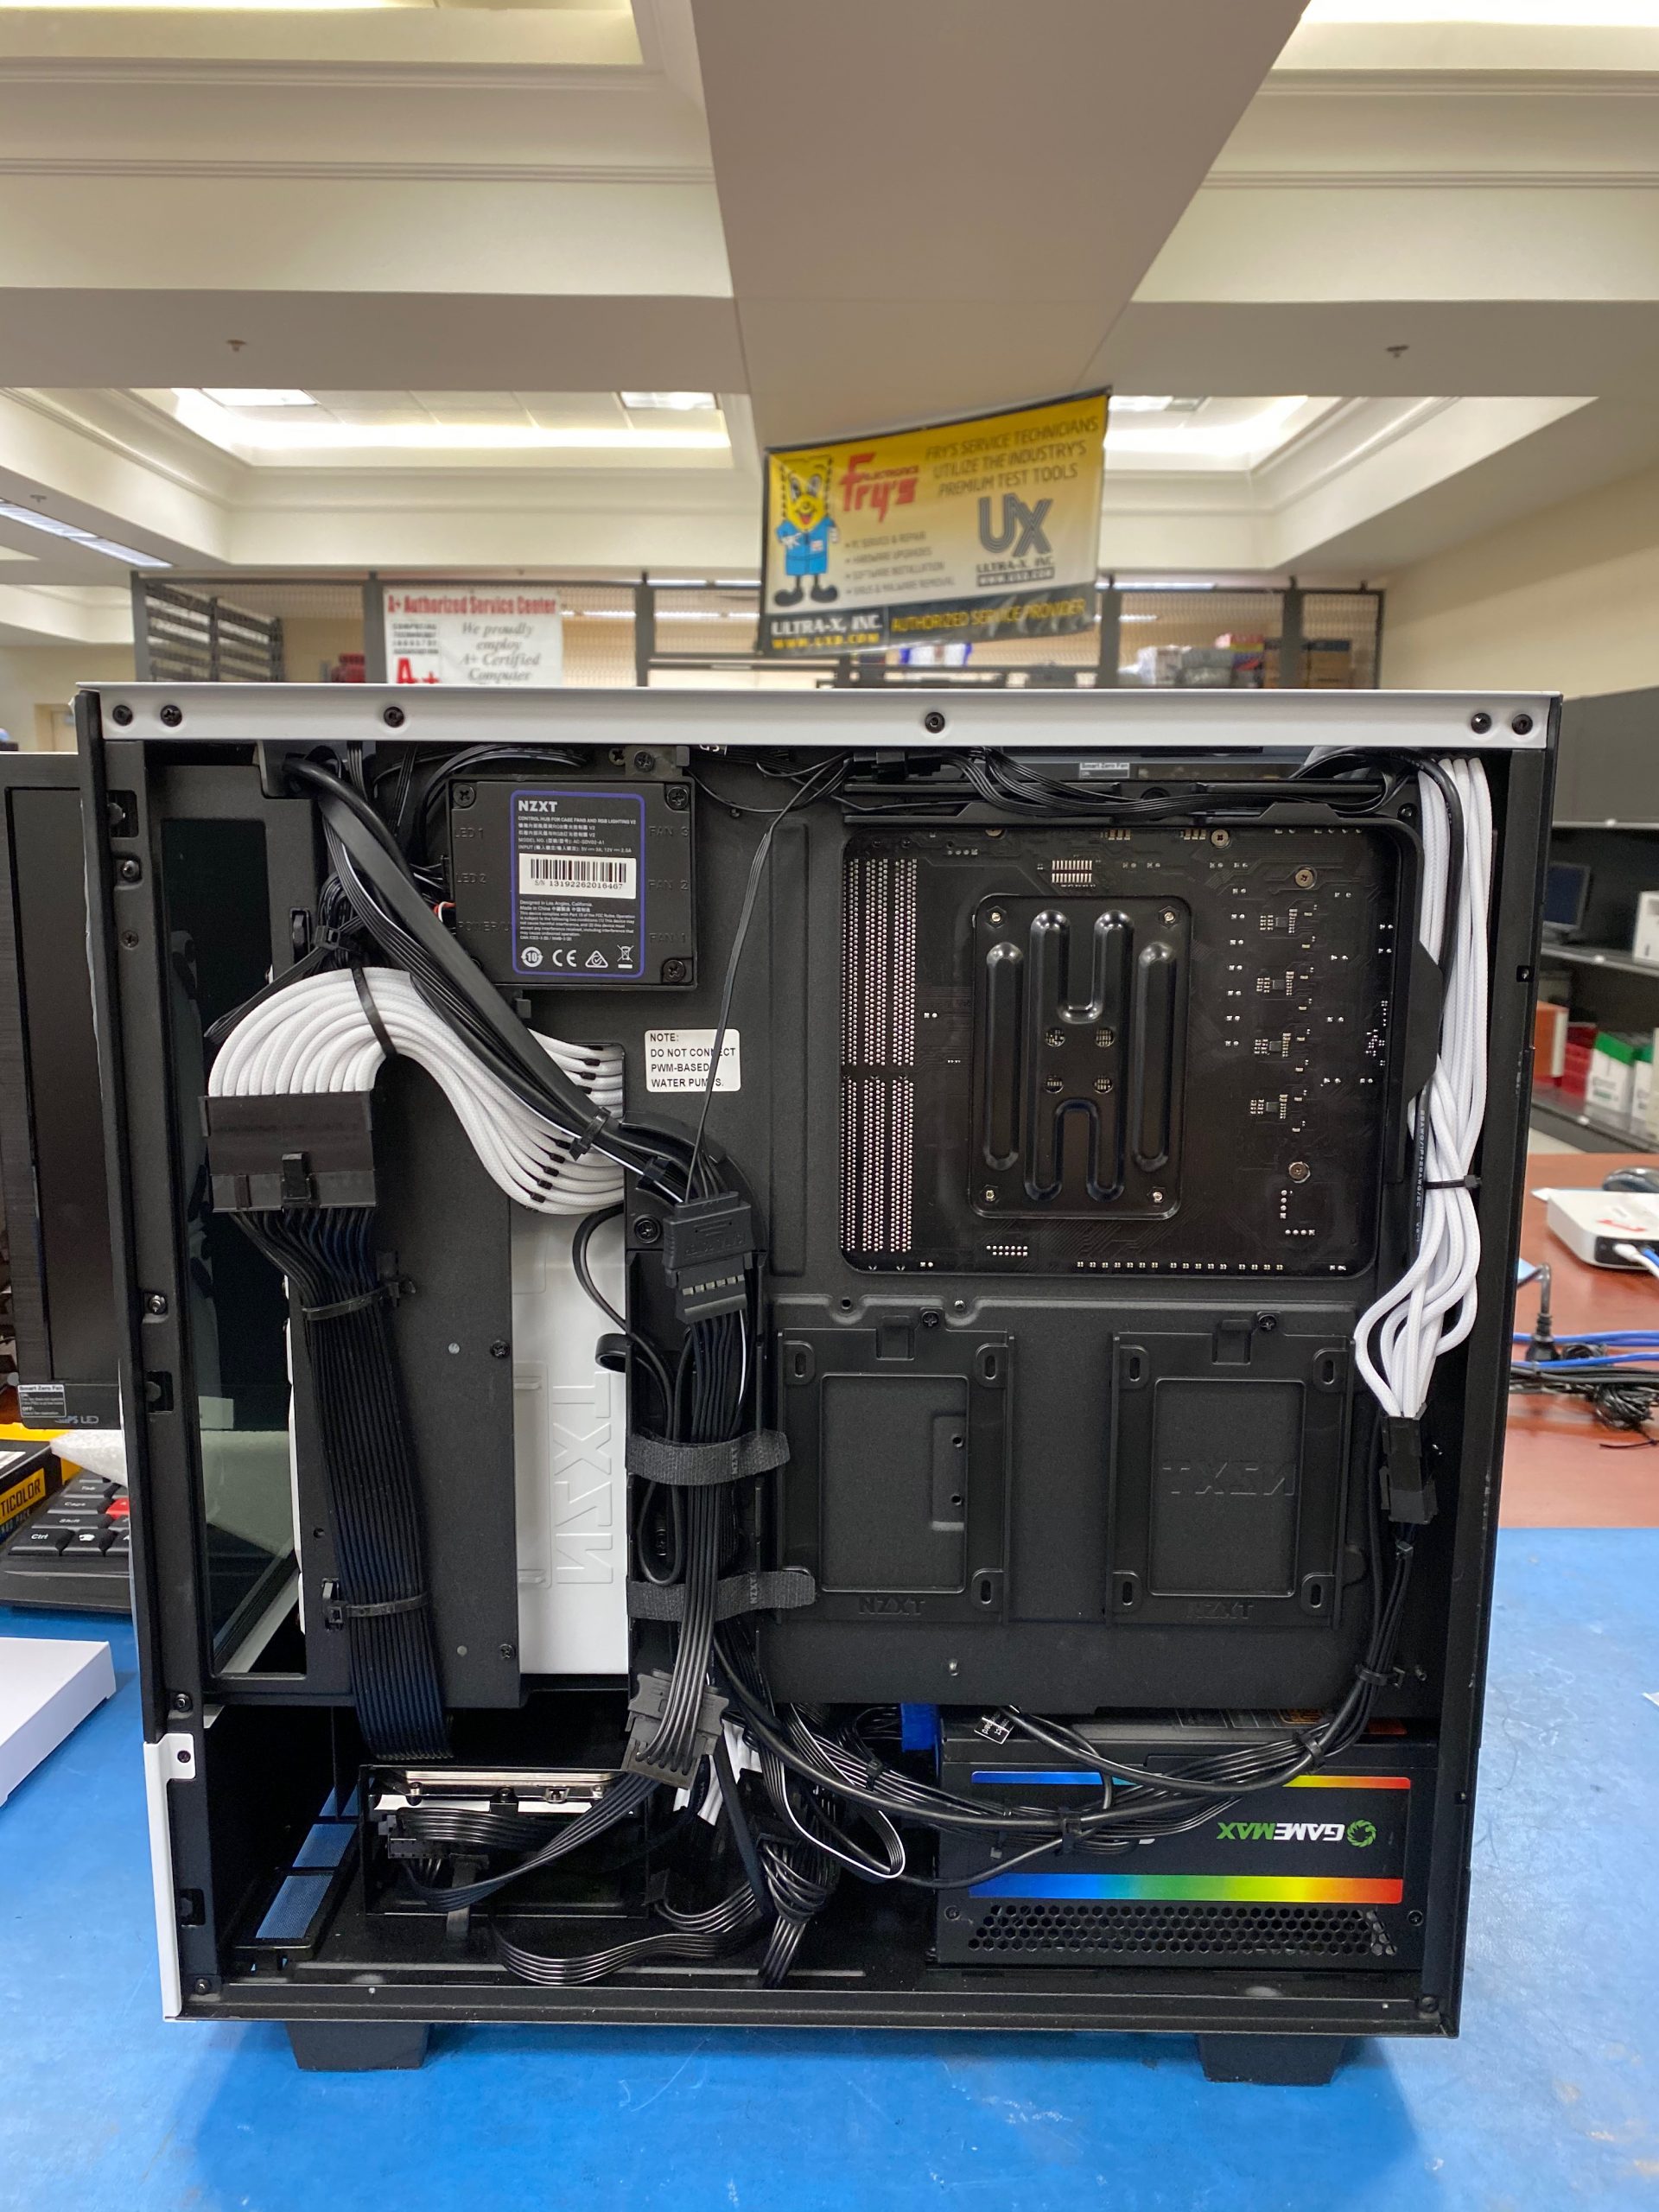
Not bad, if I do say so. myself.
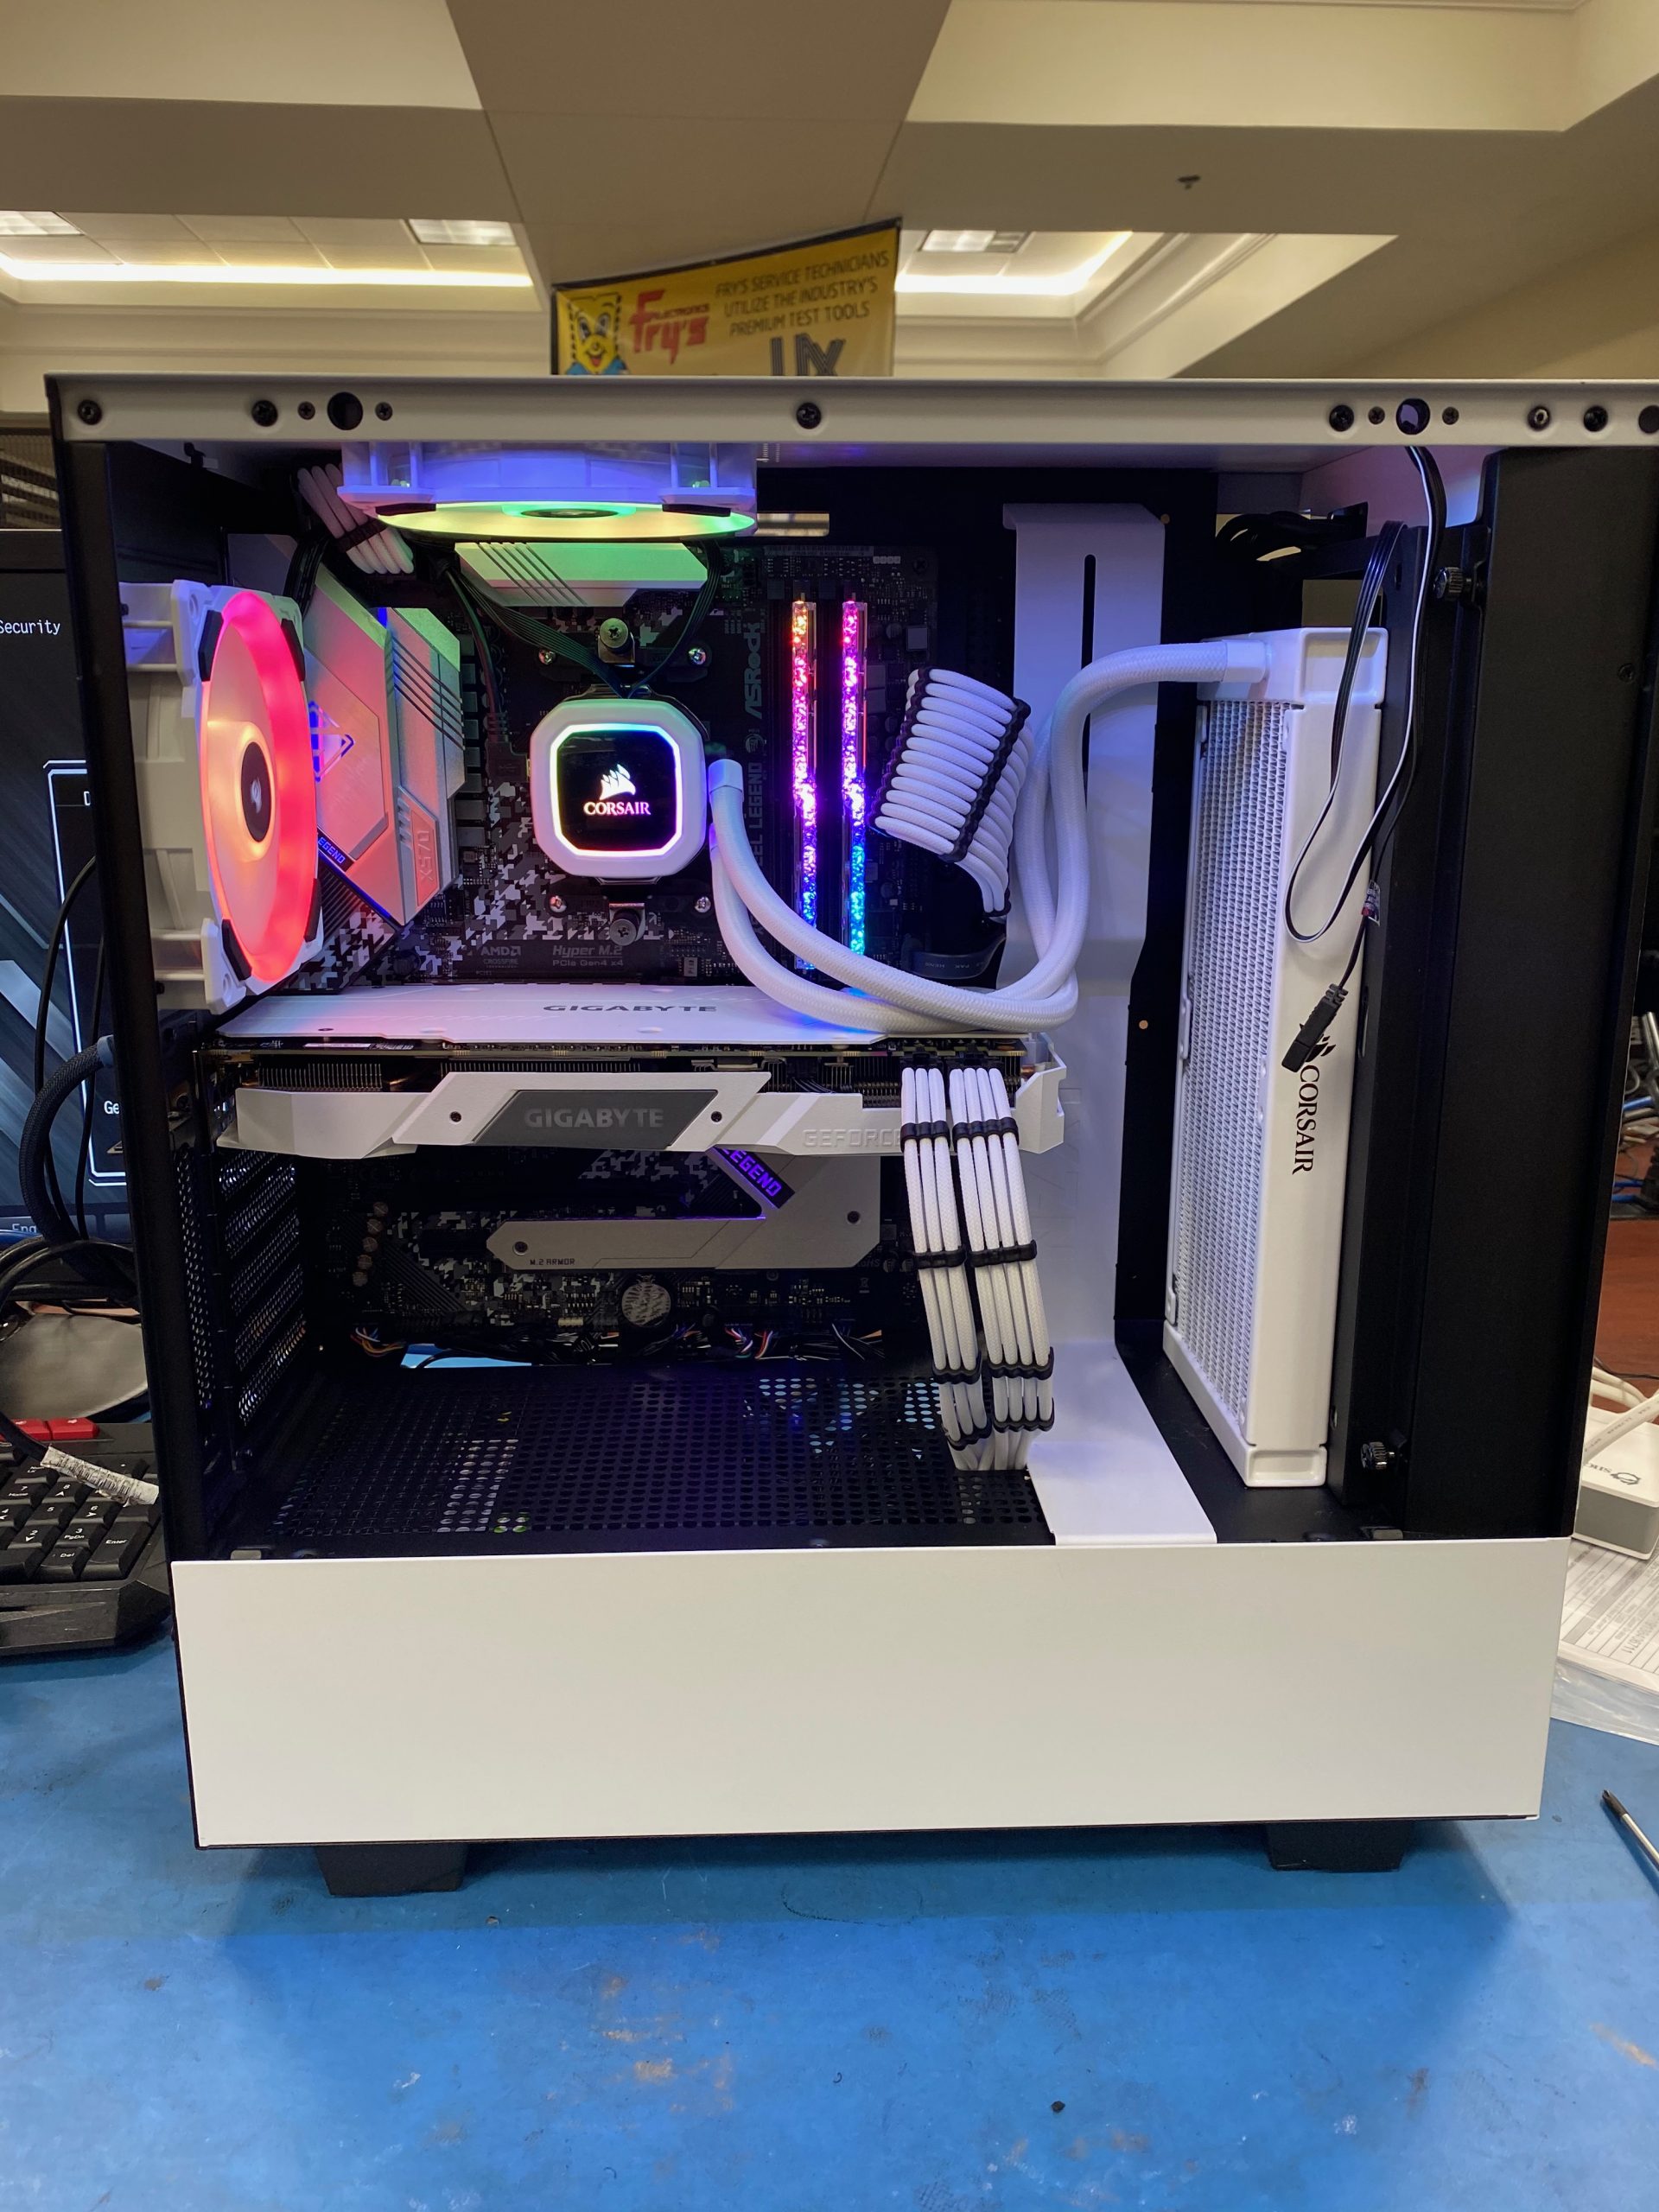
So, I did use those LL120 fan kit fans… well 2 of the 3, anyway. Case did not support all 3, but customer has one in the event of a failure. Unit is on and looking good!
This is the inside fully cleaned-up.
After I installed the LL120 fans and the full AIO water cooler, I had to add in the controller boxes which further complicated the wiring of the build. I still think the cable management is pretty good. But I also think I could have done better but I also could have done worse….
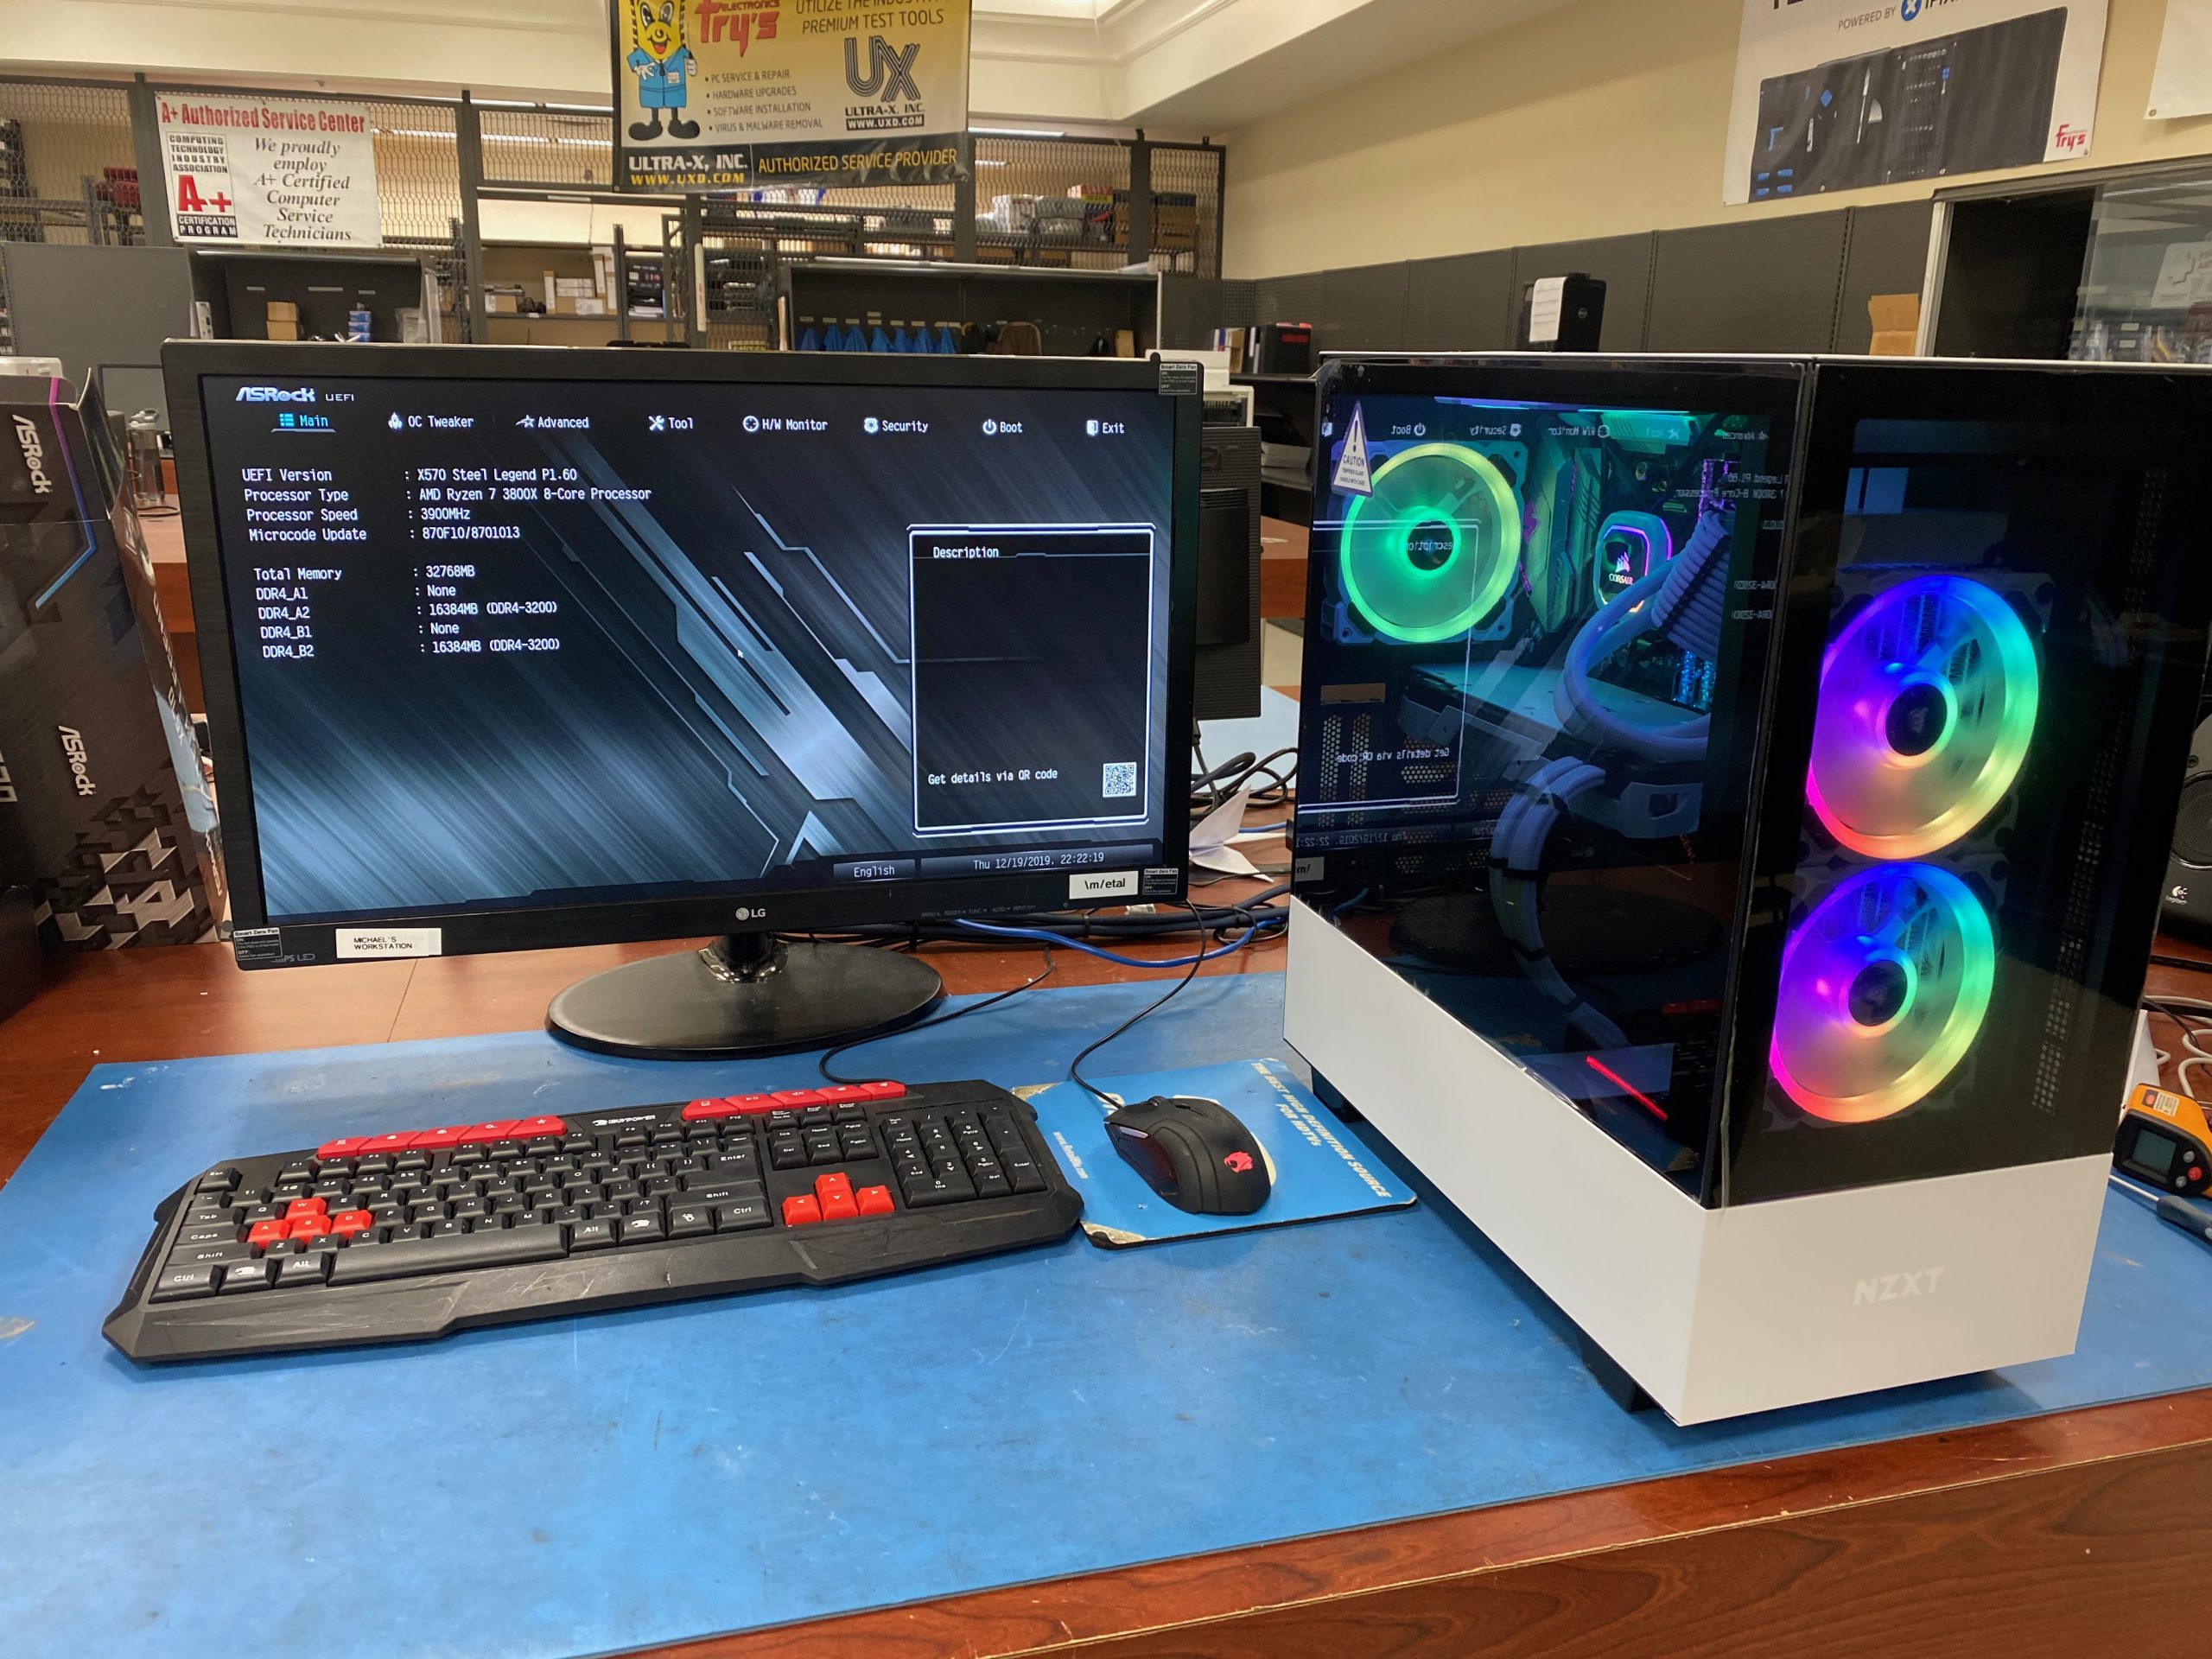
Here you can see the finished product/build. I have it up on the BIOS. This is a beautiful build. Again, great part selection and I think I executed the theme well.
I believe this came out really well. I don’t believe that I would change any of these parts out. Plenty of raw power for gaming, steaming, and it definitely is a looker. I think my next blog post will be of me re-building my personal rig. There are some areas that I would like to fix….


