So, a proud soon-to-be uncle was happy that his soon-to-be nephew asked me to build a gaming PC for him. I helped him pick out the parts, picked them up from MicroCenter and built it for him. This is my journey…
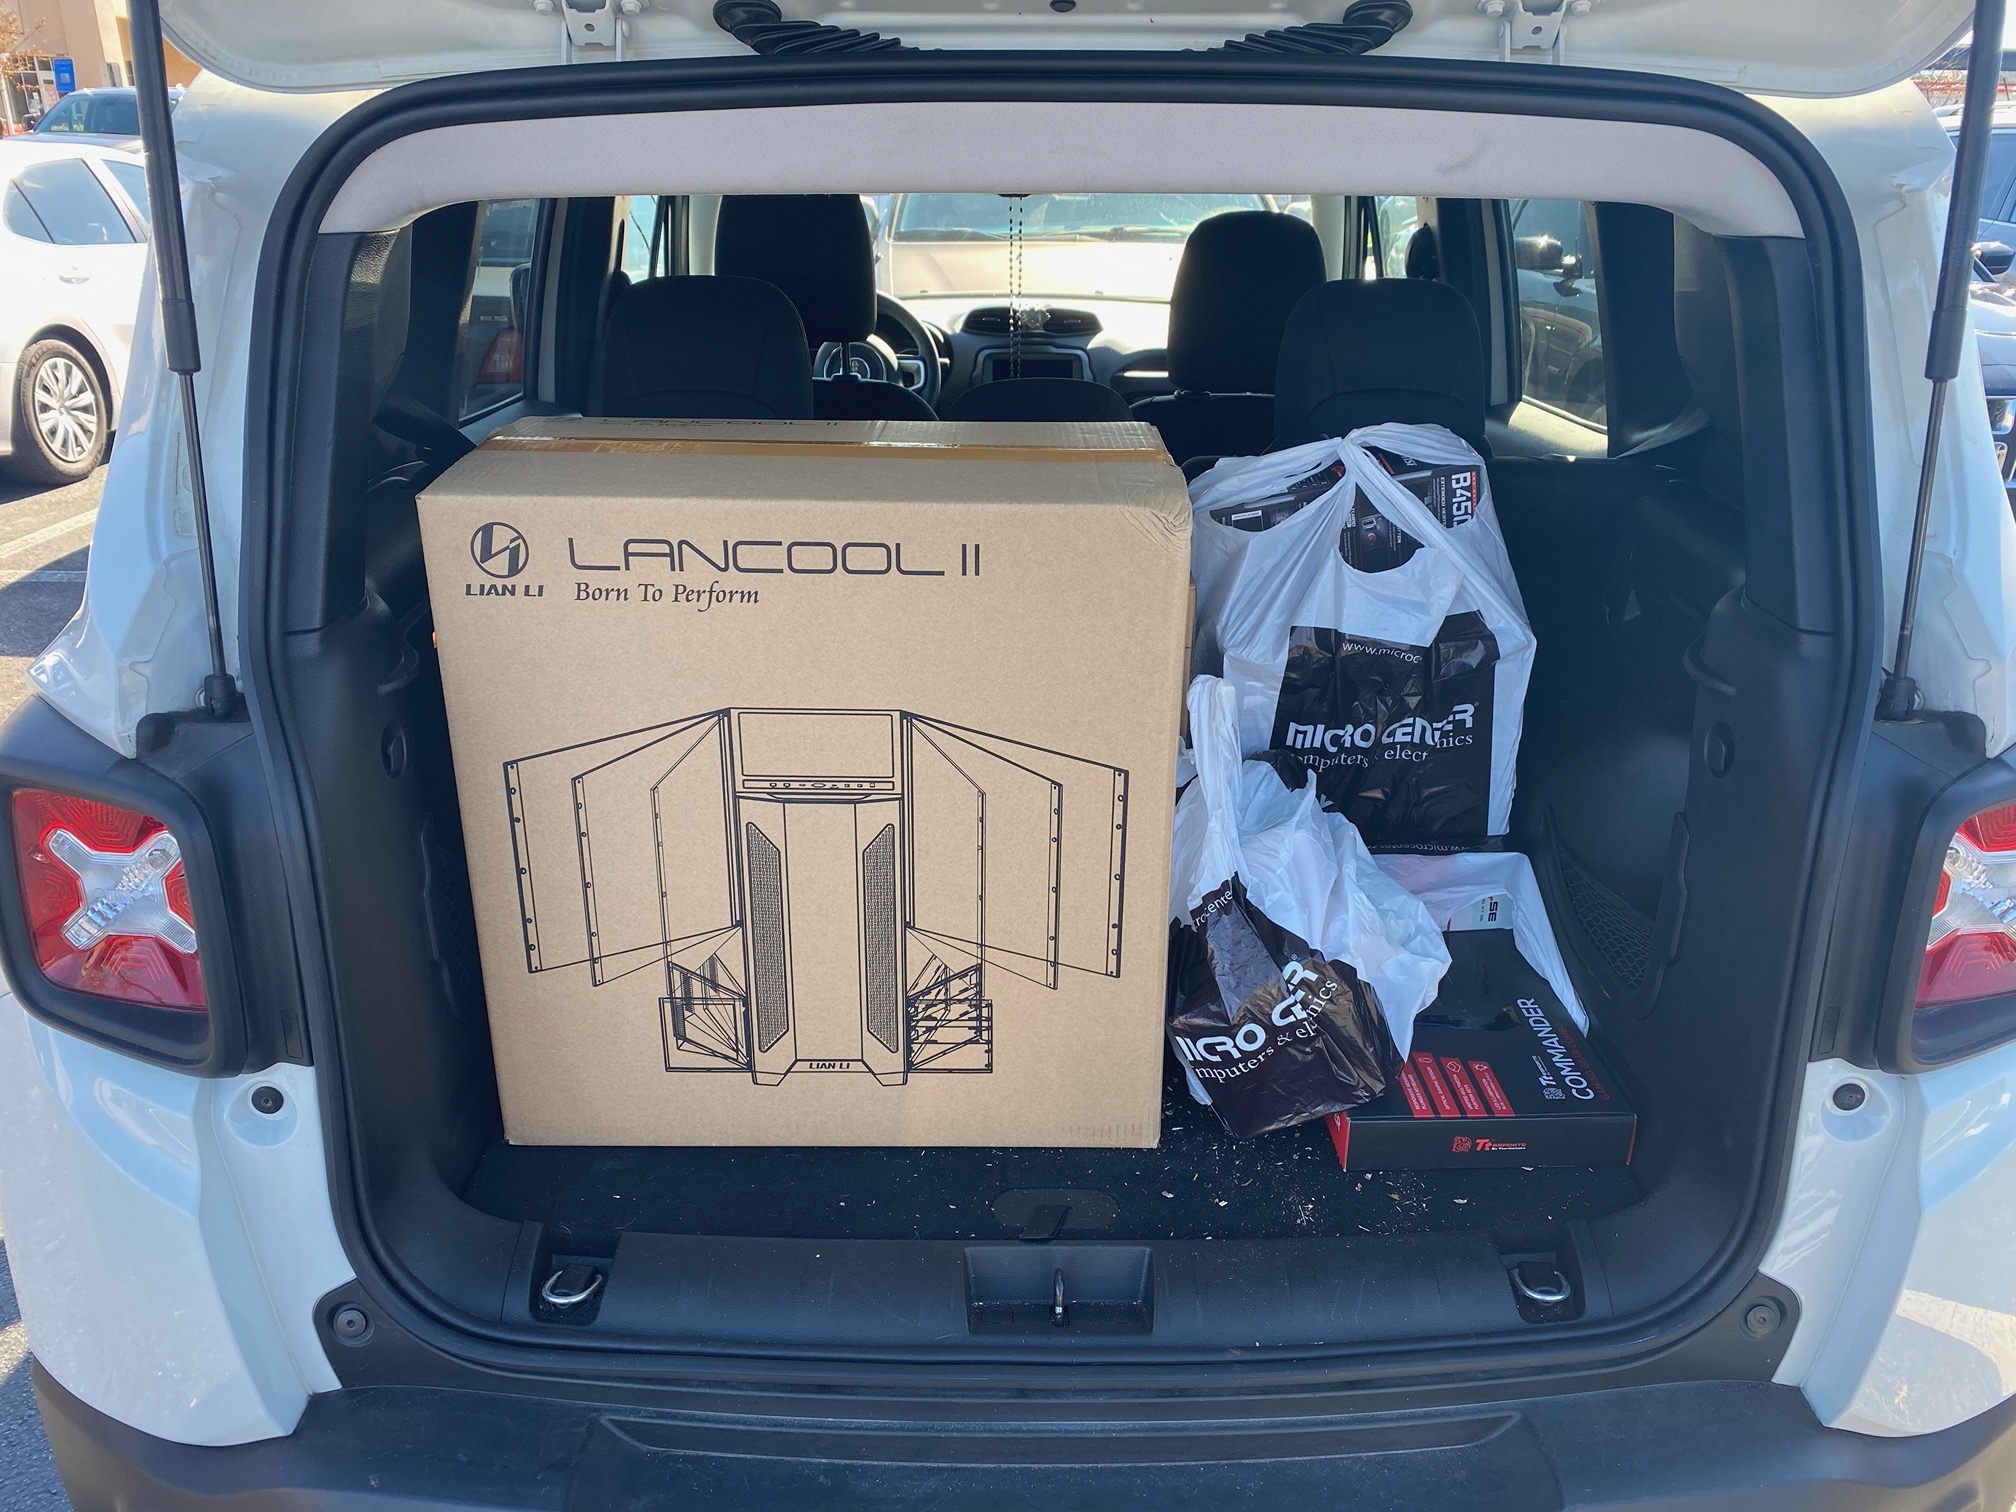
Look at those parts! Little did I know at the time, MicroCenter gave me the wrong color case. I wouldn’t discover that until I was ready to install the motherboard into the case and opened the box. Ugh. Things happen and we move on. After taking the case back, I was able to continue with the build…
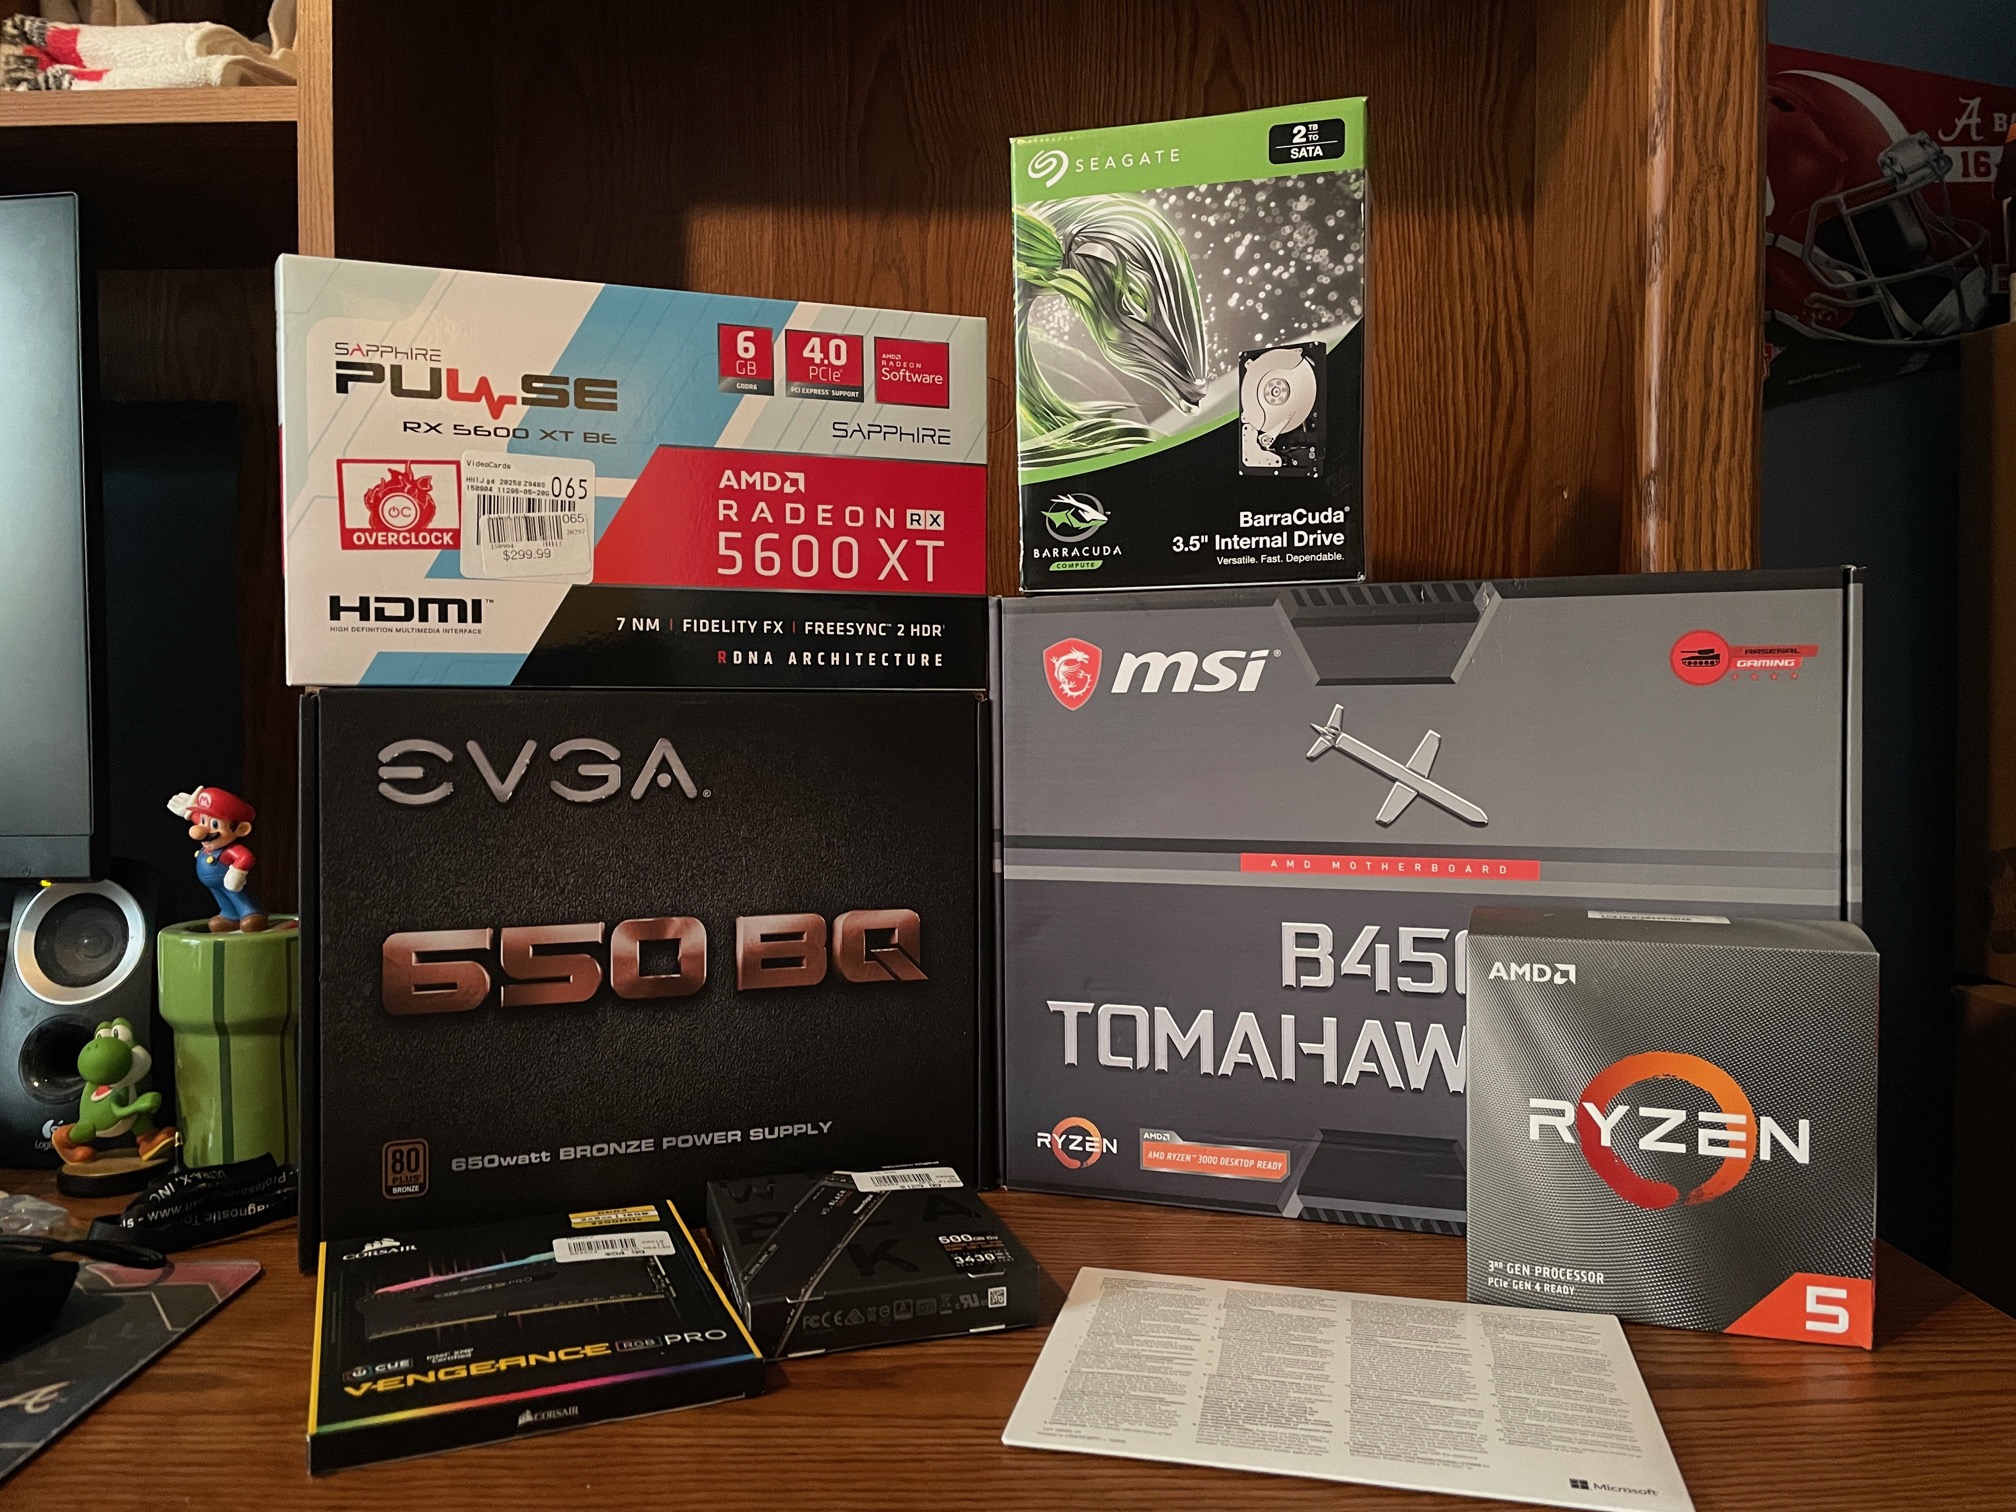
Look at those parts…. This is going to be a pretty beastly system without being one of those 10k YouTube builds. This is the build for the rest of us…
- AMD Ryzen 5 3600
- 16GB 3200MHz DDR04 Corsari Vengeance PRO RGB RAM
- MSi B450 Tomahawk Max Motherboard
- WD Black 500GB NVMe Drive
- Seagate Barracuda 2TB HDD
- Sapphire AMD Radeon RX5600XT Video Card
- EVGA 6350BBQ 650-Watt PSU
- Windows 10 Home
- Lian Li Lancool II Case [not pictured, yet]
Yeah, handle most games at 1080p at High to Ultra settings, no problem
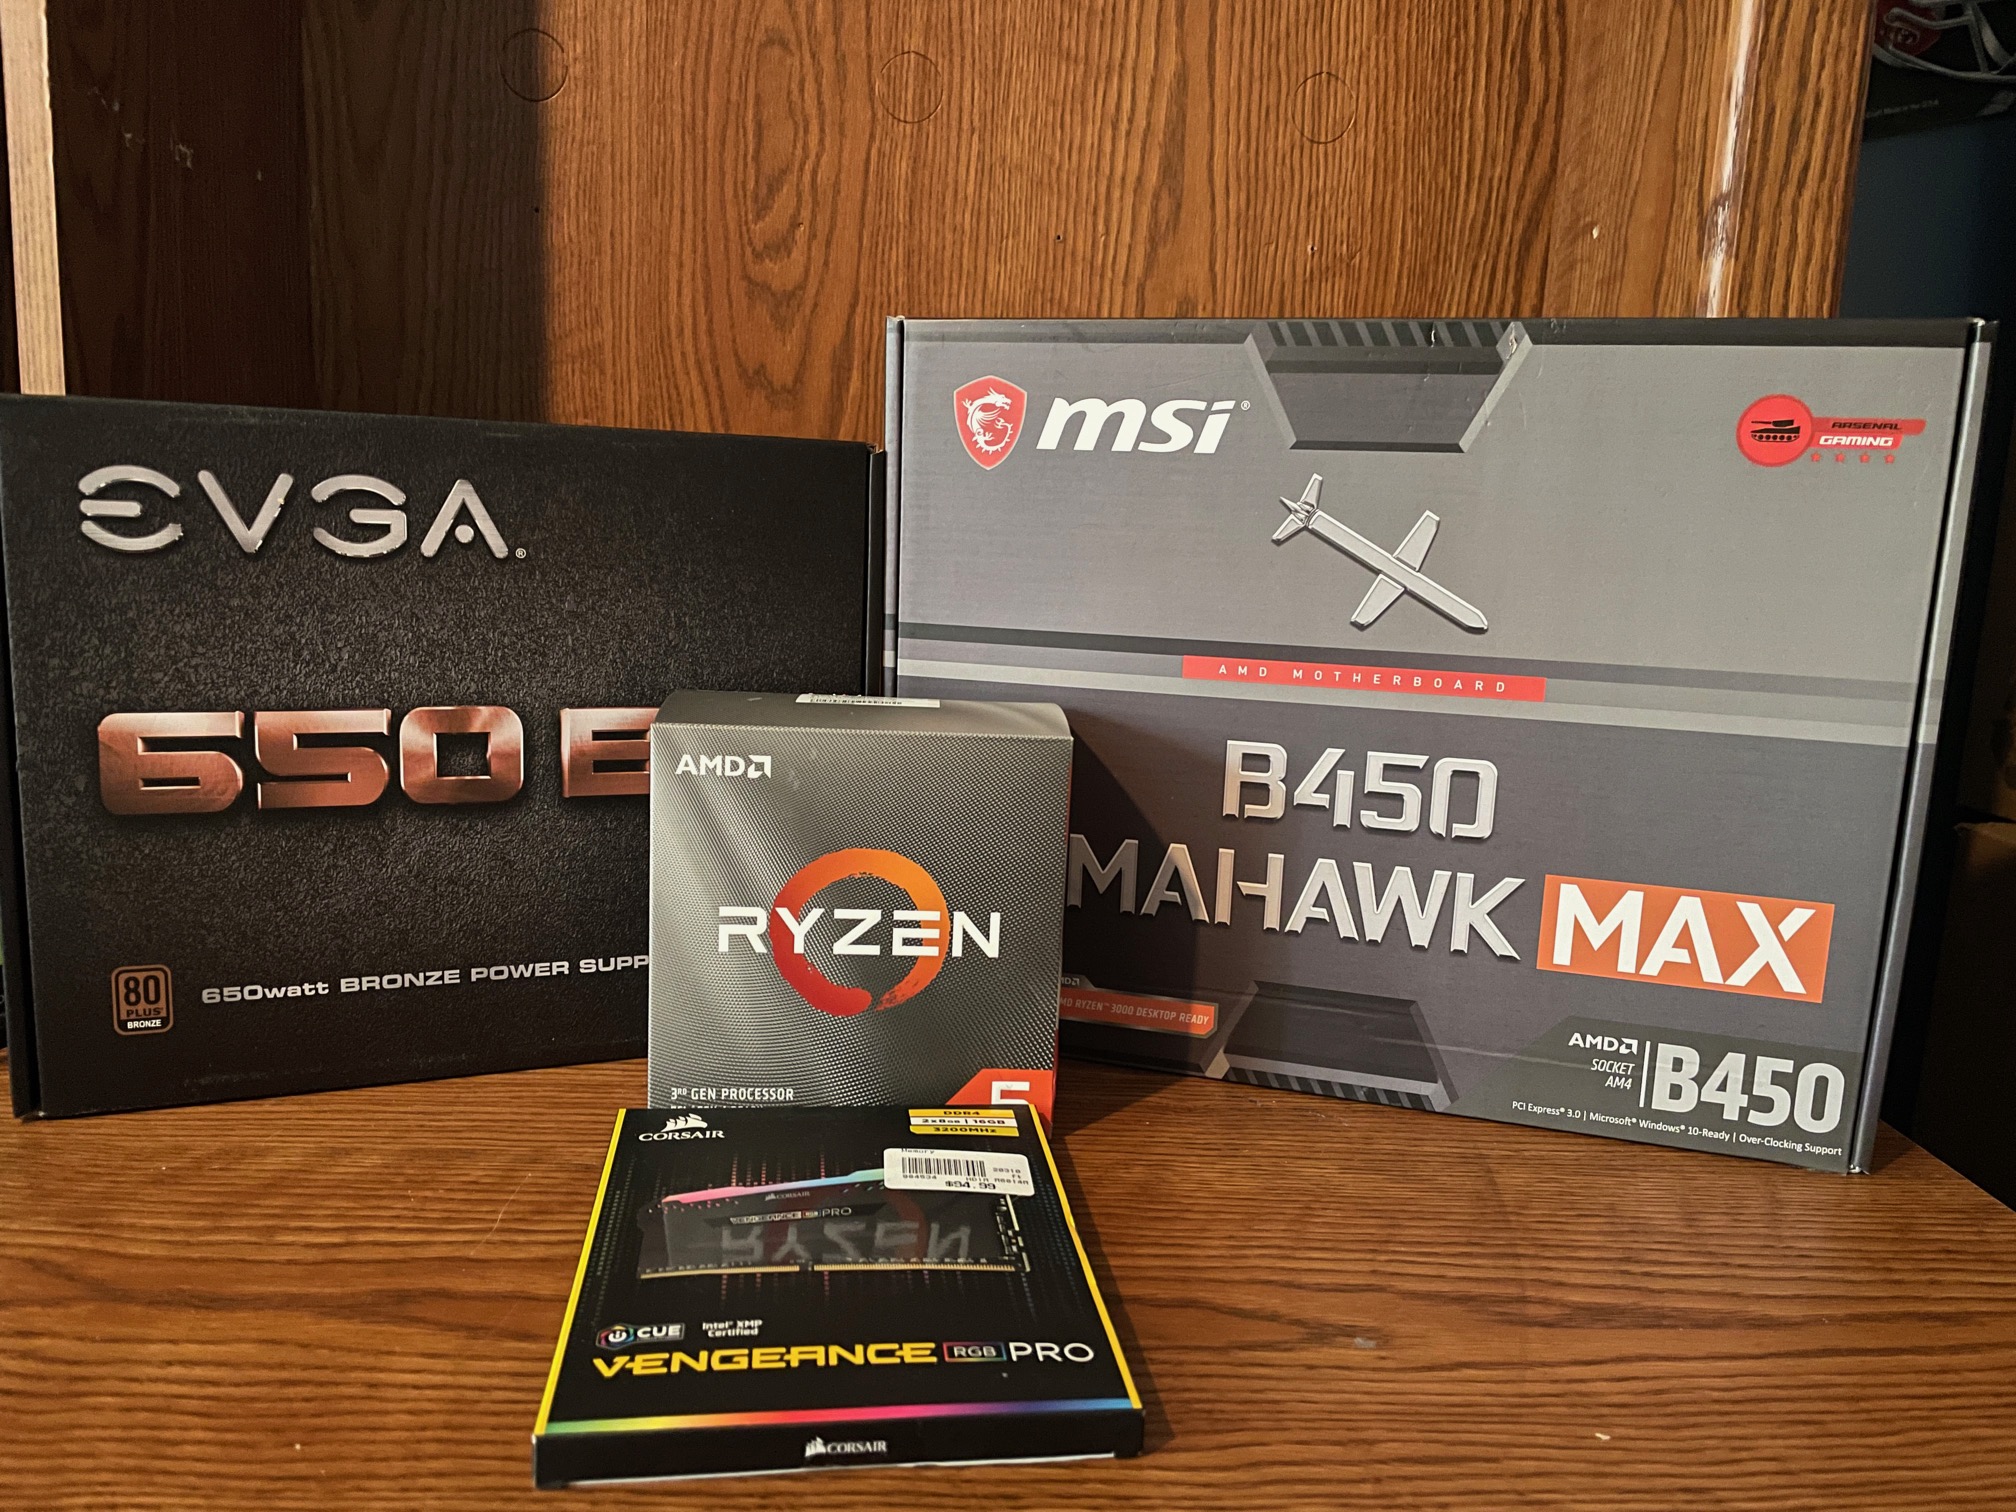
These are the necessary parts to POST a PC. For Ryzen non-G parts, a video card is necessary for basic video out, but not necessary to POST.
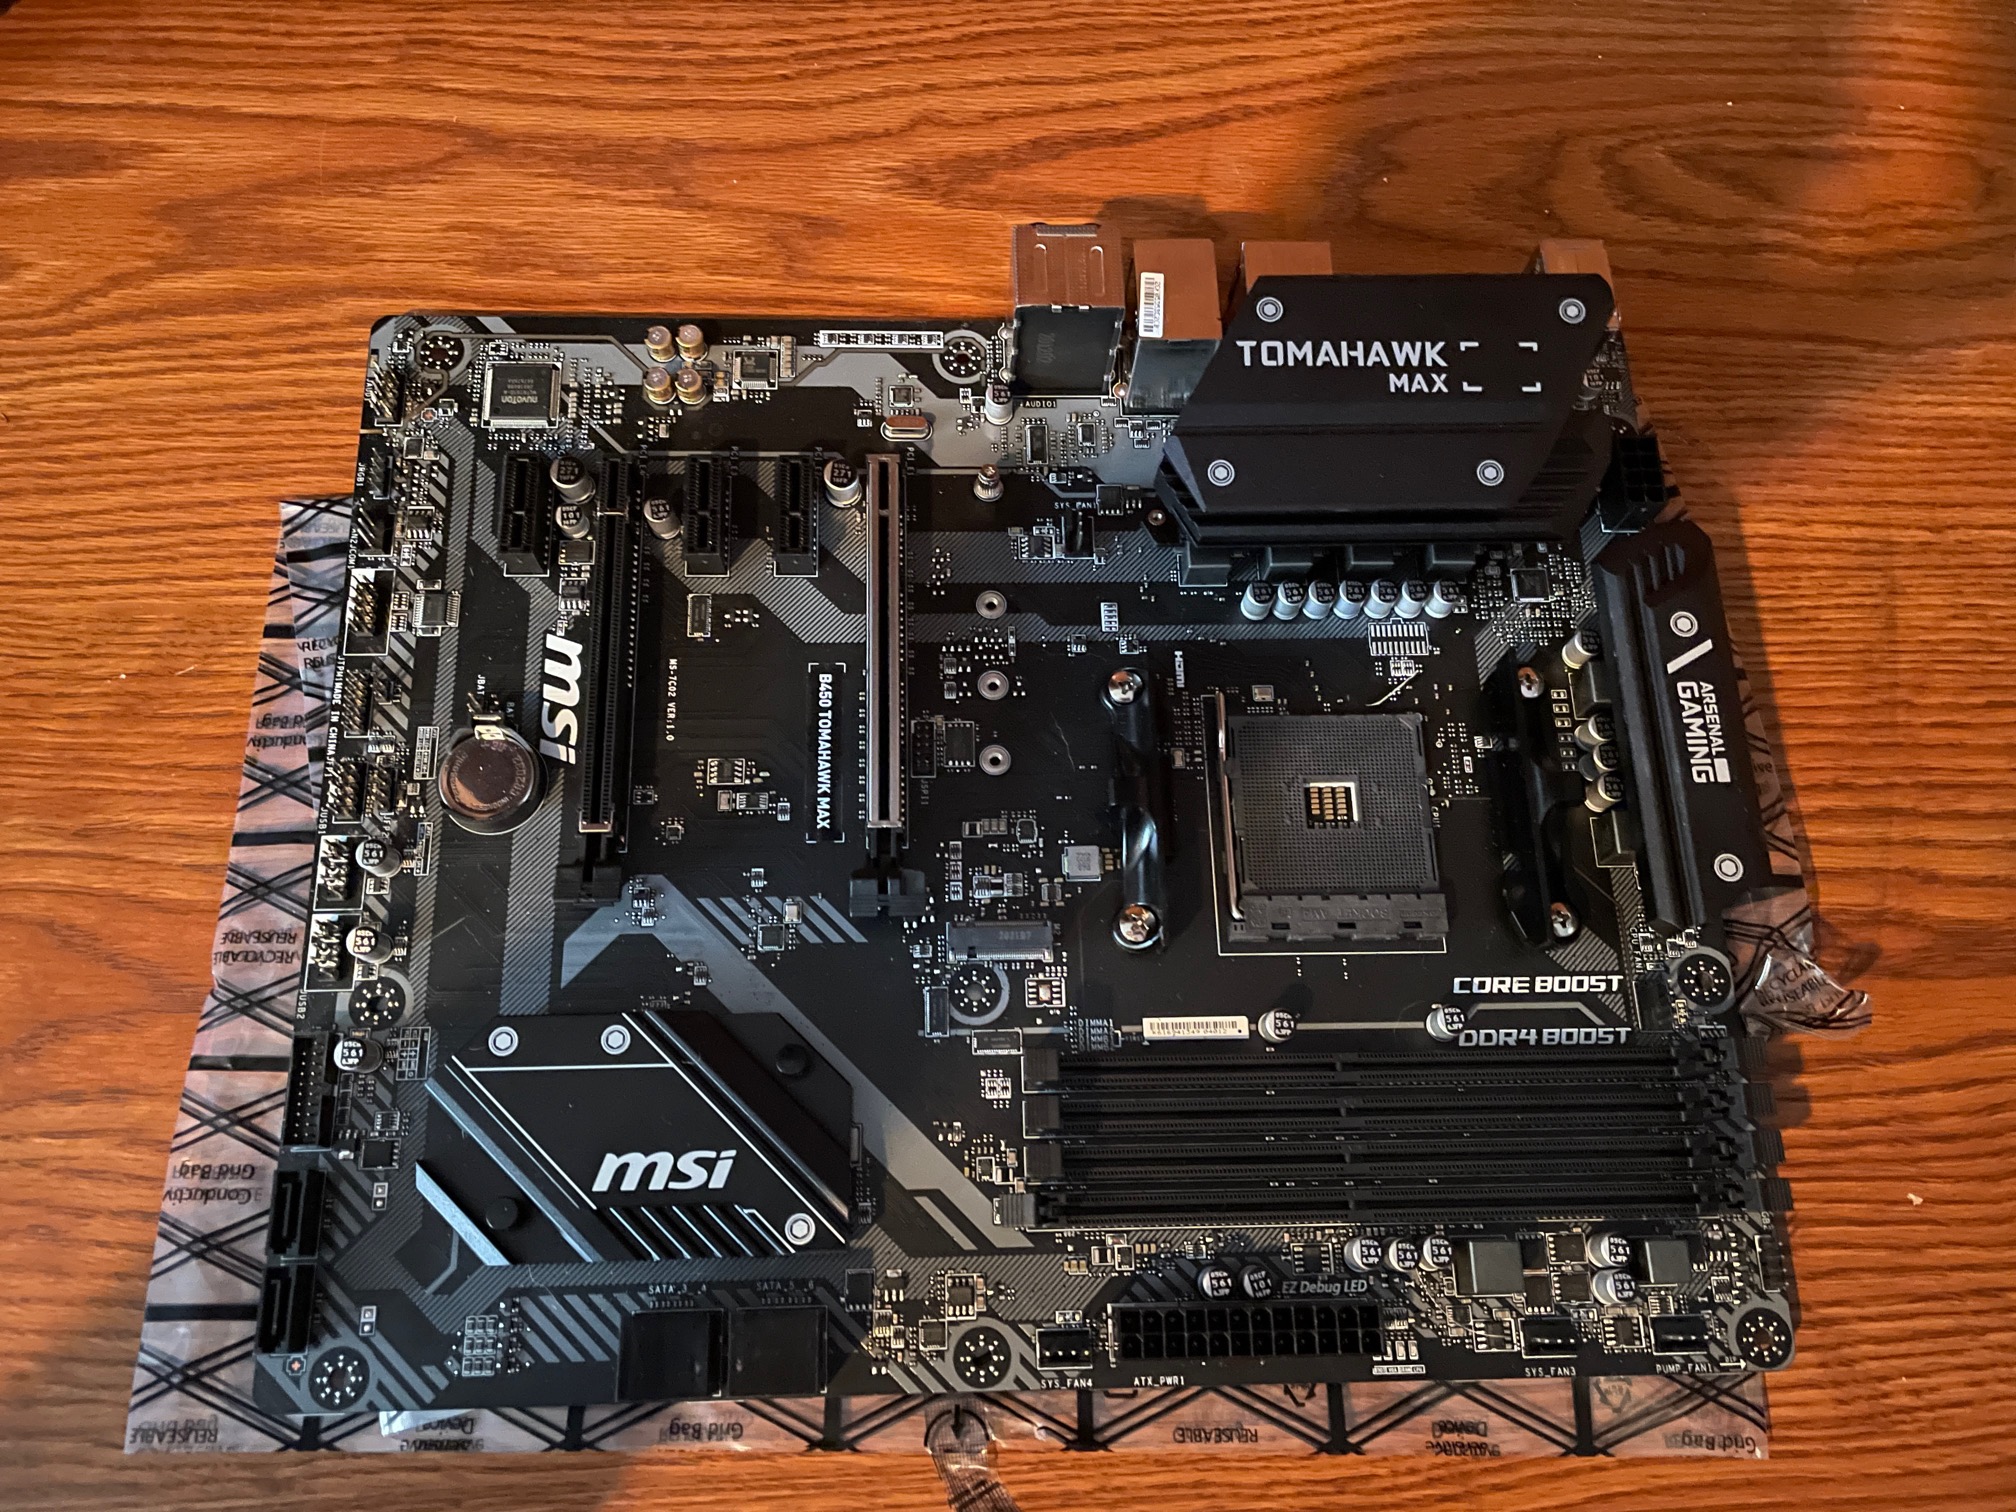
This is the second time I have recommended this motherboard for a build for a nephew. If I were to replace my motherboard, this would be it.
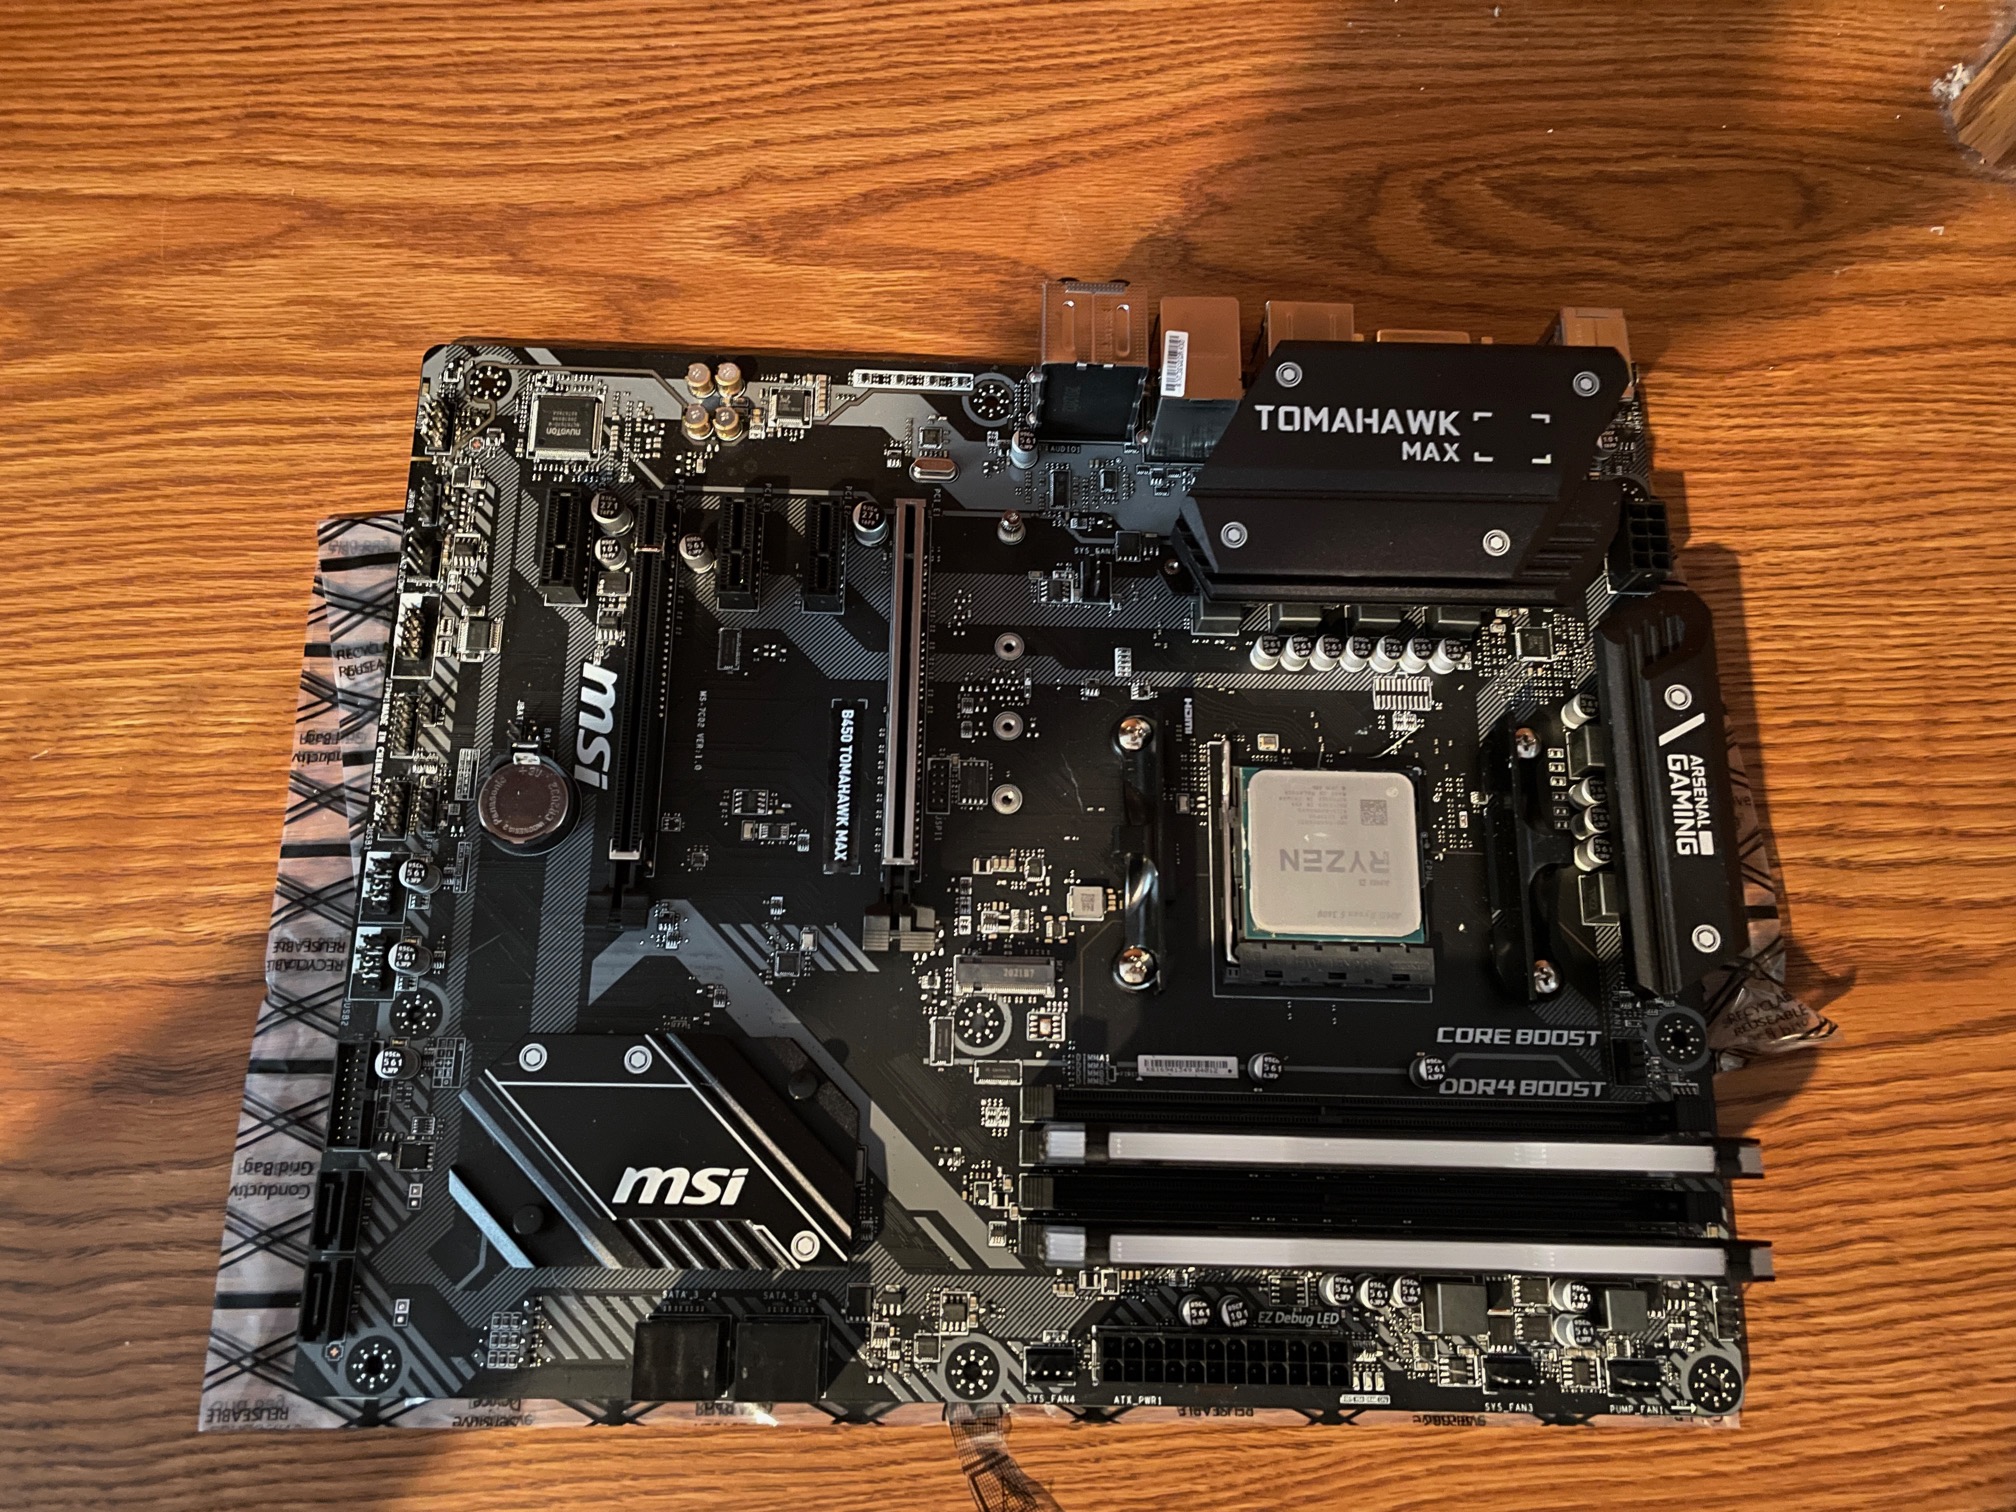
Now, I went ahead and installed the CPU and the RAM. Getting ready to do the POST-test…
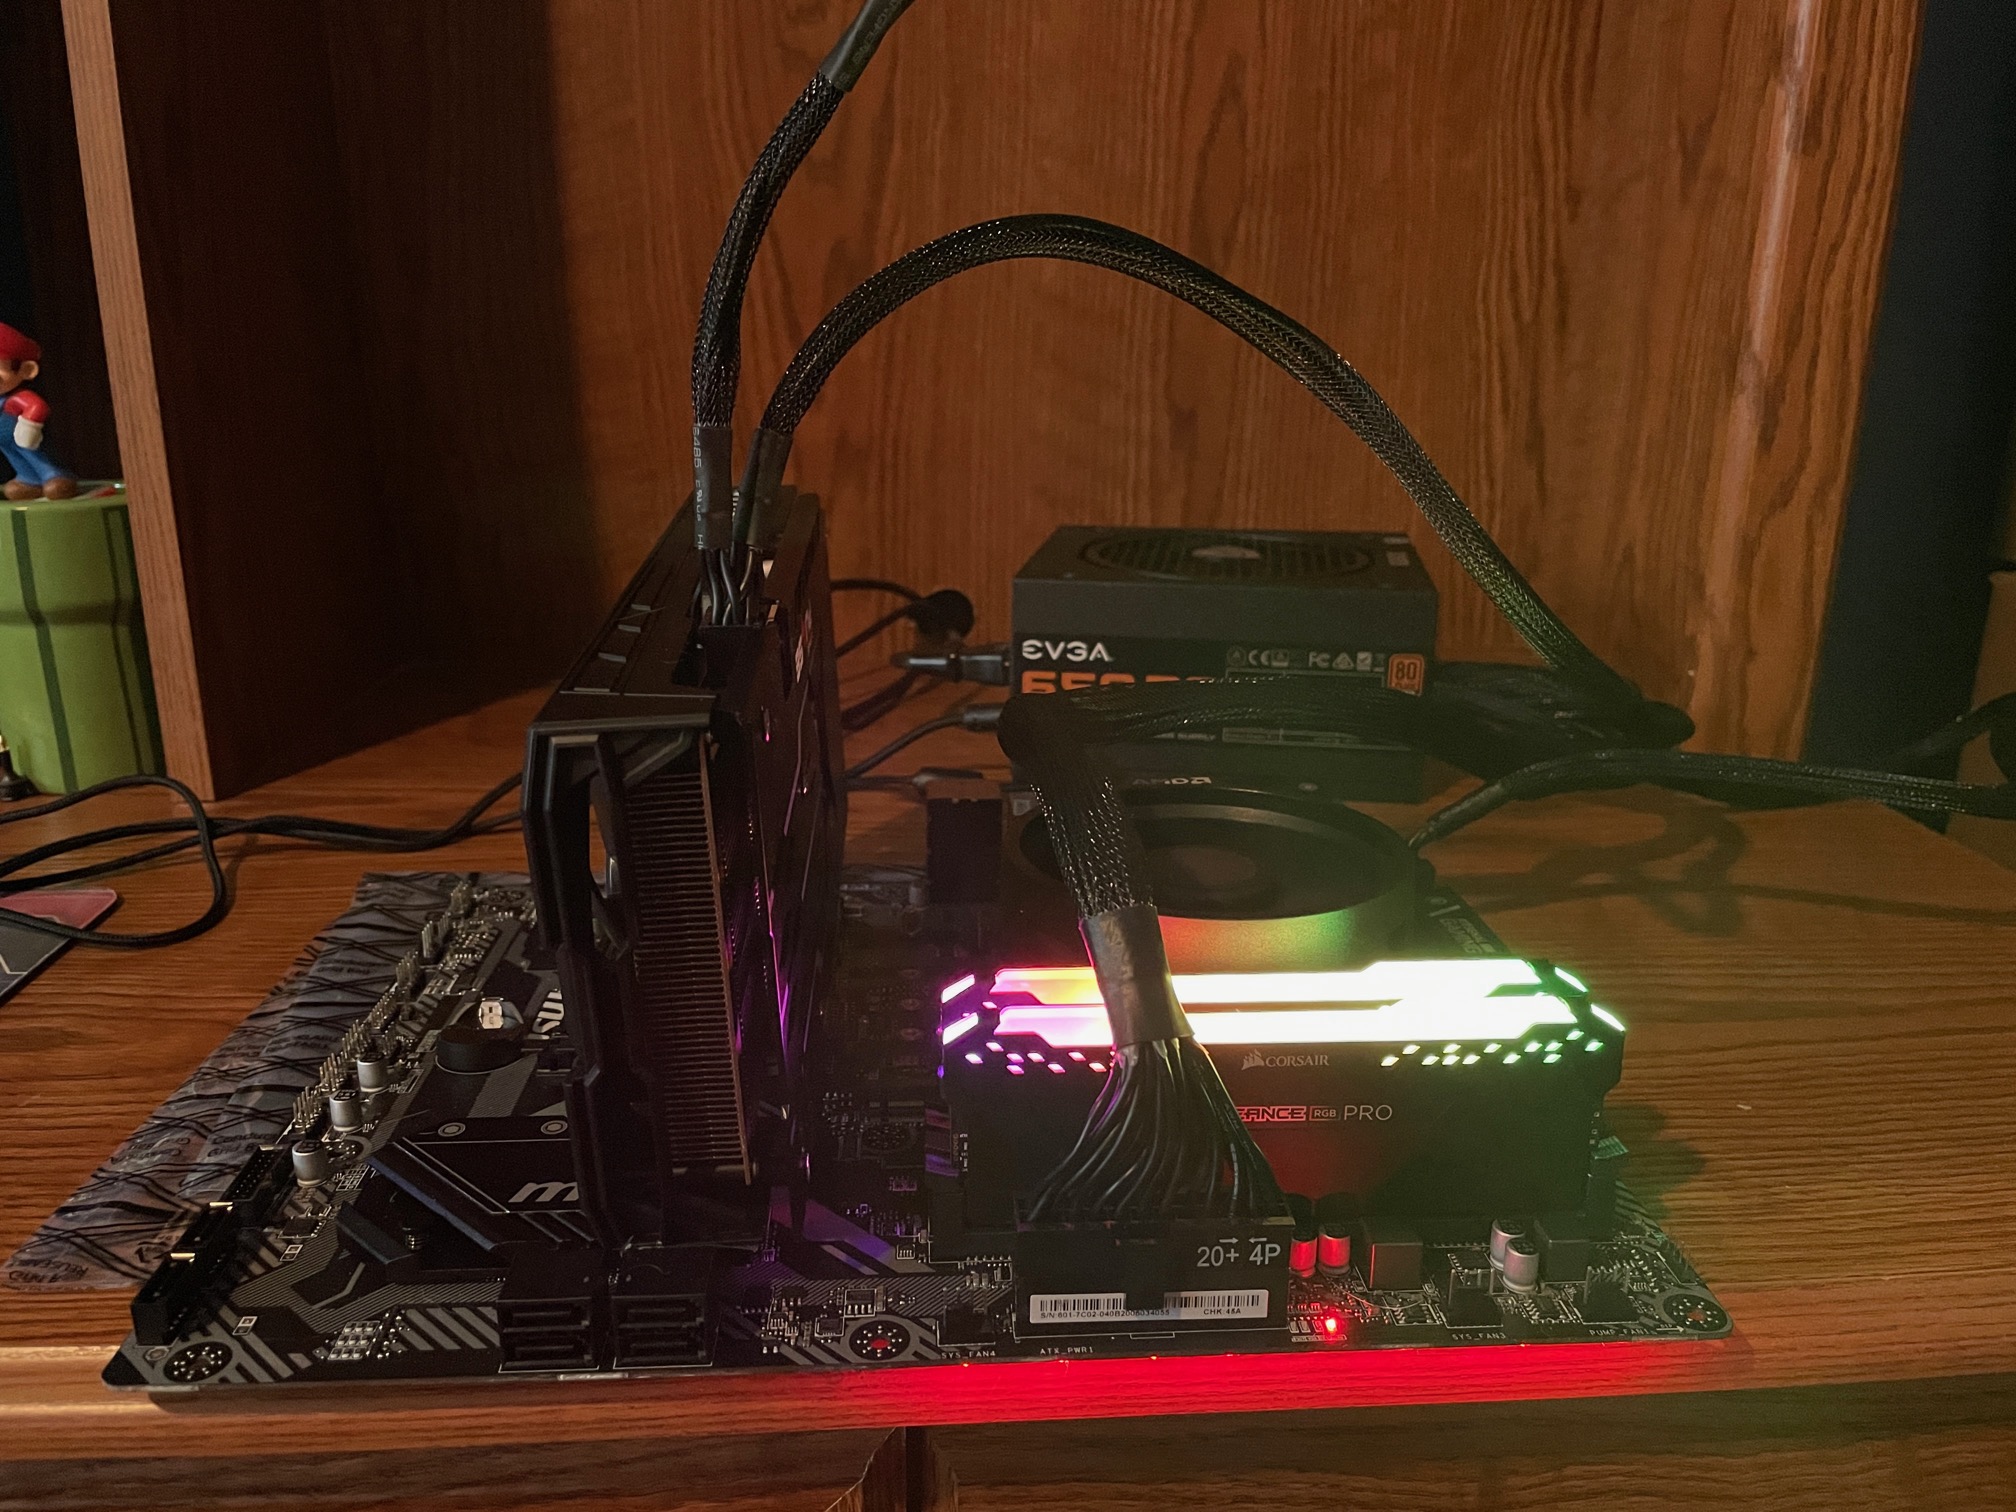
So, I want ahead an got everything ready to POST-test. Like I said, with Ryzen non-G CPUs, you have to have a video card of any time just for video output. Using your own card is a good idea, though. Looks like everything powers on ….
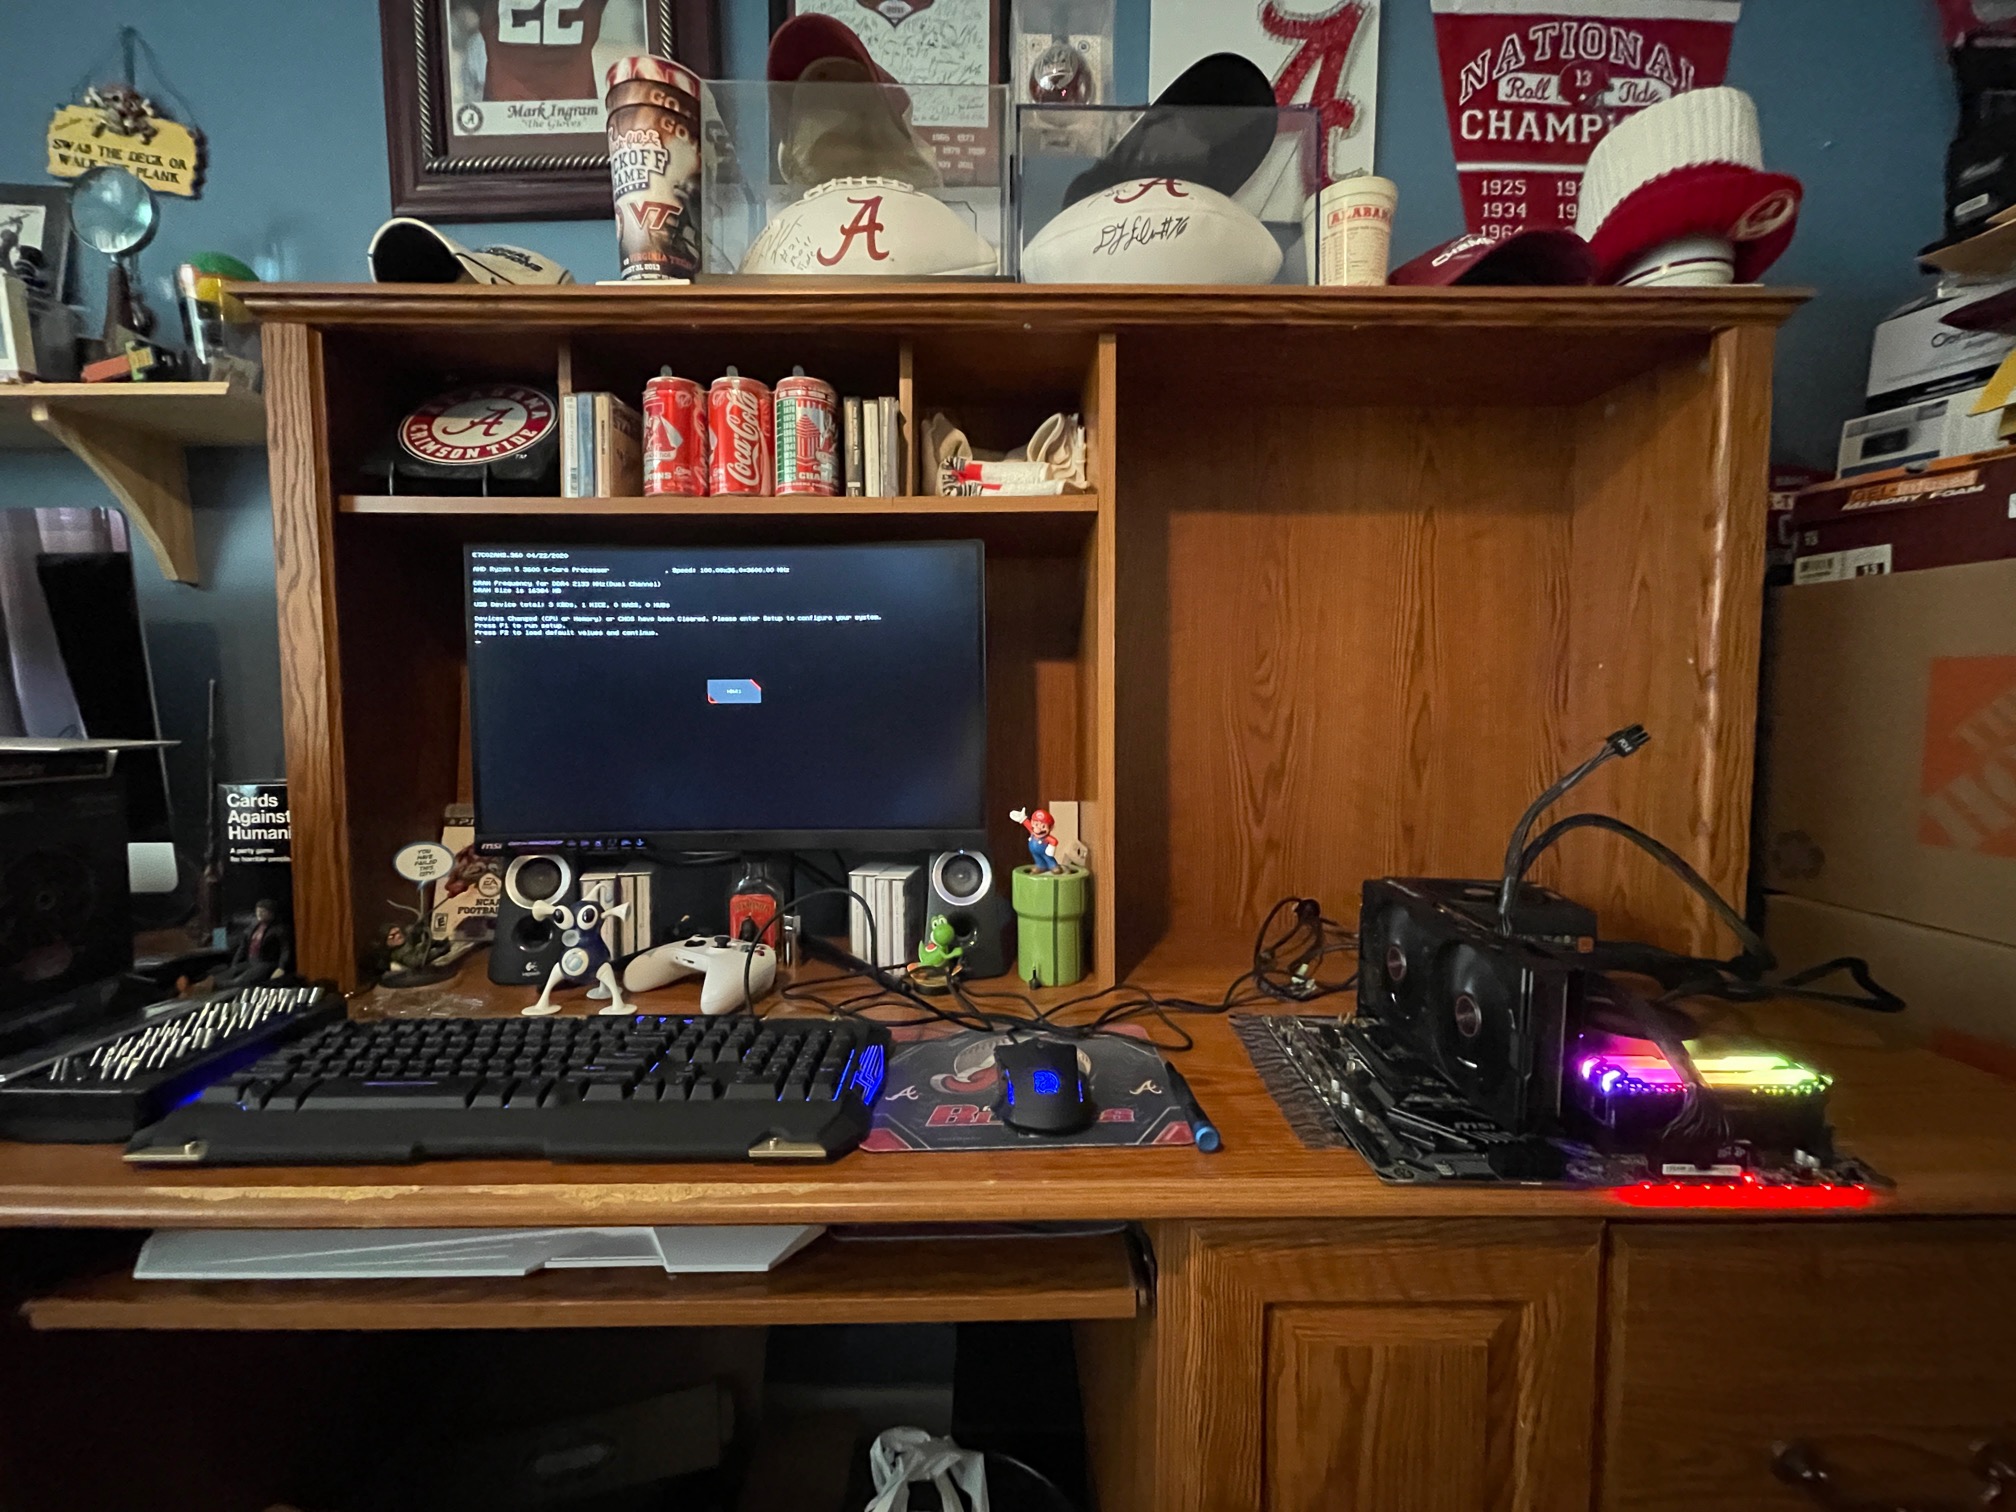
POST-test successful!
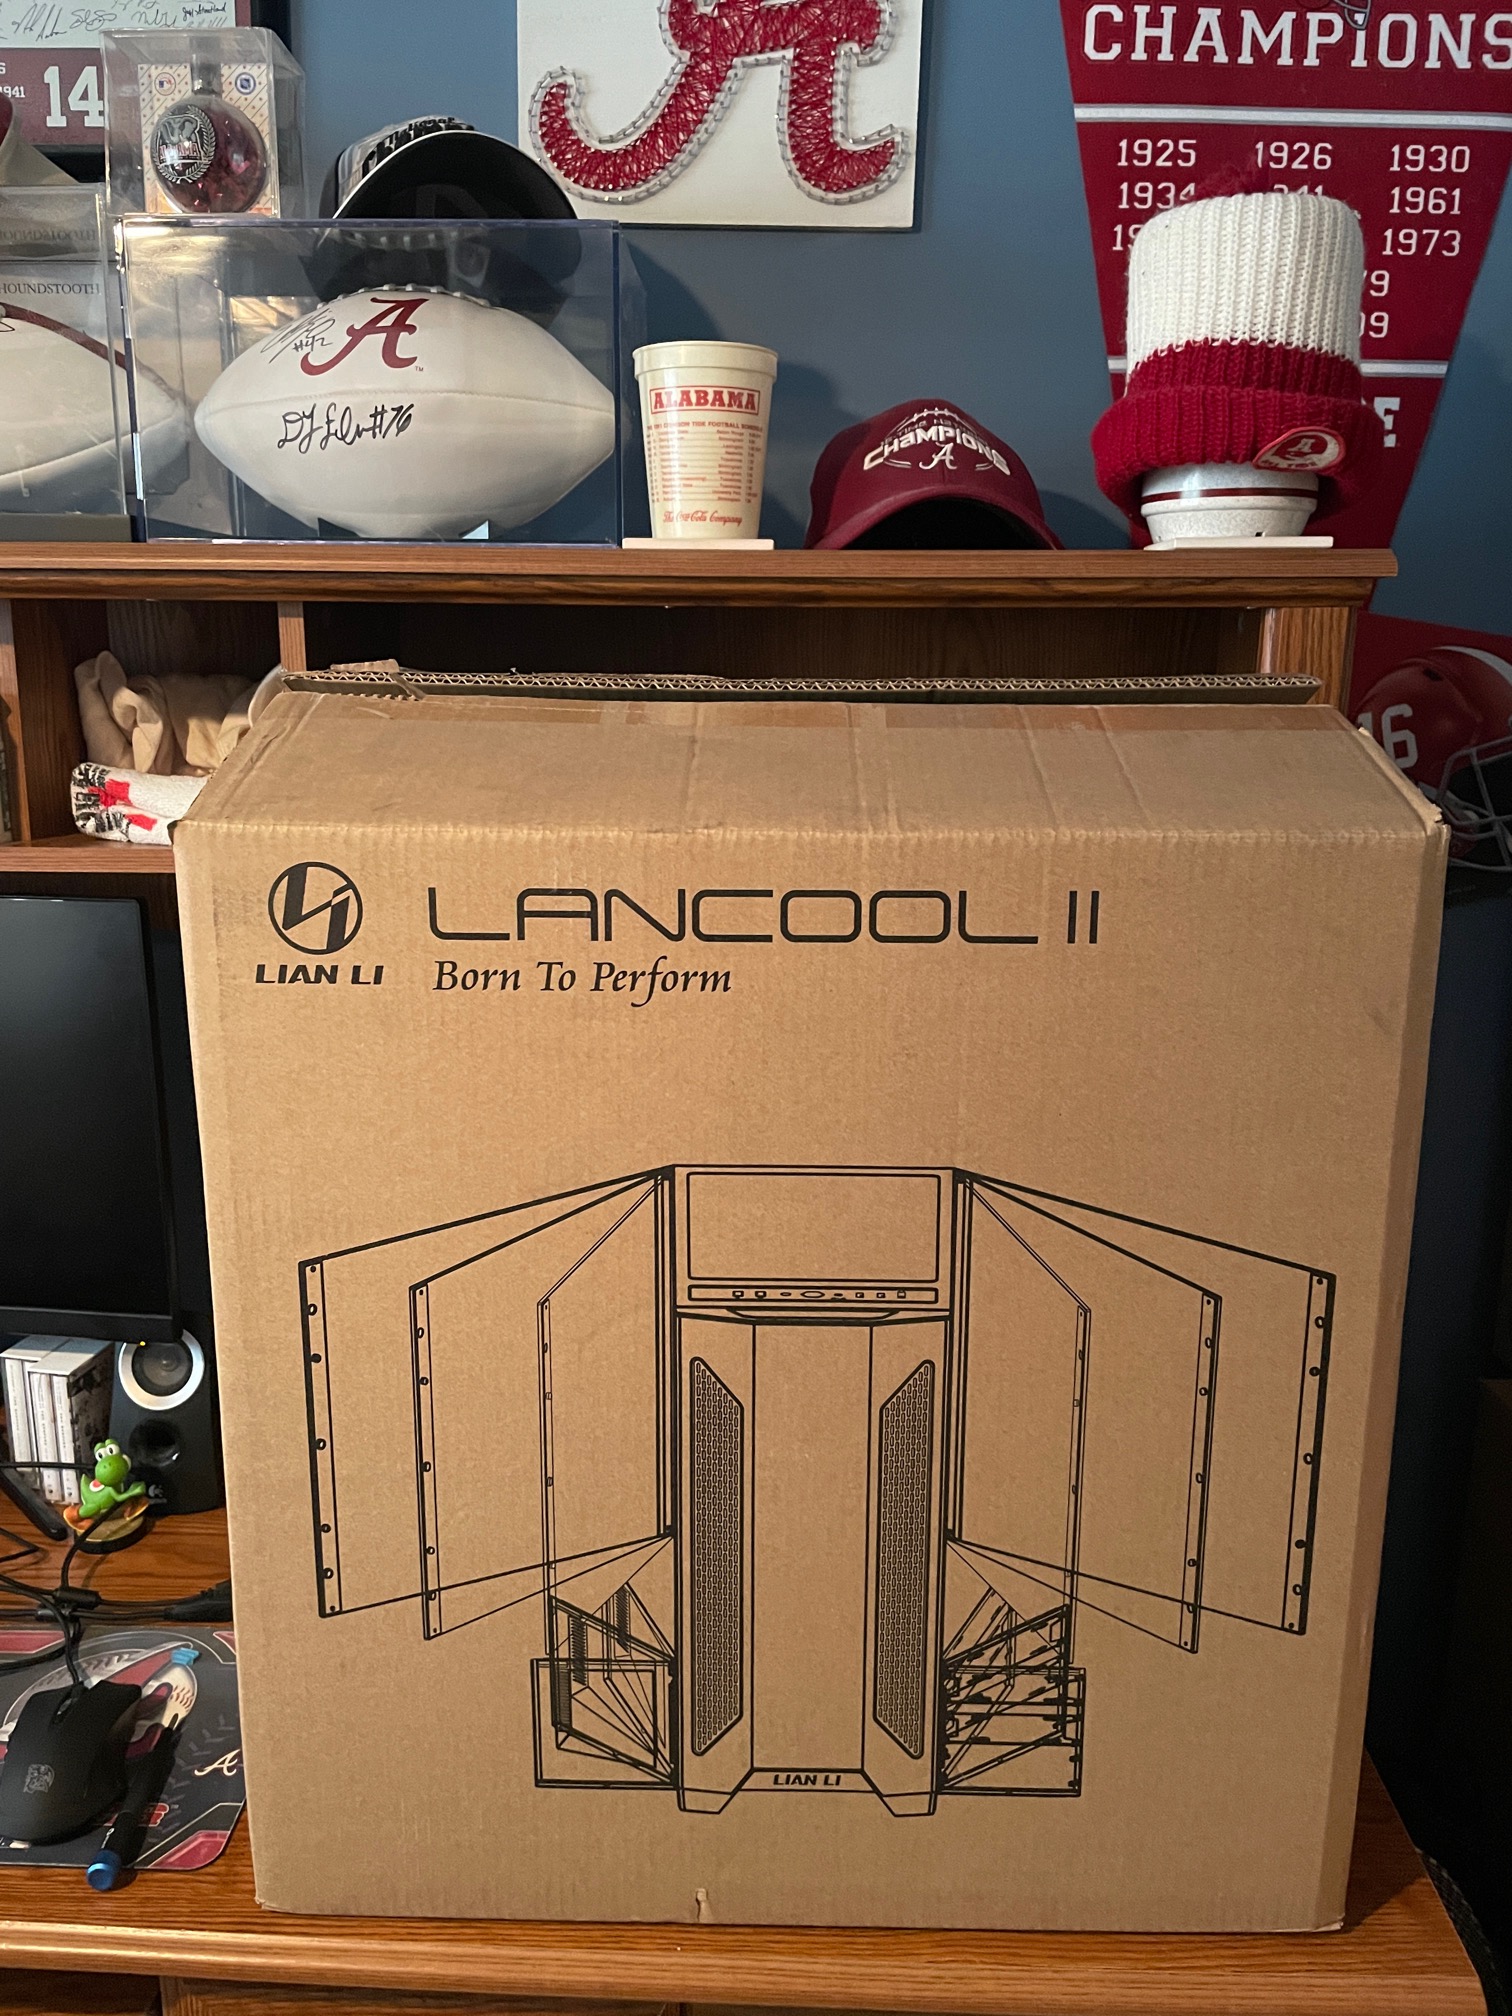
Let me just say, this is one of the heaviest cases I have ever worked on. That speaks volumes to the construction of the case. For a case in it’s price range, it is really constructed like a case 2x its price. Very impressed with Lian Li cases.
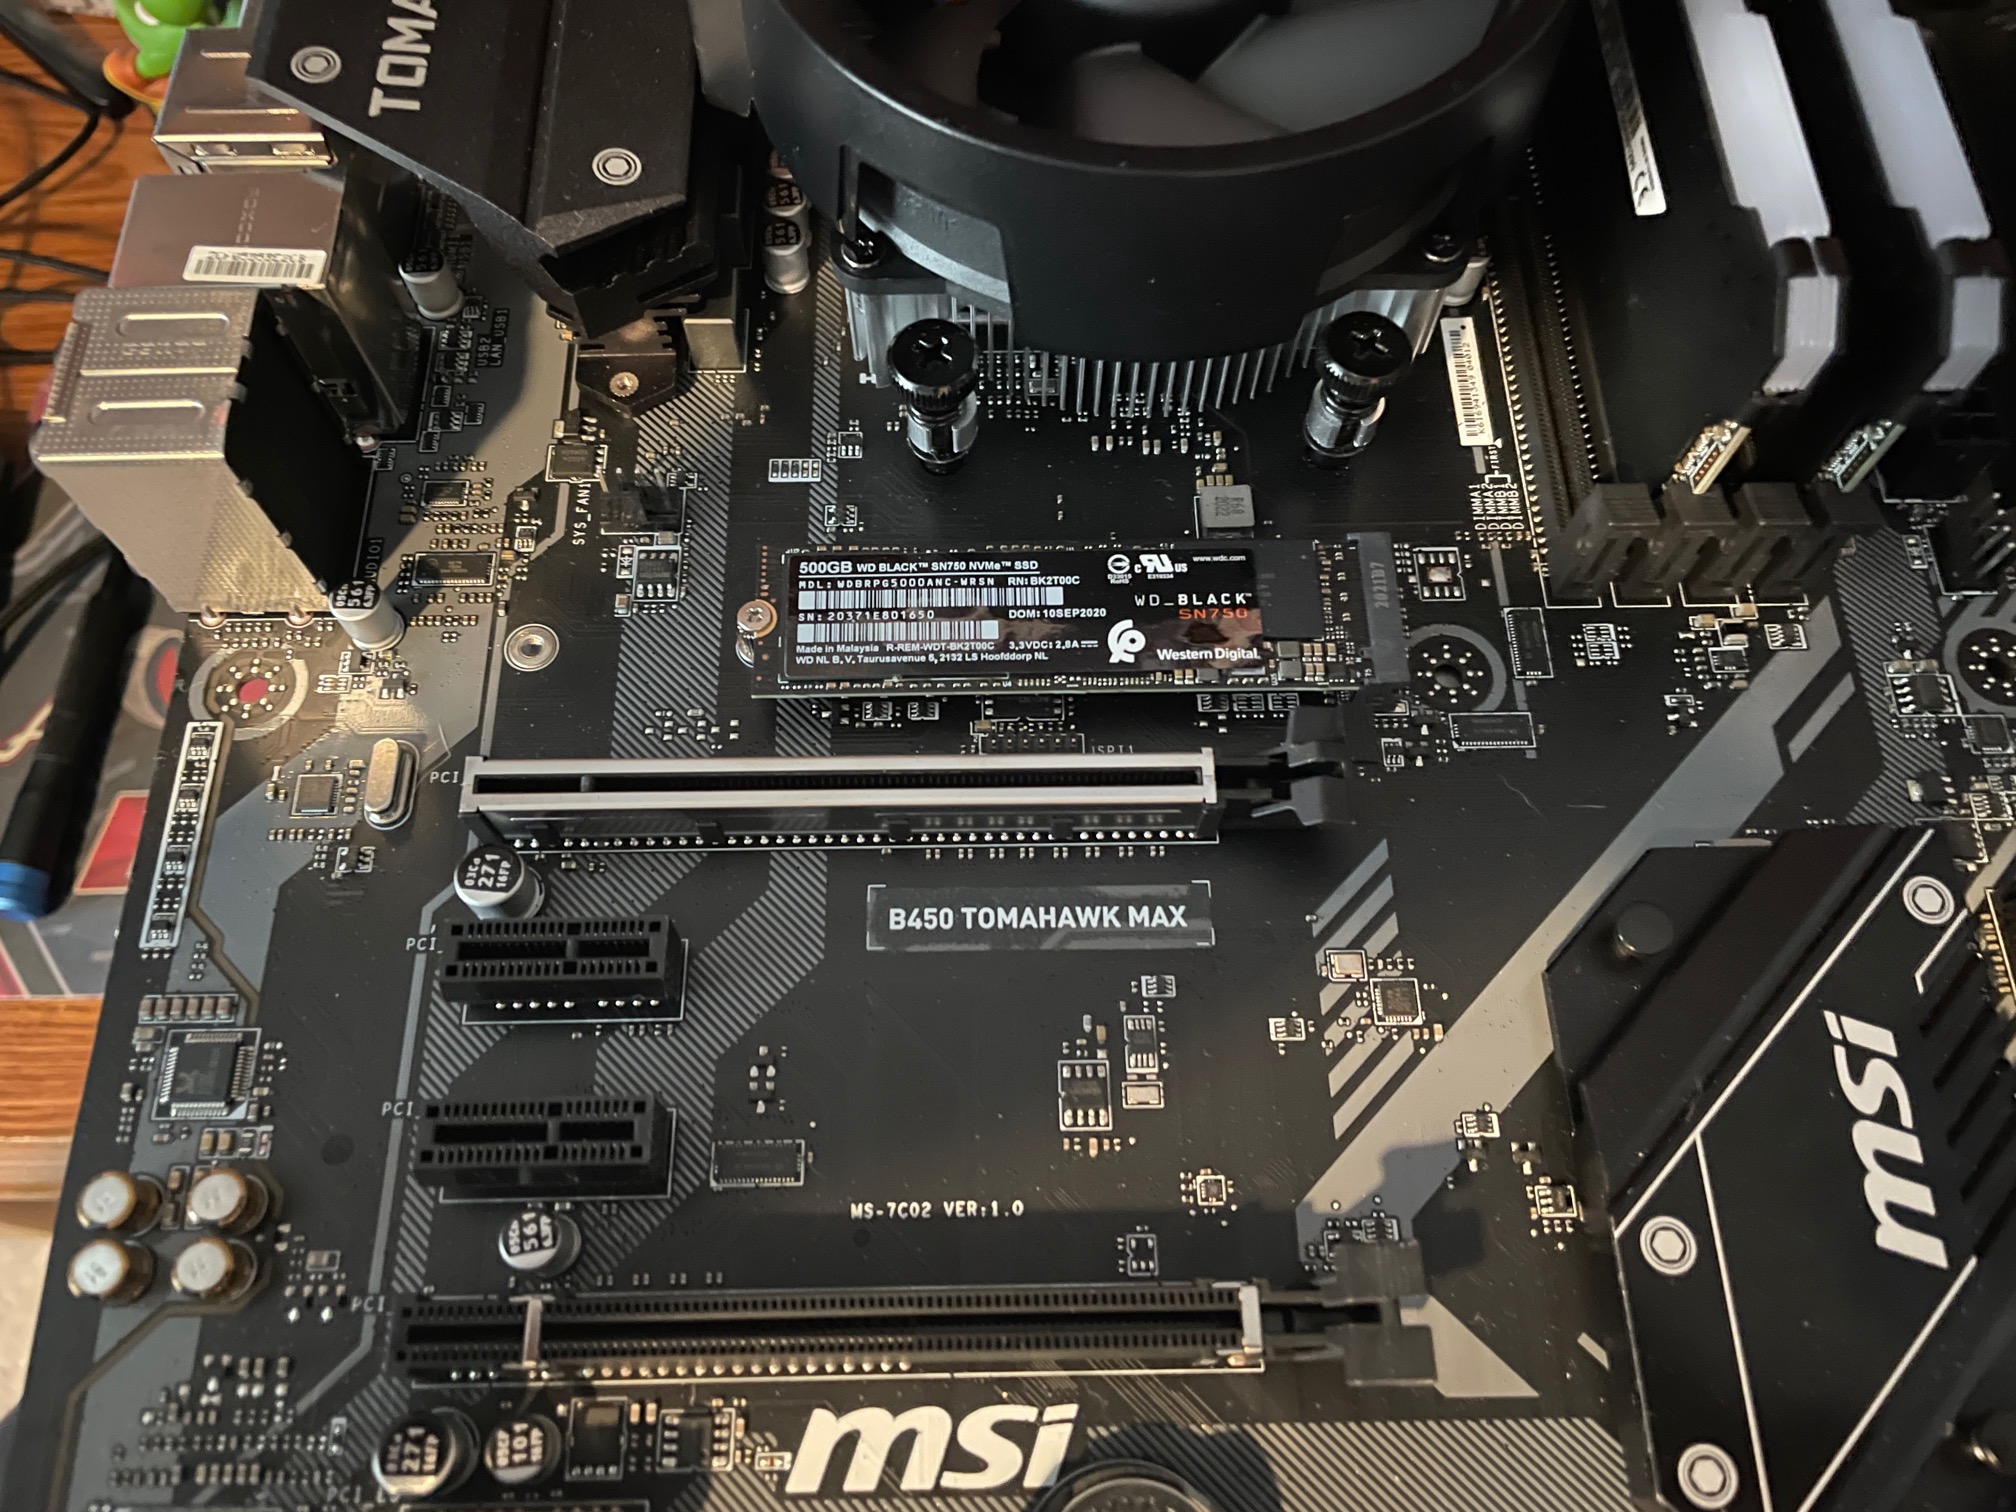
After taking the video card back off for installation into the case, it’s time to install the storage. This drive is really fast. Very impressed with it as well.
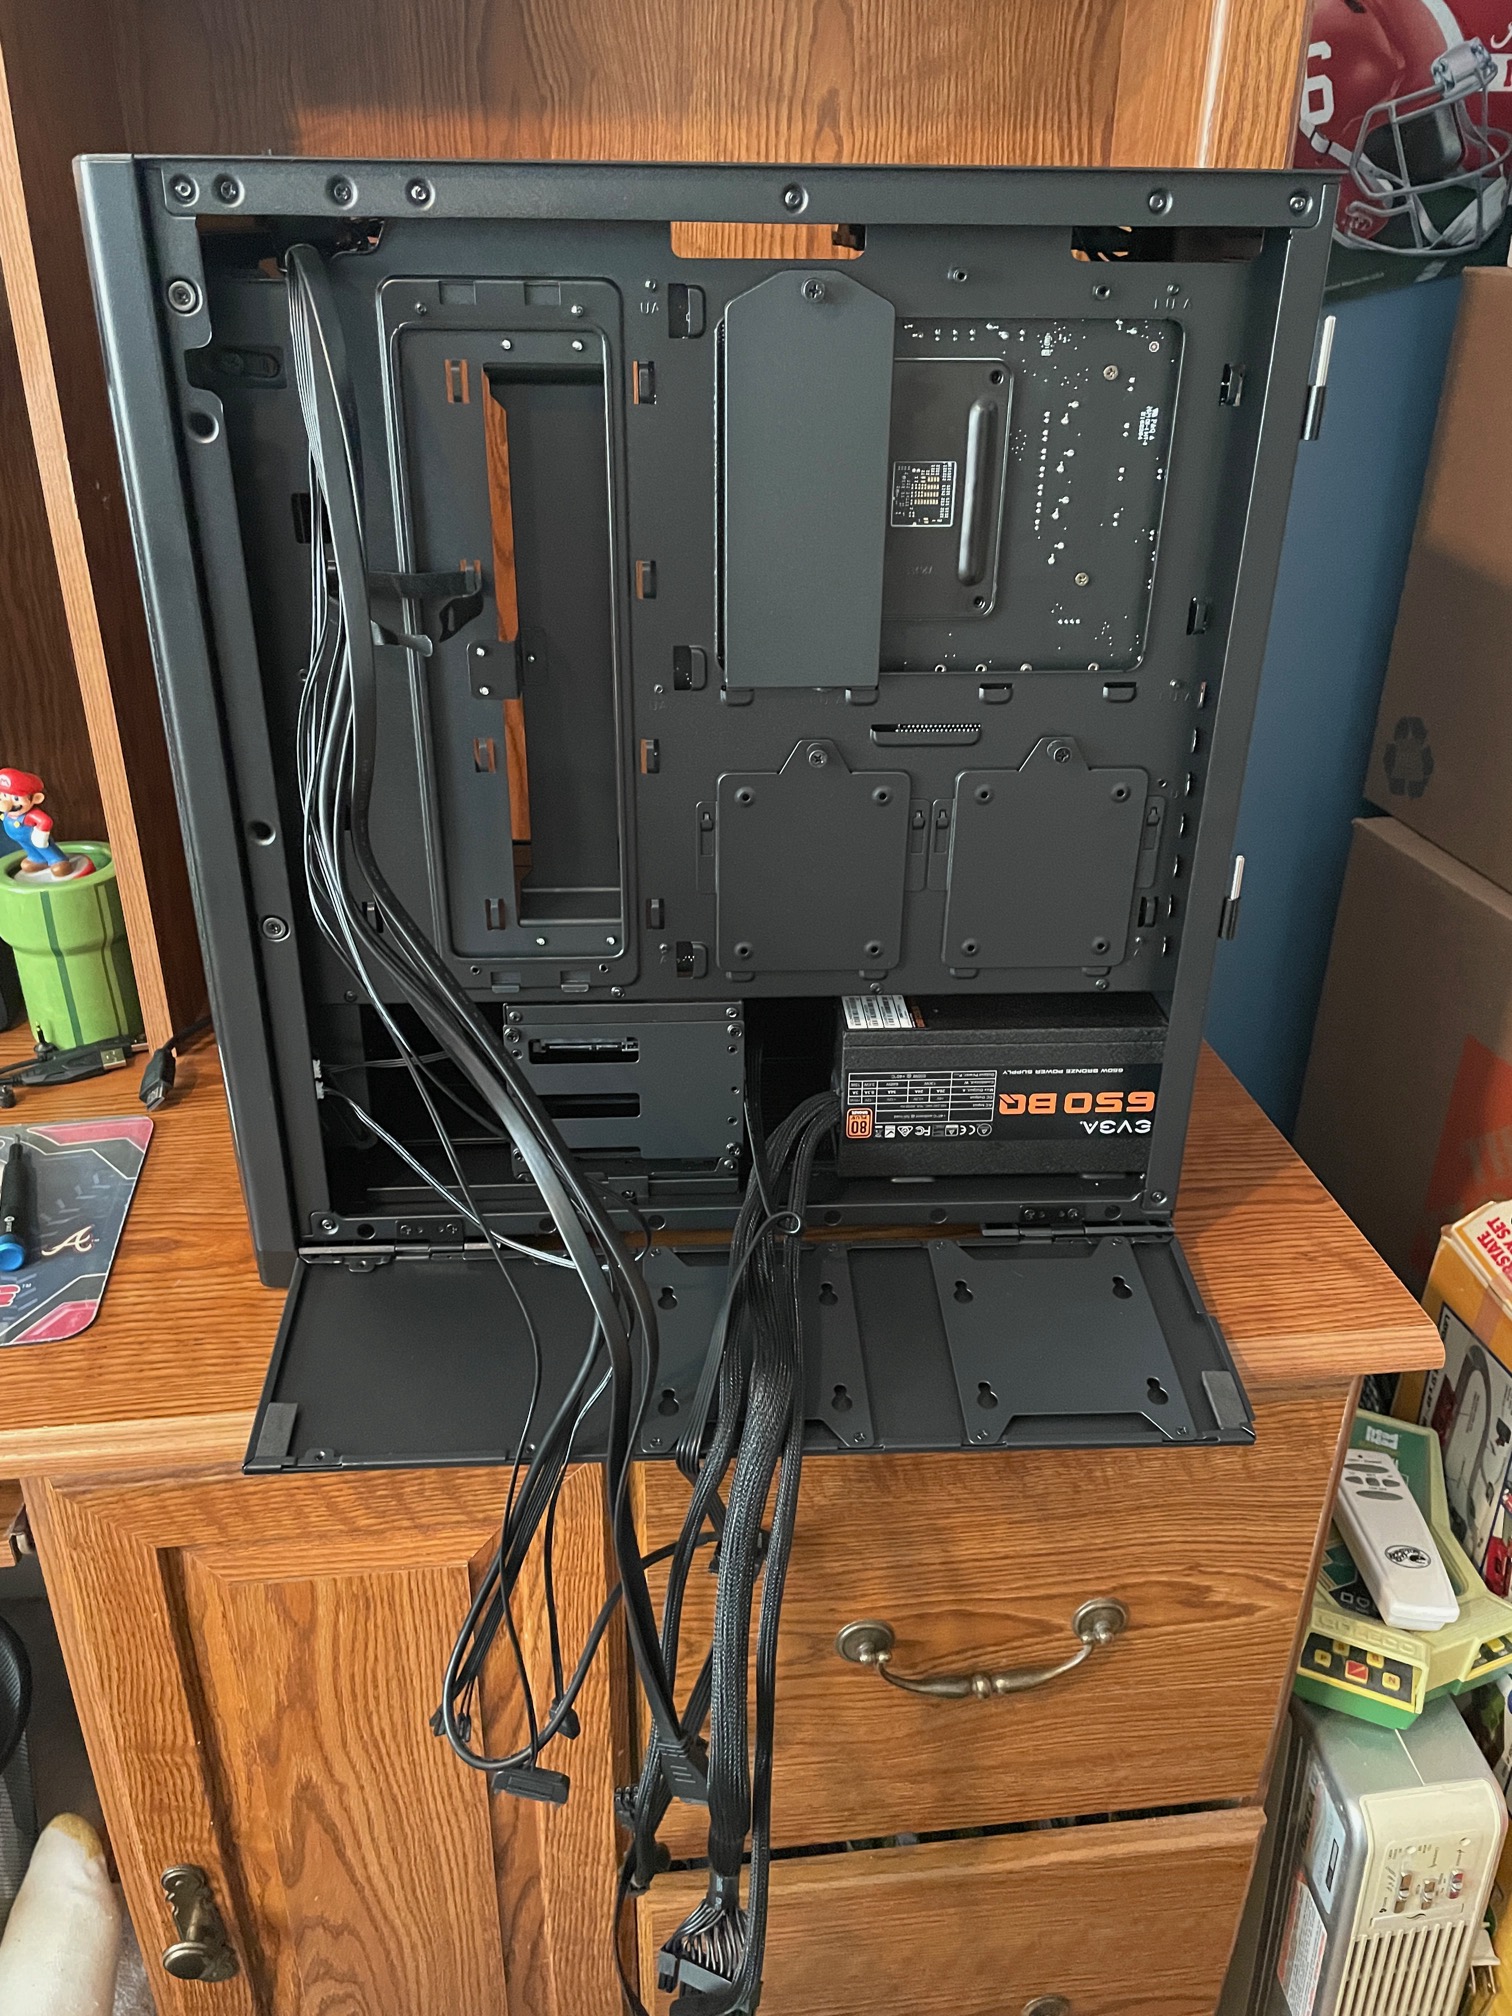
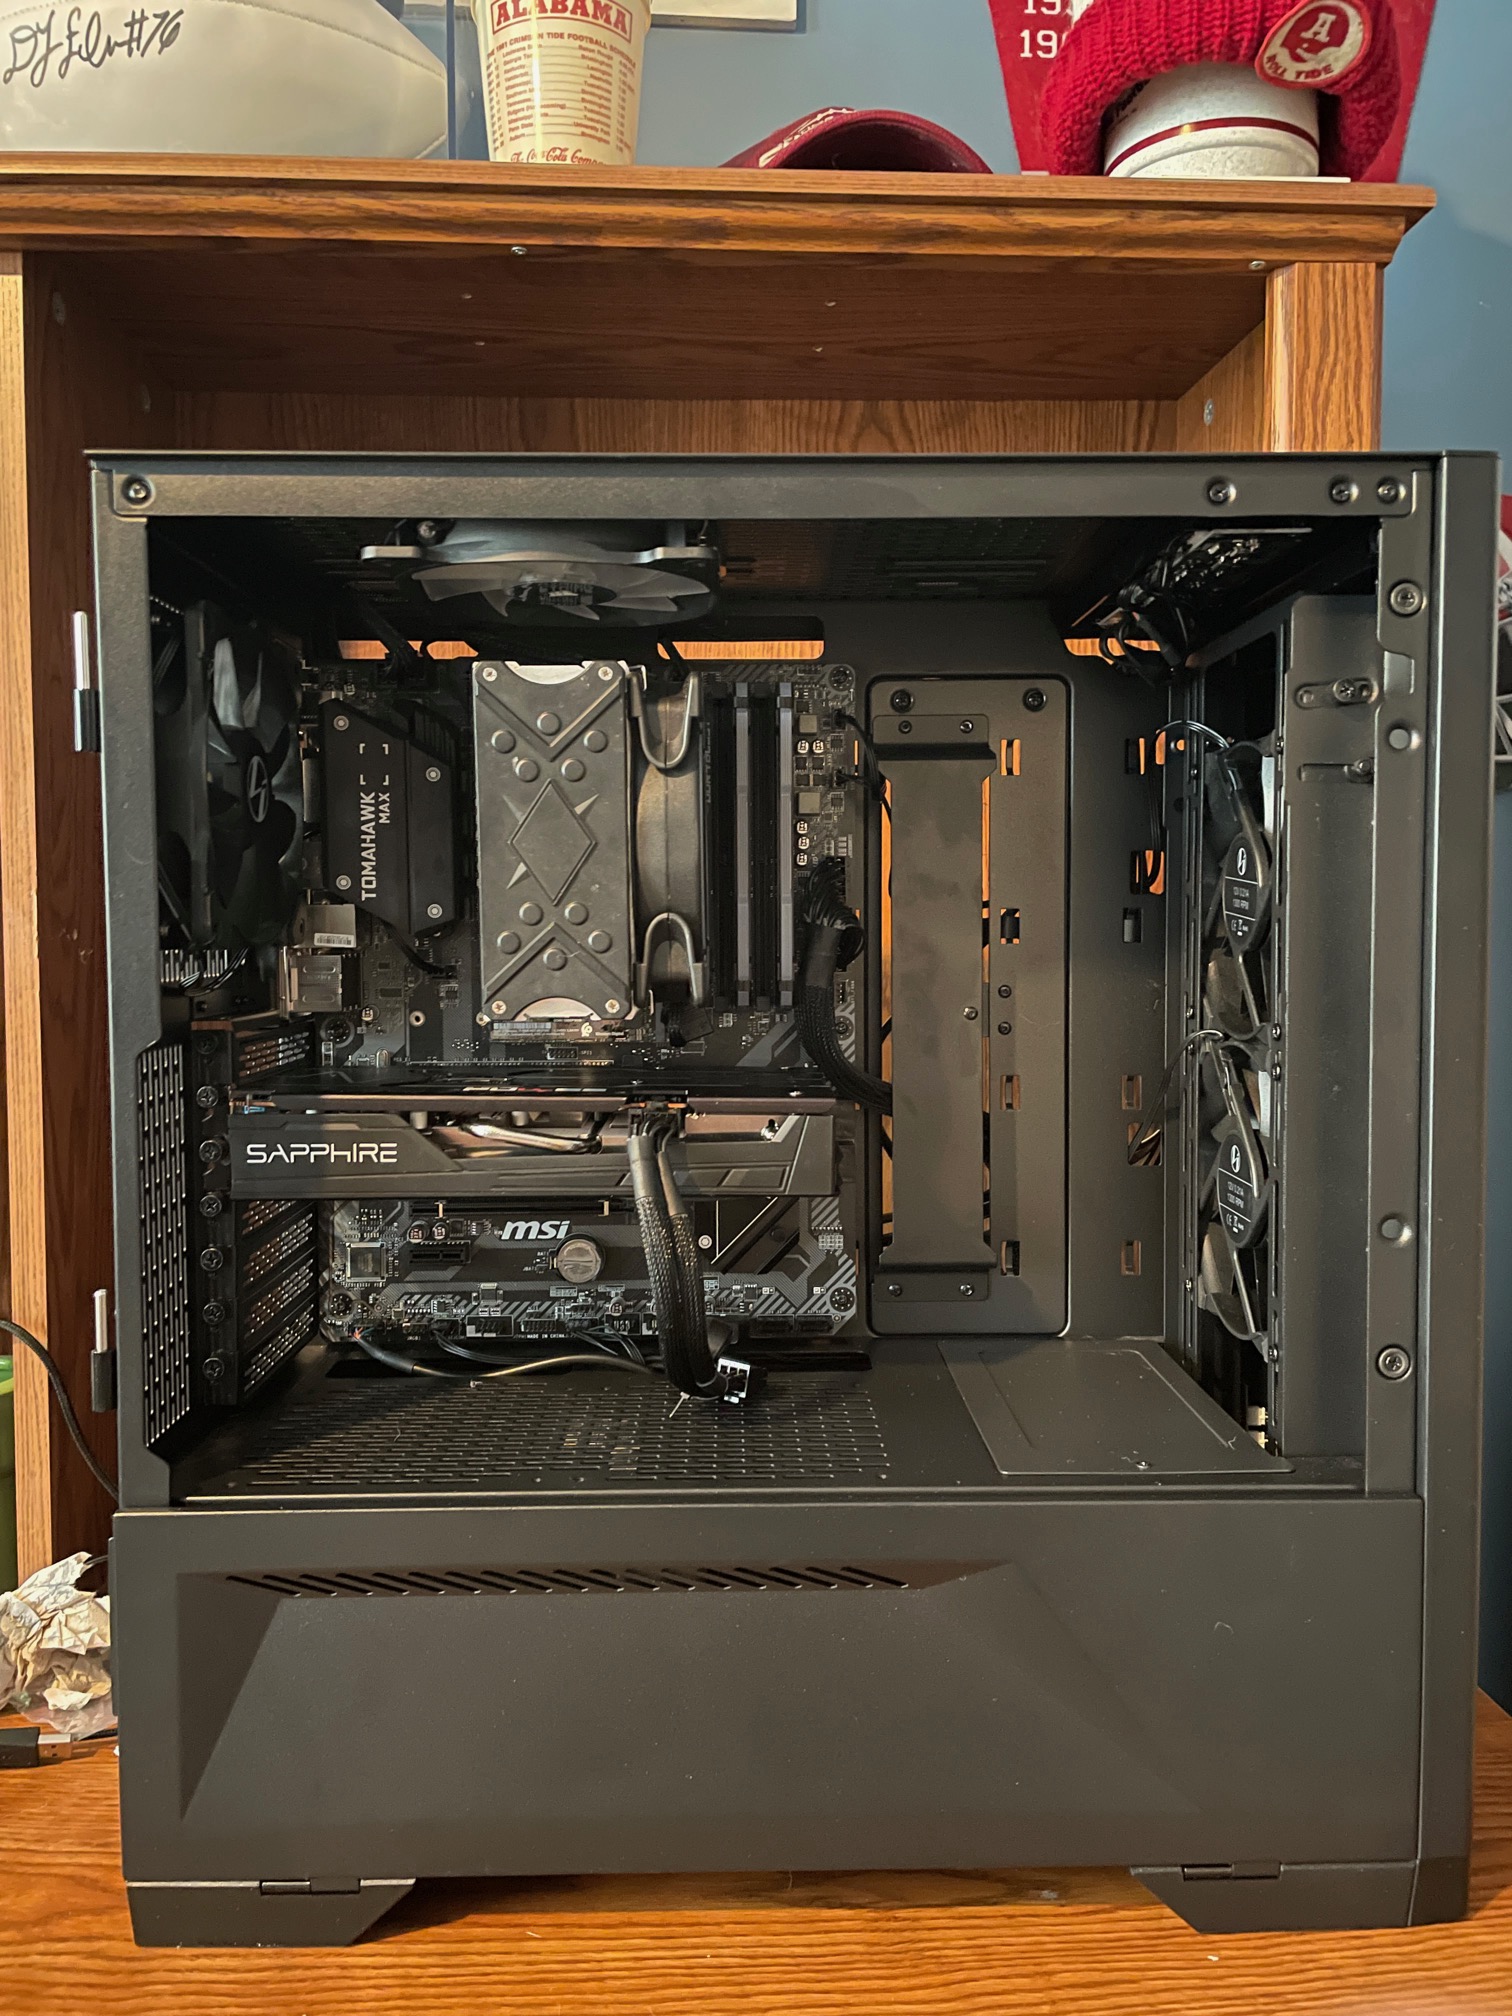
Computers require a lot of wiring…
But they are satisfying…
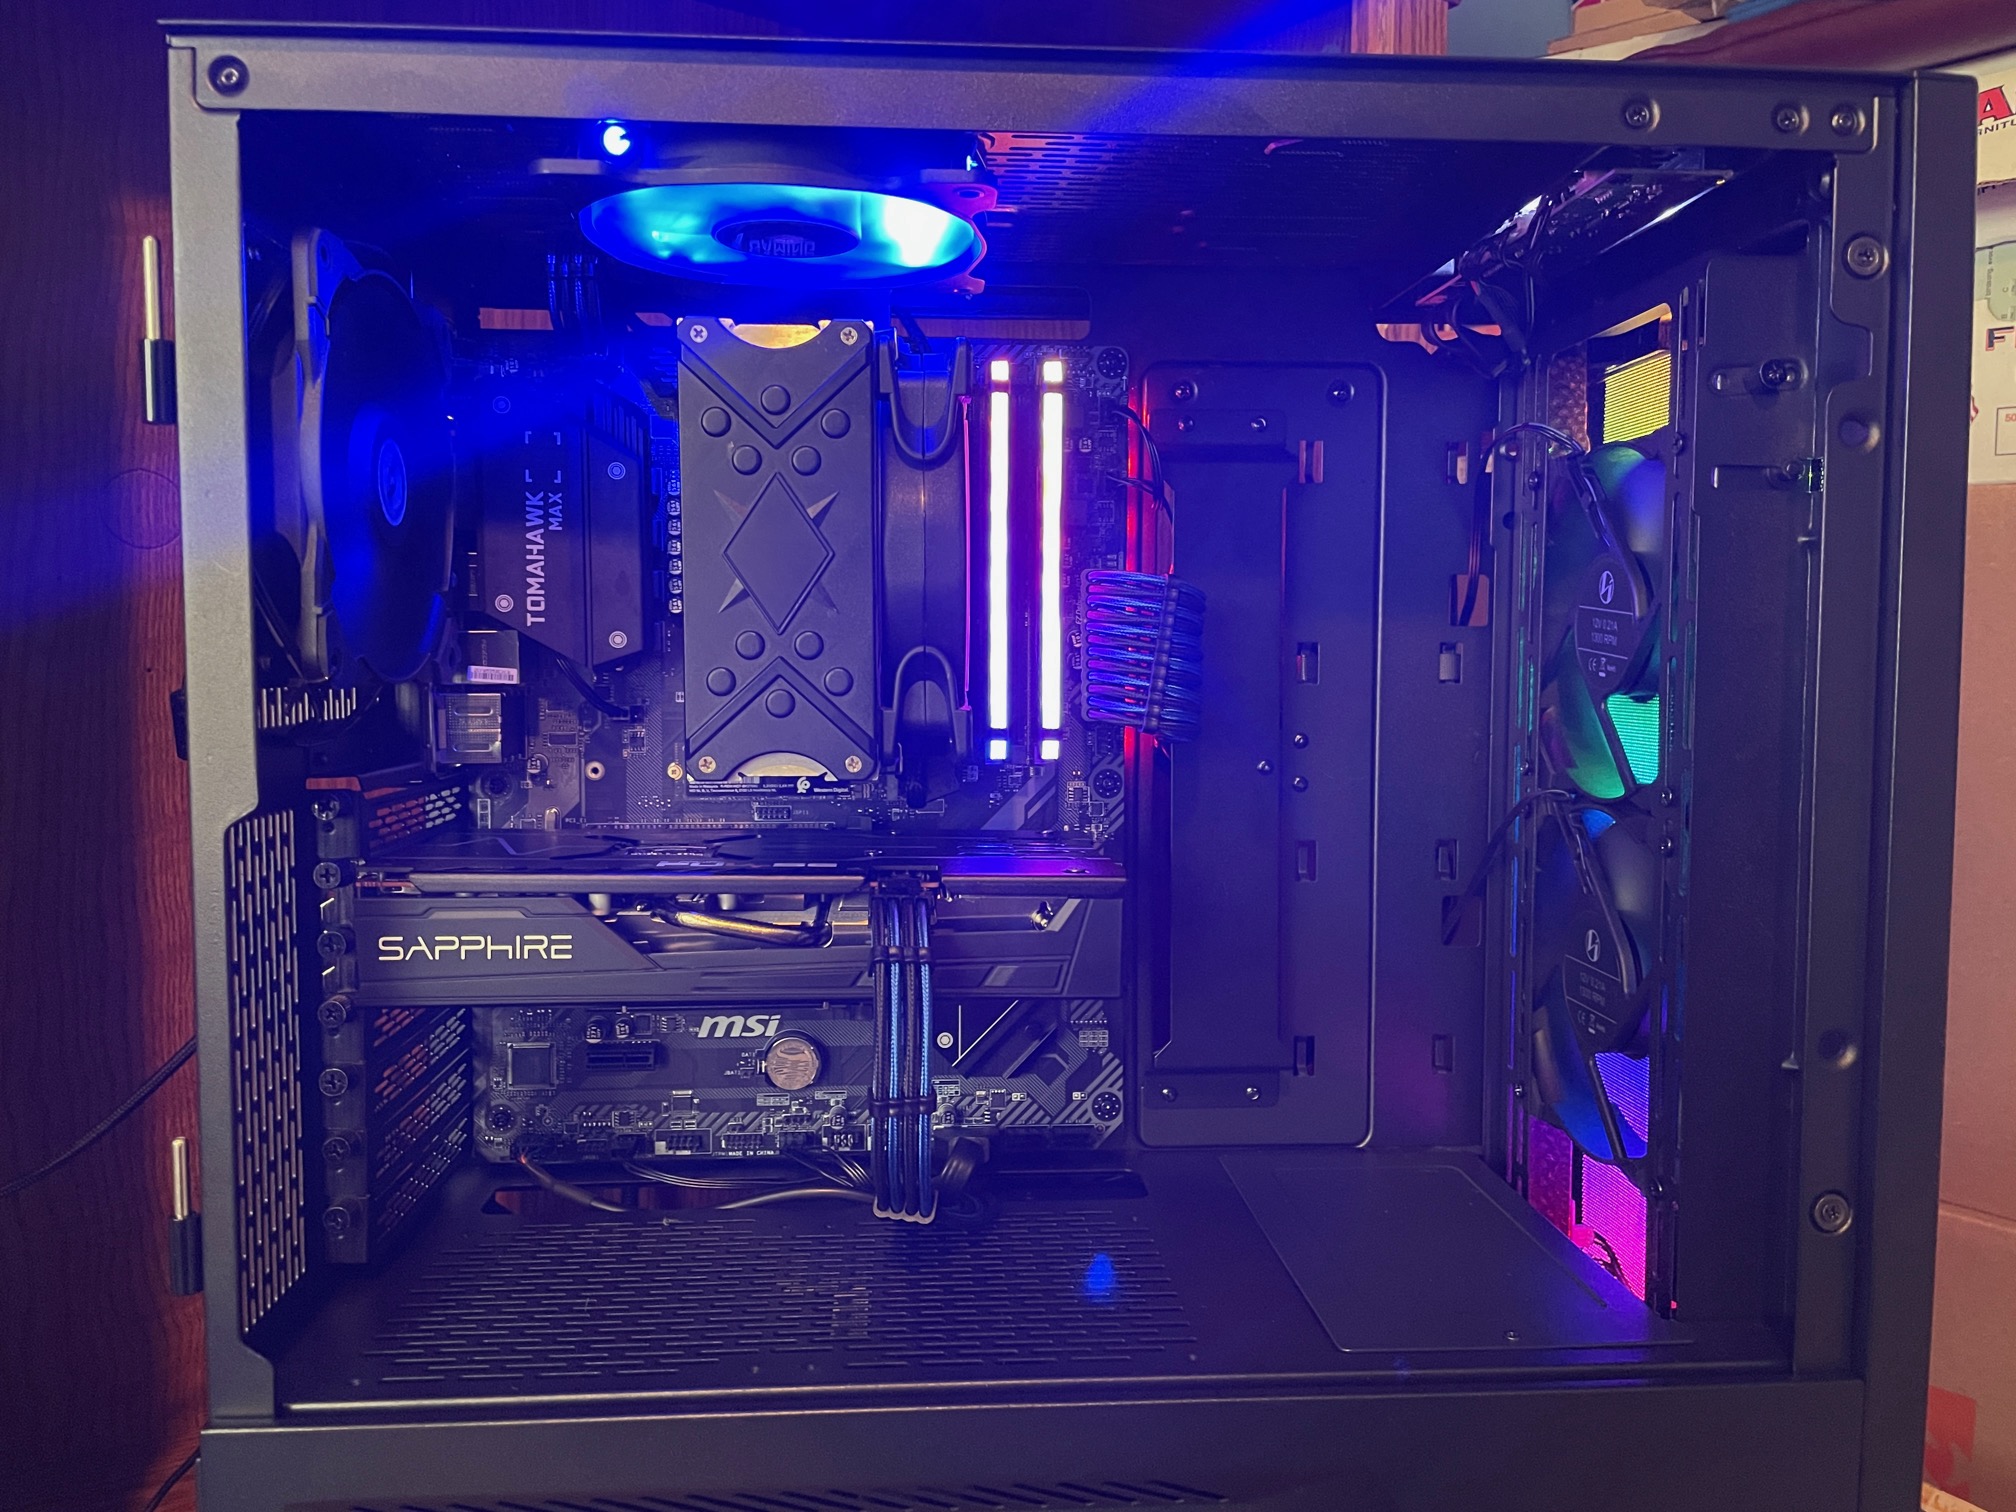
Pretty… but maybe I can make it prettier…
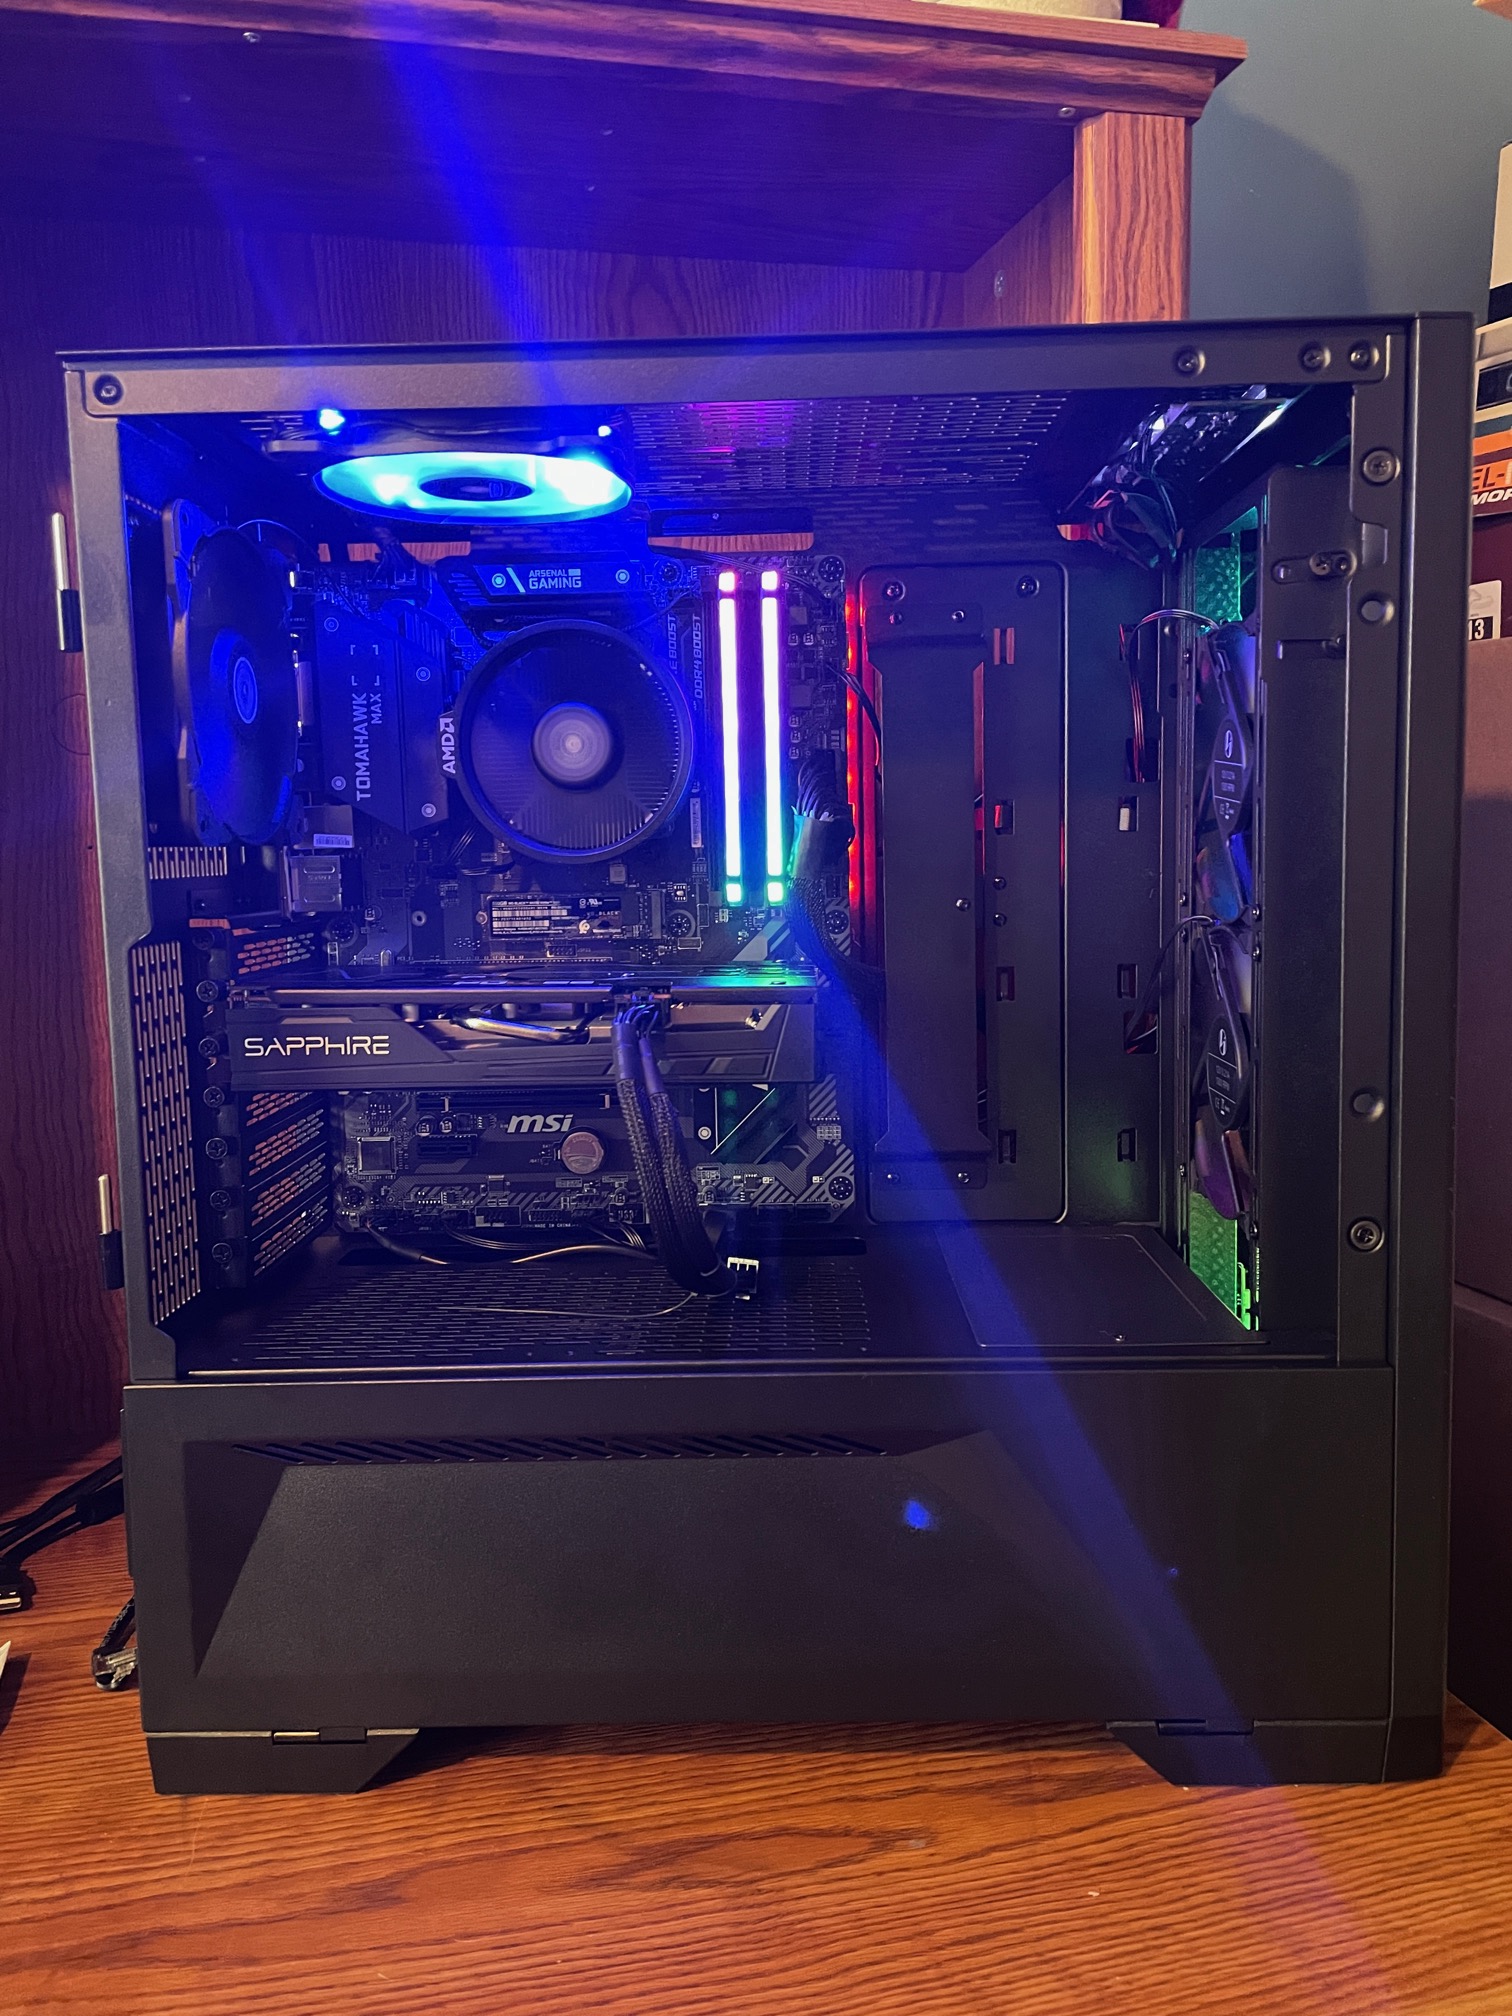
Here we go, this is a start… since Chase’s favorite colors are back and blue, let’s add a blue fan. This came from my old pile of fans that I no longer use…
Oh, tower cooler. It is supposed to be RGB, but no controller. I thought it would connect to the case RGB. I was wrong, but it still keeps the CPU a bit cooler than the stock cooler. And this I had laying around after I upgraded mine to liquid cooling.
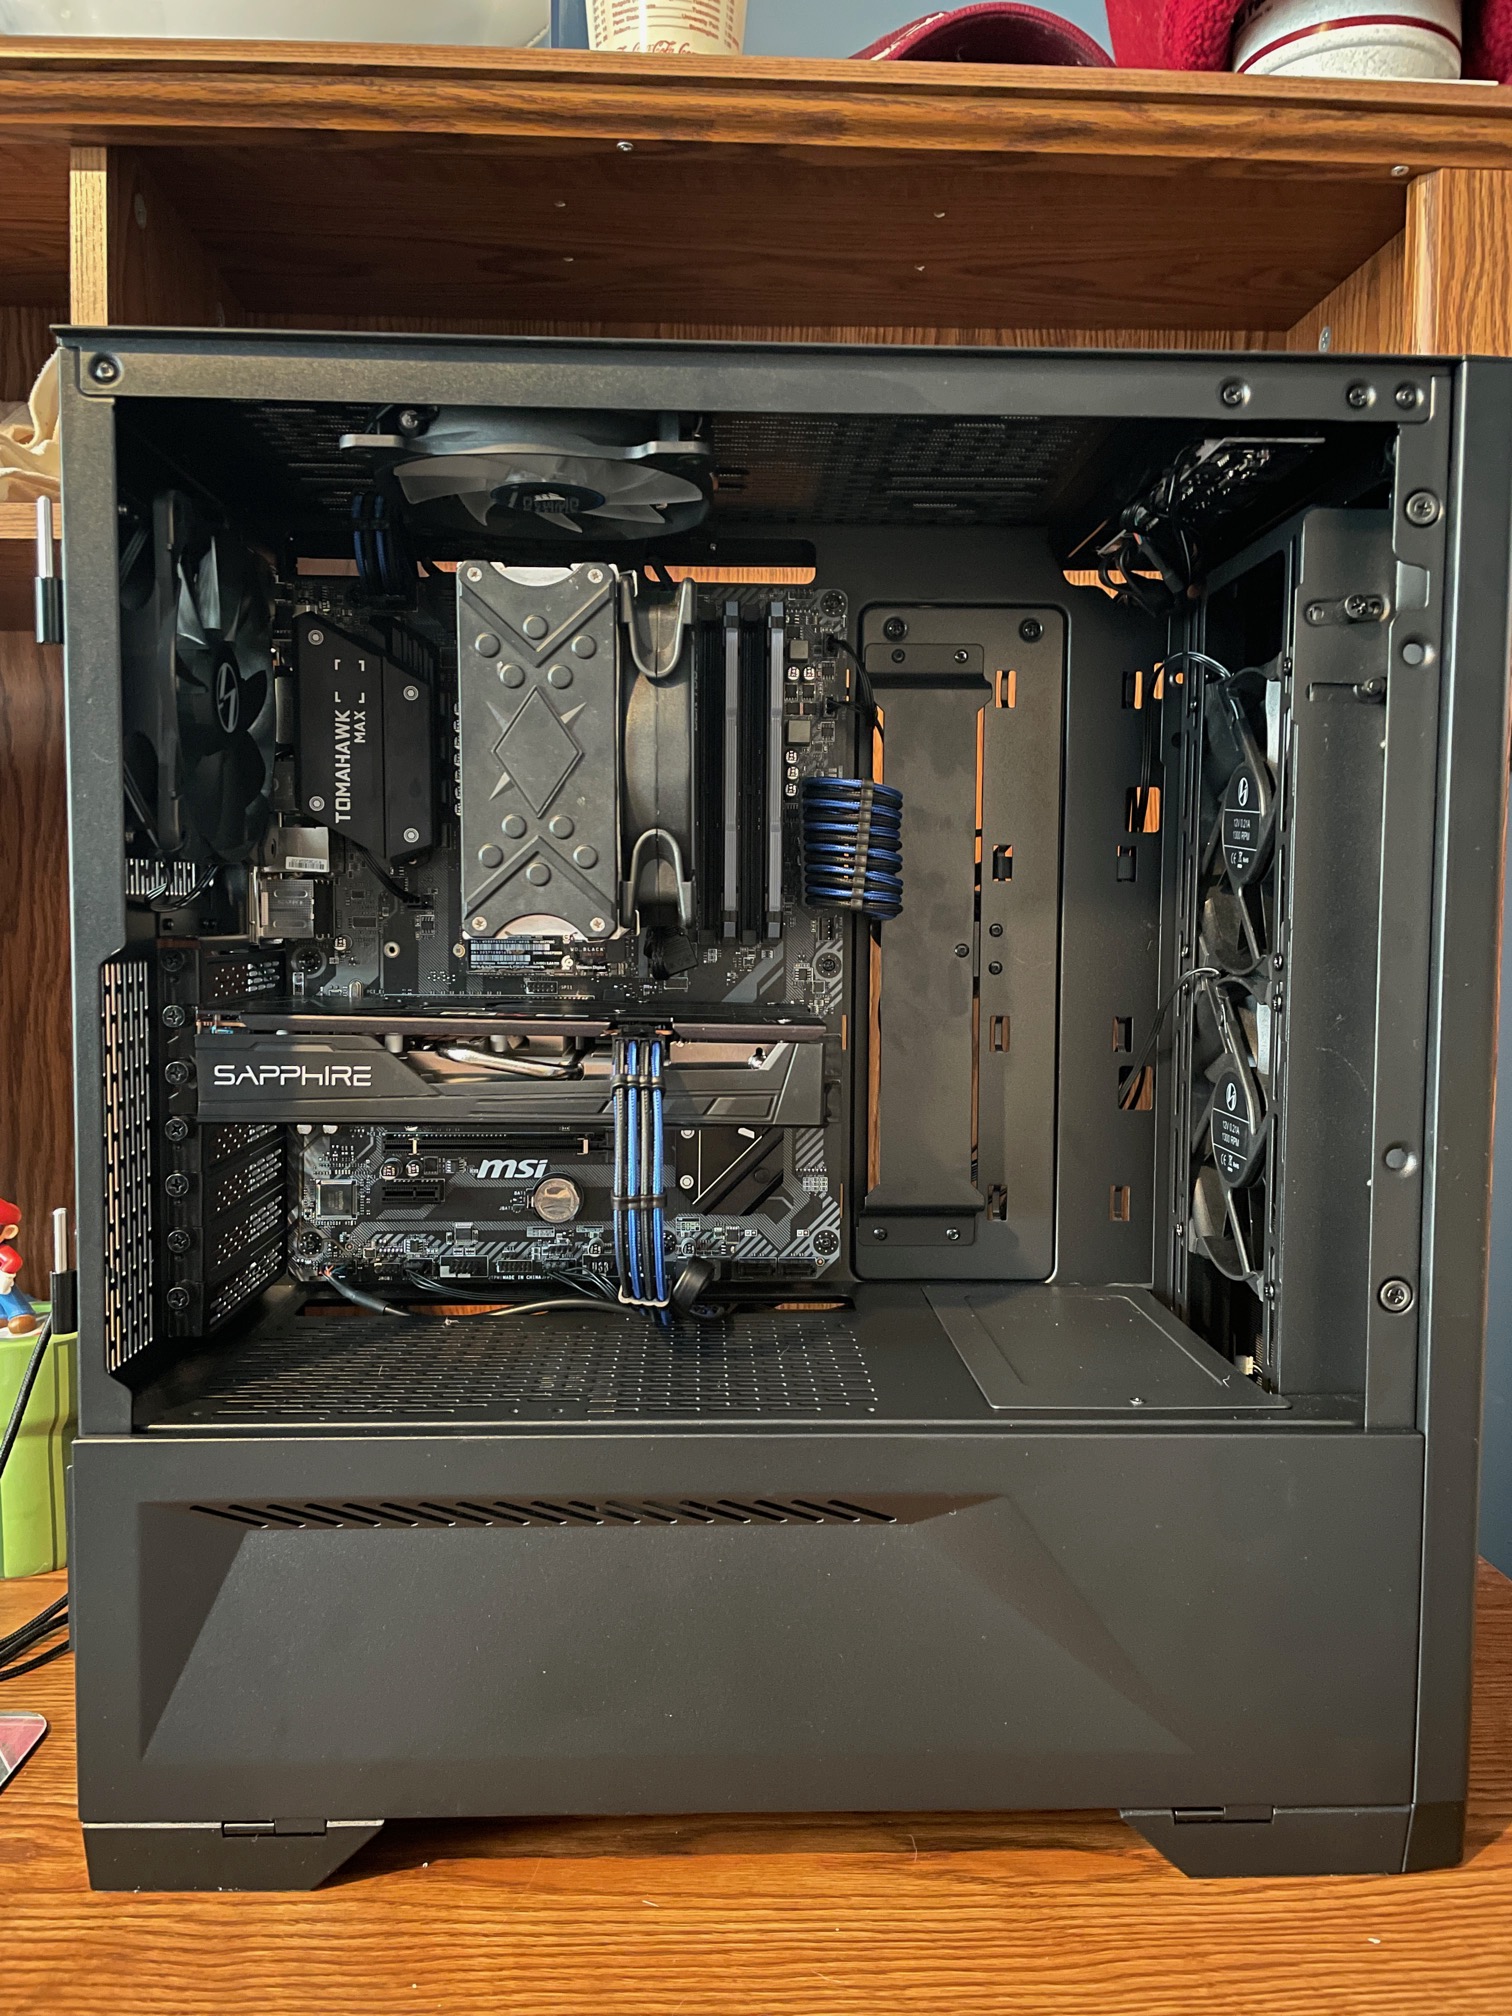
Uh-oh, did I add black and blue cables? Merry Christmas, Chase!
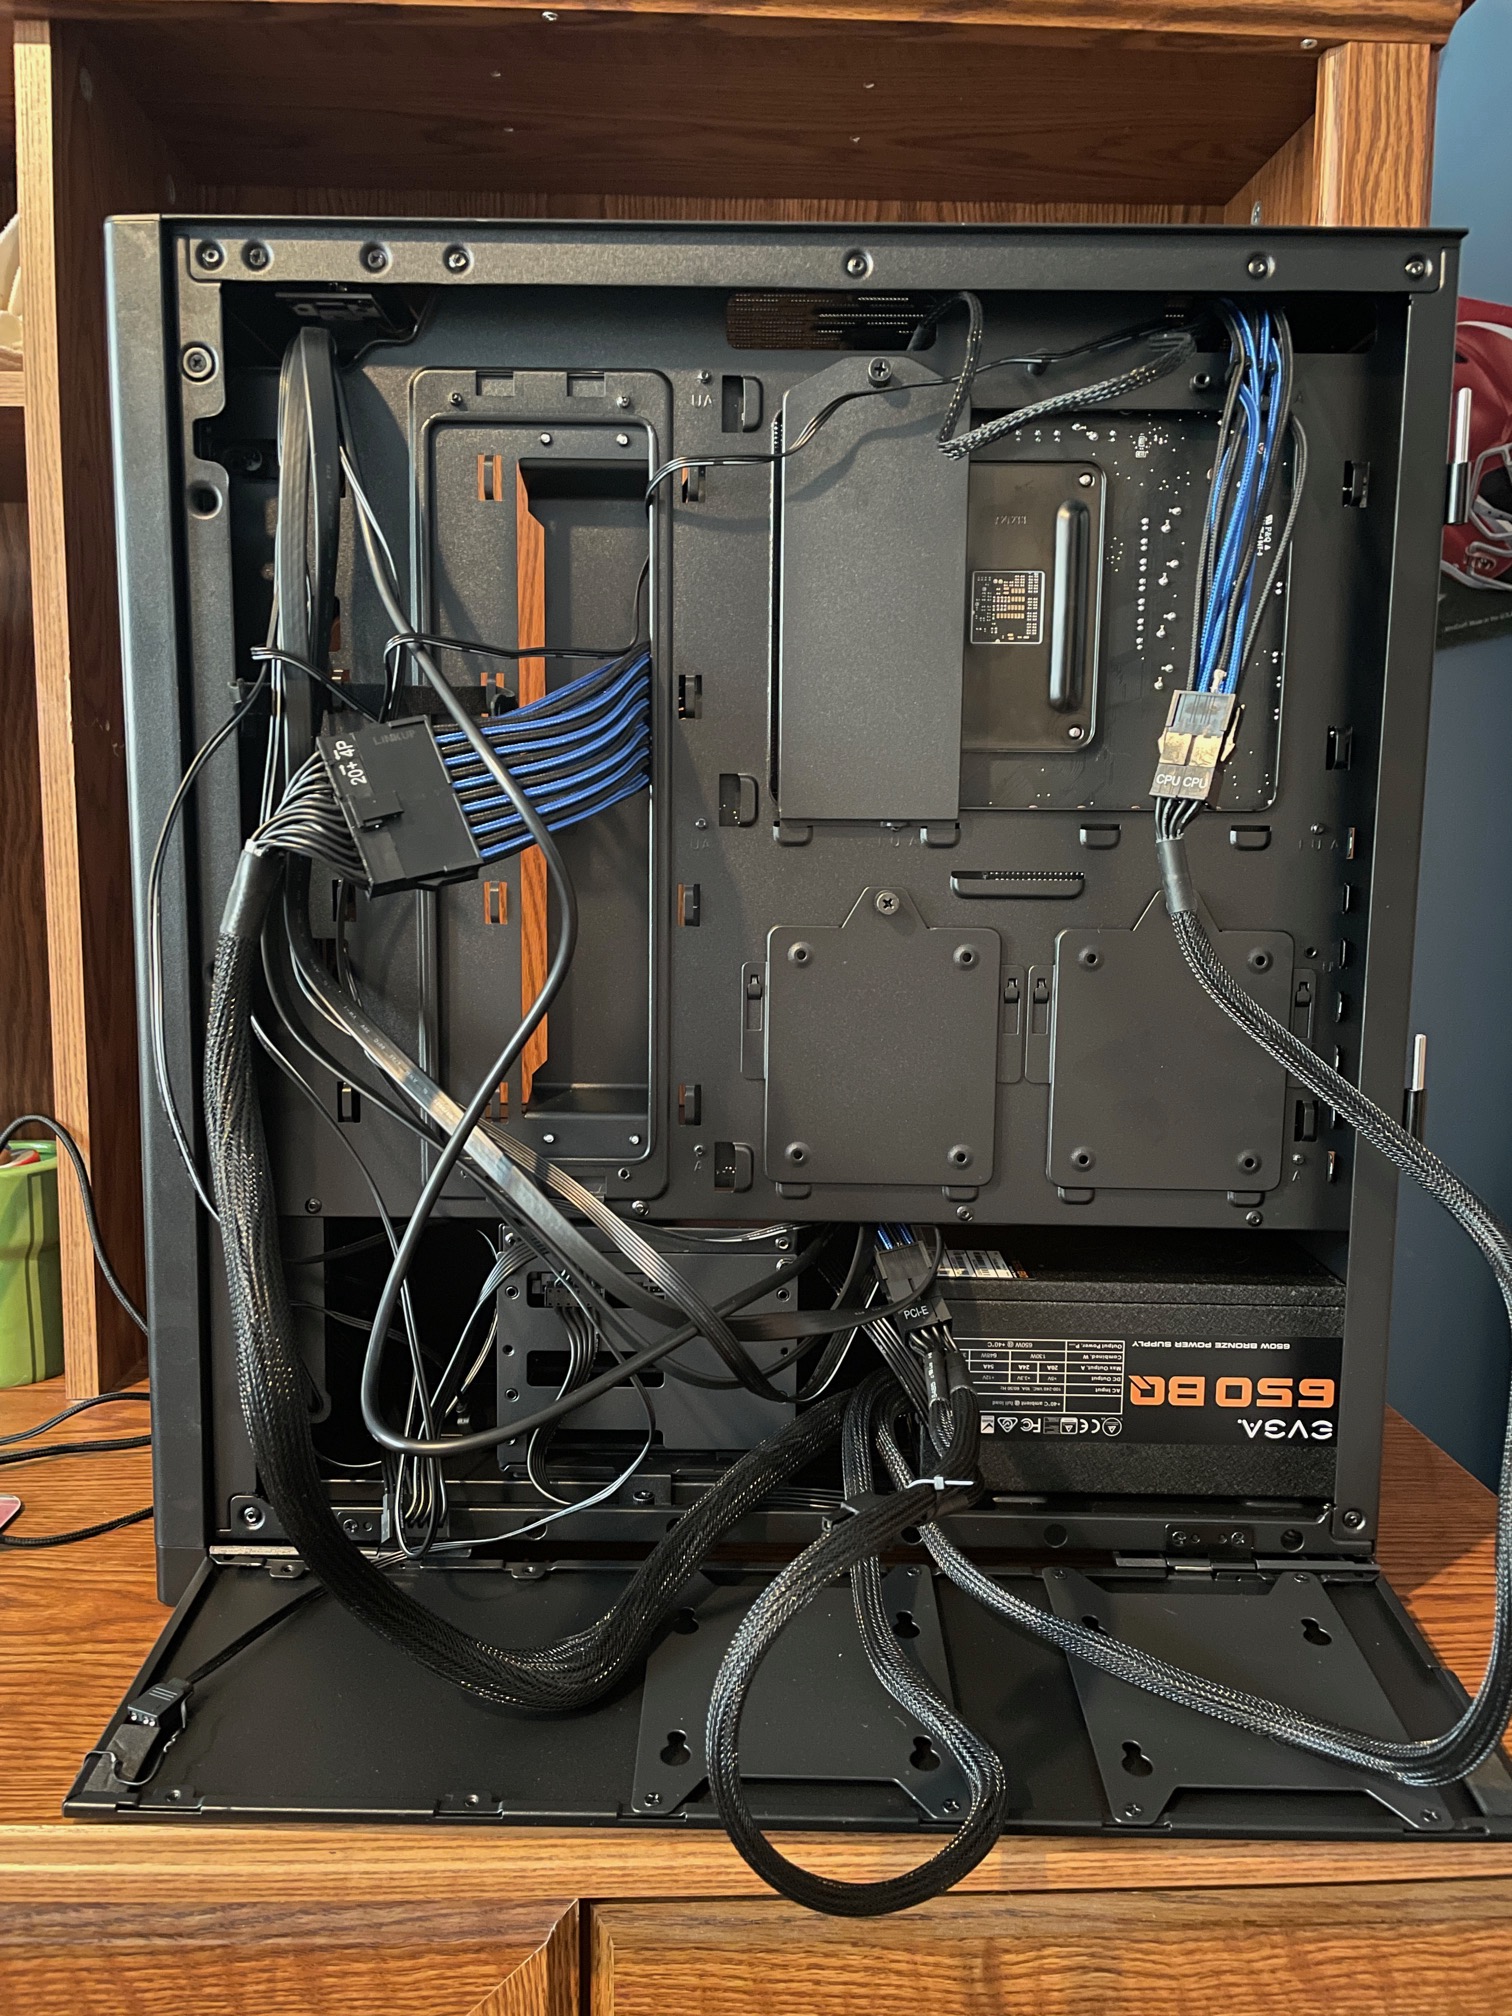
How will I ever clean this up… not the most complicated I have ever had, but still enough to worry me… but this Lian Li case really makes it easy.

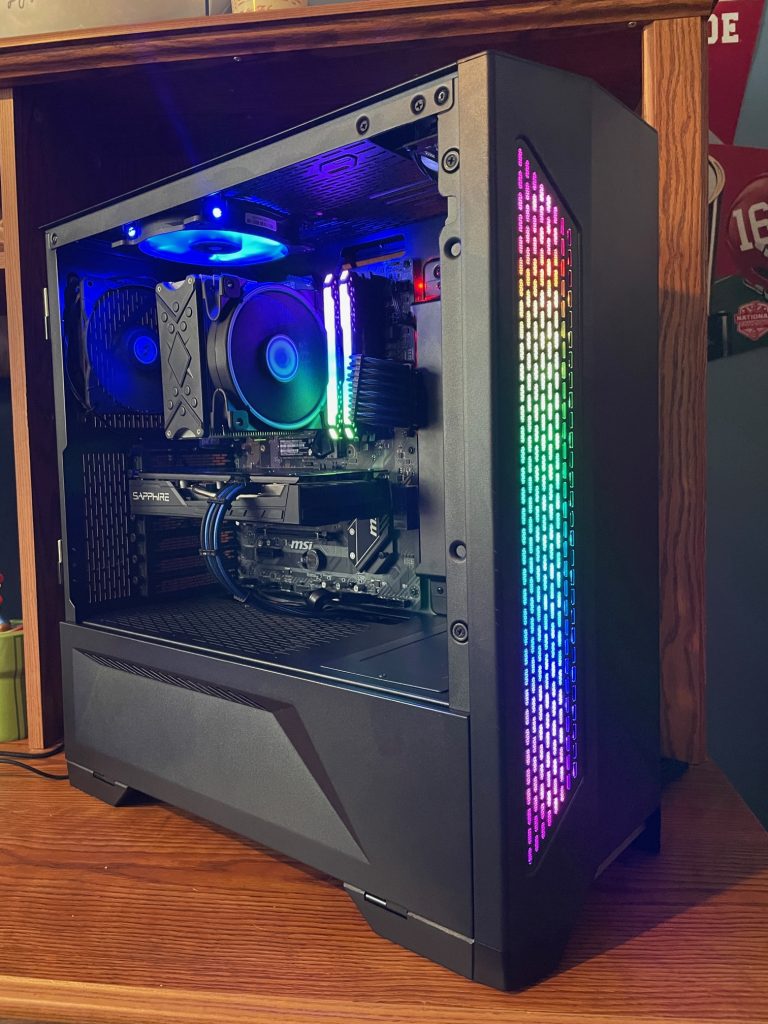
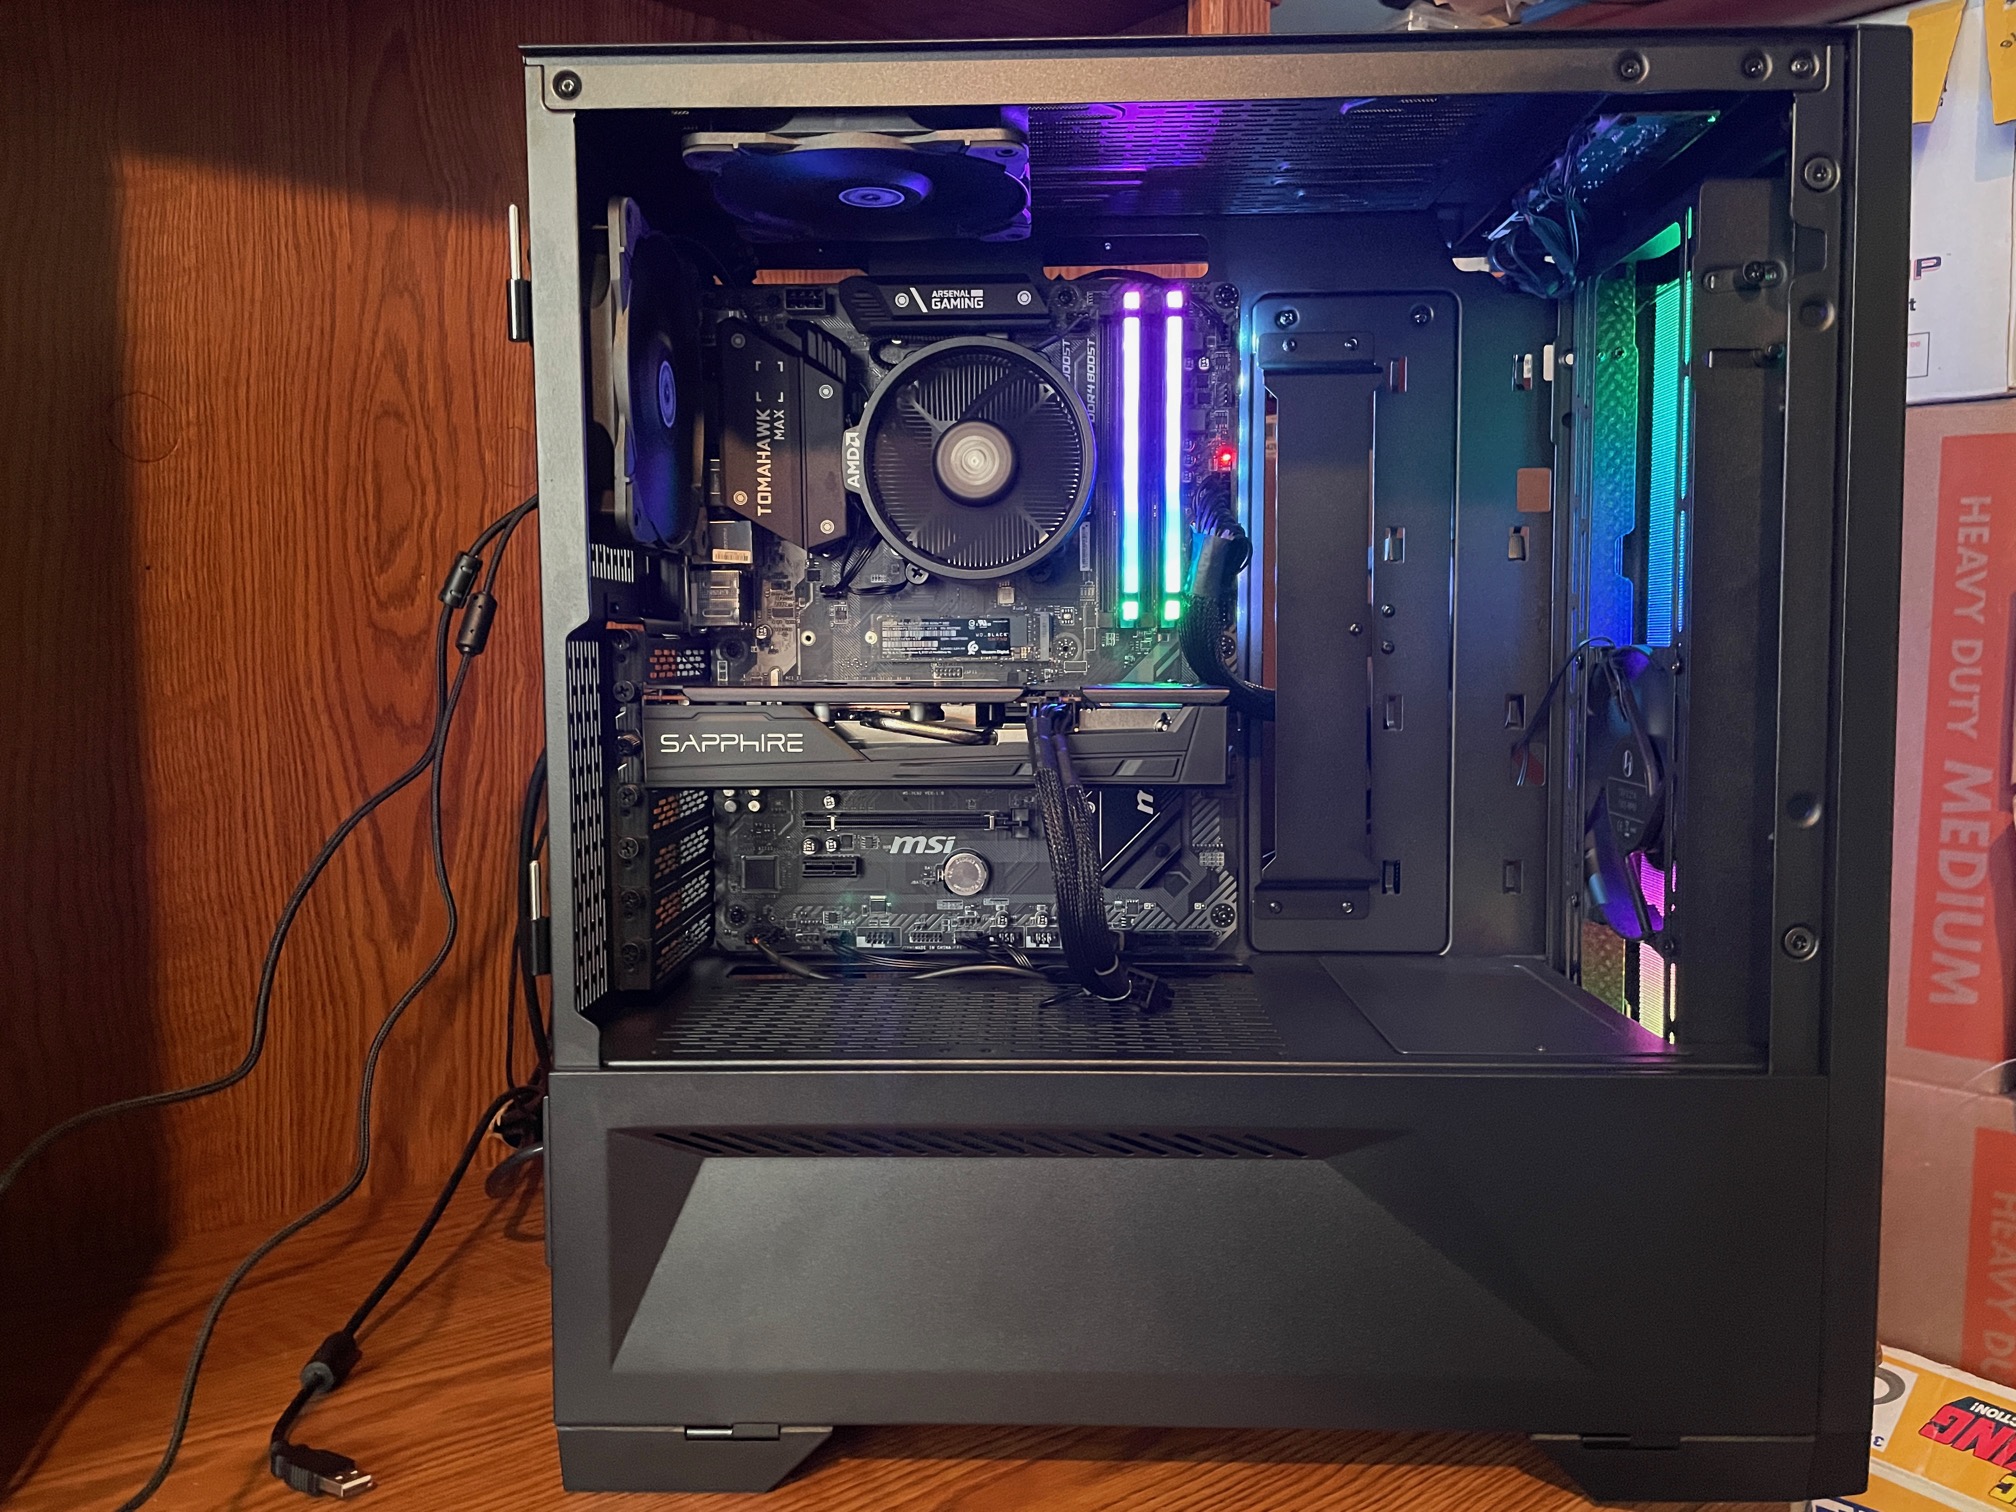
Prettier… 🙂
Since, I replaced the fan in the top of the case, I moved it to the front of the case. Makes better airflow…
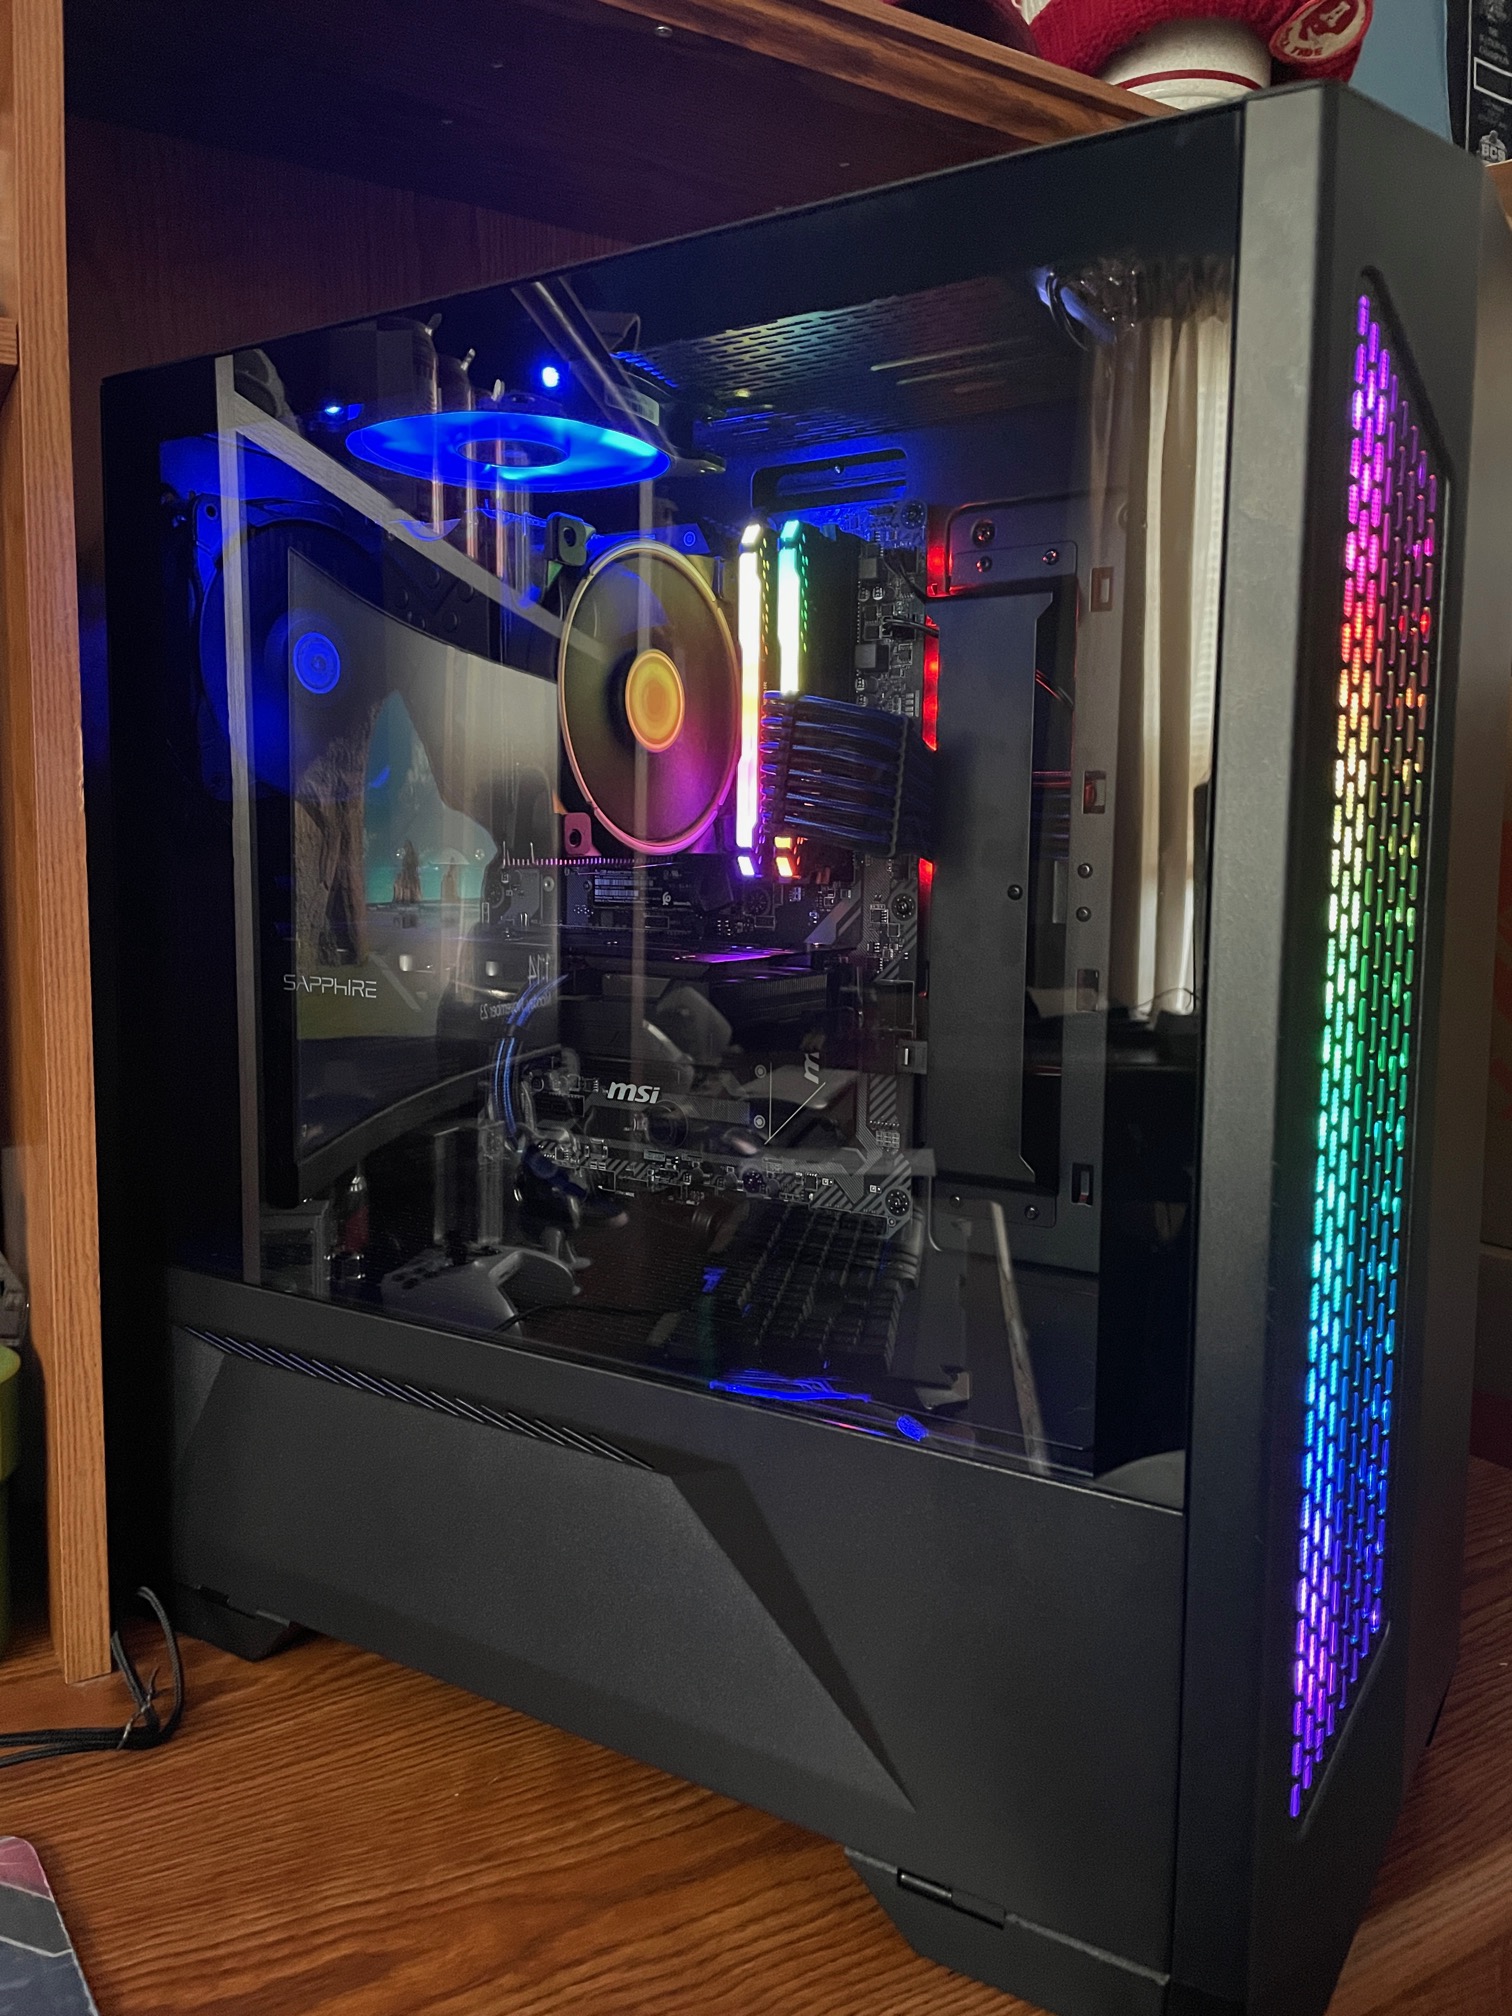
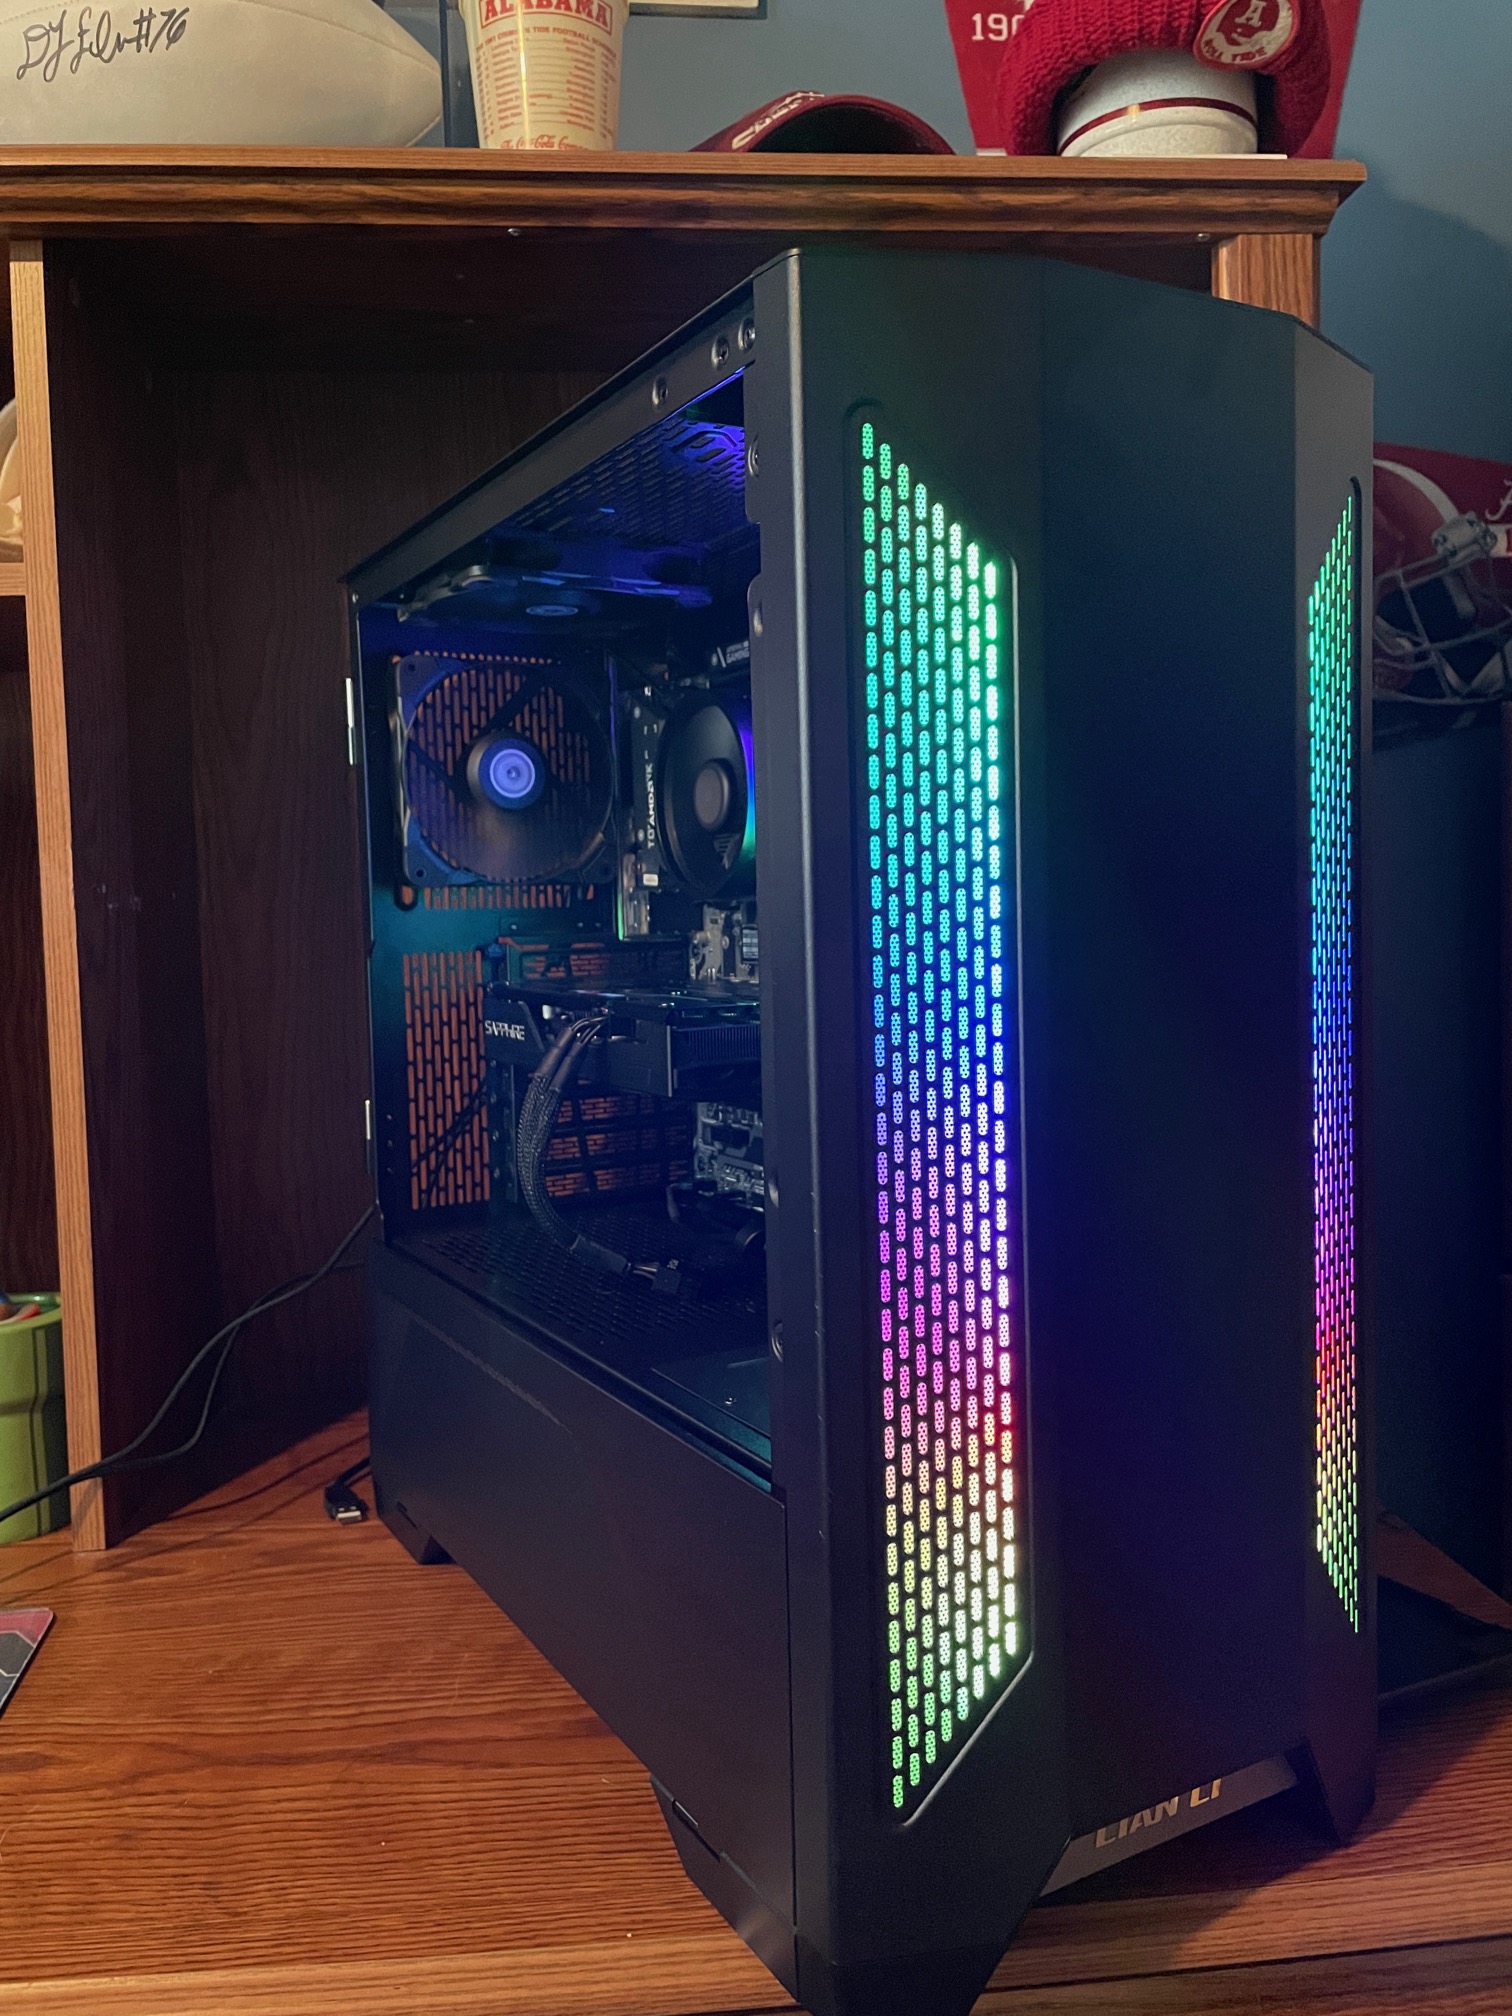
Tempered Glass side panels… installed. Man, this really looks good!
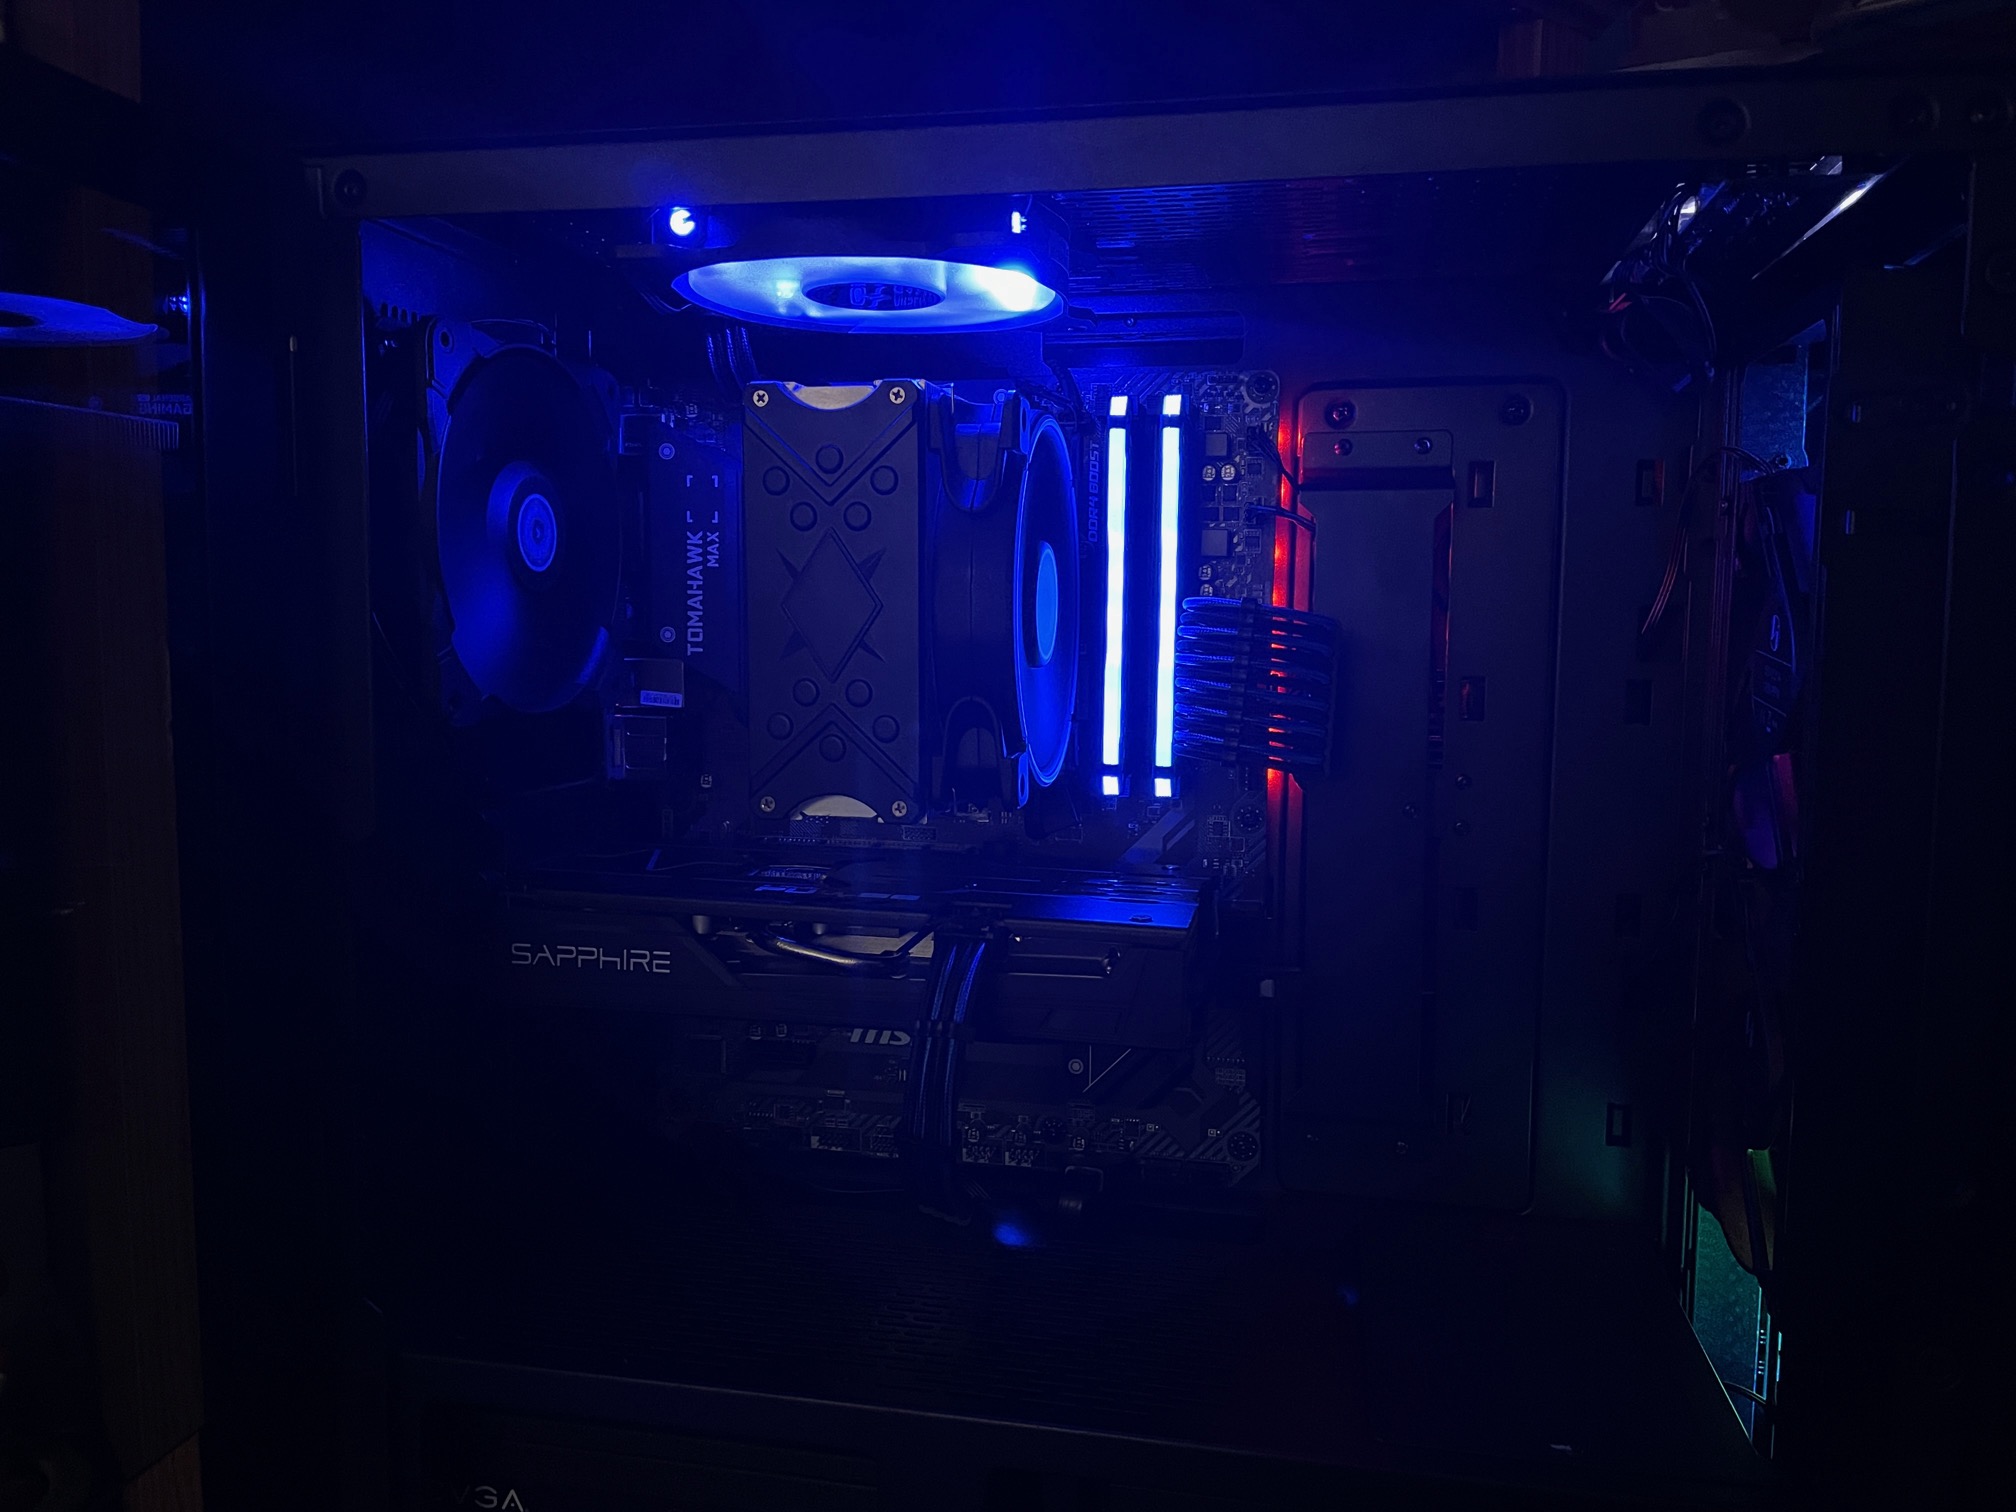
It will really light up in the dark… I set the RAM to blue as well instead of rainbow colors. Chase can change these in the software to whatever he likes. It is a bit unfortunate that the motherboard has red lights. I am not sure if those can be turned blue, but this build came out fantastic.
I ran some initial benchmarks and it is every bit as powerful as it should be and looks great to boot.
When I delivered to Chase, it didn’t boot. I couldn’t figure out why to save my life. Nothing had changed. It clearly works here at home, but not when I got it to Alabama. After buying a new PSU and finding that wasn’t the issue, I went into full on technician mode and started removing parts and after pulling the CPU and reinstalling it, the computer booted. WHEW! I am guess that the CPU became a bit dislodged in transit. I probably did one thing wrong in transit, the case was laying on it’s side. I am pretty sure that it may haver been motherboard up instead of down. All of the bouncing that is inherent in being in a vehicle could have cause this issue. I am so glad I was able to fit it there. I didn’t have any of my tools or anything, but I made it work.
All in all, Chase is very happy with his PC. This is the only thing I really miss about working at Fry’s… doing custom PC builds. Thank you to Chase for trusting me to get this done for him. He will be gaming in style for sure!!!


