Hi readers… yes, back for another post. This one is from a build I did last week. This one didn’t go as smoothly as I would have liked, but in the end, the customer got the build he wanted and that makes me happy.
Let’s go over the build one step at a time and I will show you what went right and where it went wrong.
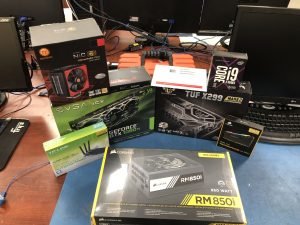
These are the parts for this build:
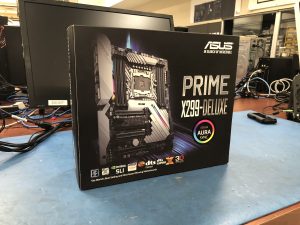
- ASUS Tuf-X299 motherboard
- Intel Core i9 CPU 7640X
- Nvidia GeForce GTX 1080 Ti GPU
- Corsair RM850i PSU with modular cabling
- Corsair Vengeance PRO RGB RAM 32GB (4×8 configuration) DDR4 at 3600MHz
- NiC Tower cooler with dual fans
- TP Link AC1900 Wireless Card
- Samsung 850Pro 1TB SSD (SATA)
- Microsoft Windows 10 Pro

These are the parts needed for a POST test. I like to do a POST test outside of the case just in the event that one or more parts are bad or not compatible. Easier to deal with them outside of the case rather than once mounted, especially if the motherboard is the issue…
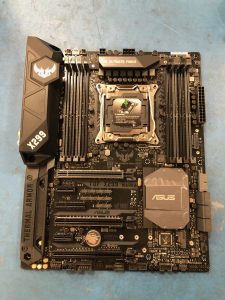
The motherboard. Naked and on my anti-static mat.
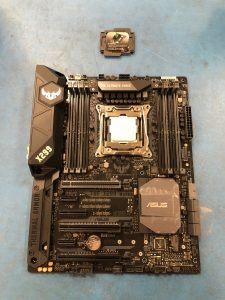
I have installed the Core i9 CPU into the LGA 2066 socket. Snug! The design of the socket is different that of the rest of the Core i-Series, which use the LGA 1511 Socket.
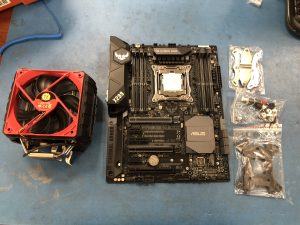
I am going to assemble and install the cooler. I do this because some of these coolers are hard to assemble inside the case. I don’t necessarily need cooling for a POST-test since it is so quick, but cooling is still a very good thing. POST-test or not.
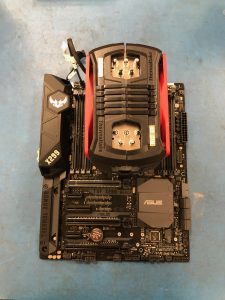
All assembled and installed.
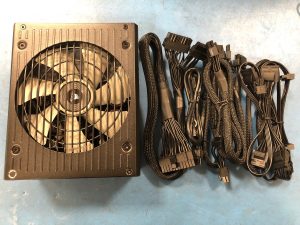
Unboxed the PSU and pulled the cables that I think I will need. That’s why I like modular PSU designs. Use what you need, the rest stay in the box.
Installed the RAM in quad-channel configuration. Now, I am ready to POST-test. The Core i9 CPUs do not have onboard graphics like the other CPUs in the Core i-Series. Instead of using the customer’s GPU, I am using one of ours for just this test. All I need it to do is display the BIOS on the monitor…
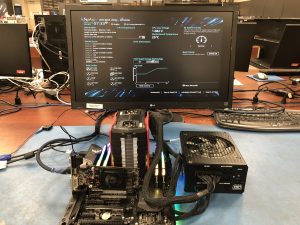
Which it did… this is a successful POST-test.
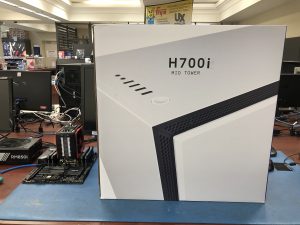
This is the case the customer chose, the NZXT H700i. I did another build using this case and I really like the built-in cable management routing features.

Beautiful. If I ever build a Hackintosh, I will use this case.
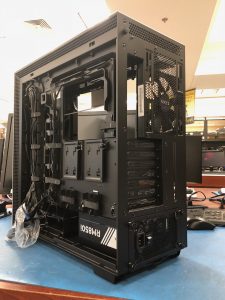
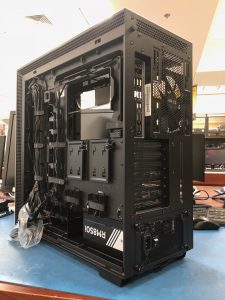
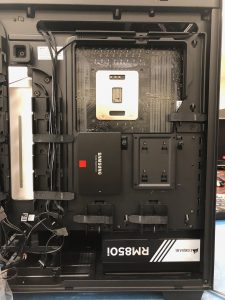
Case disassembled and ready for parts mounting. (Clearly, I have already mounted the PSU in the case…)
I start with the I/O shield. Veteran builders with keen eyesight will see the mistake I made here. It will come back to haunt me soon enough.
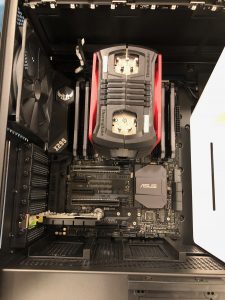
Motherboard mounted and WiFi card installed.
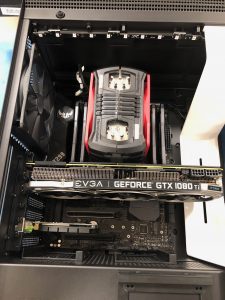
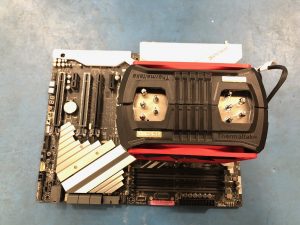
GPU installed.
SSD installed.
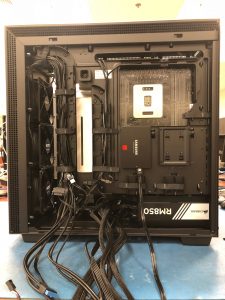
Look at all those wires… where, oh where will they go…
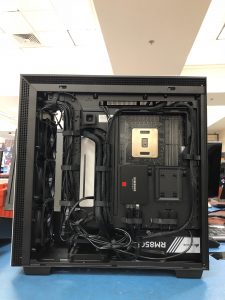
Pretty clean. I could have done a bit better but it is still pretty clean.
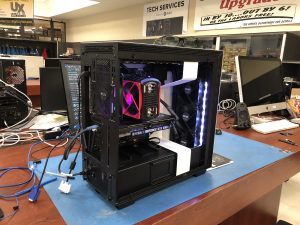
All done and ready to install Windows… Of course, this is after I had to remove the motherboard and the I/O shield and re-install. Why? Because I installed the I/O shield backwards. Or upside down. Or just incorrectly and the ports did not line up with the shield… a rookie mistake. It happens to the best of us.
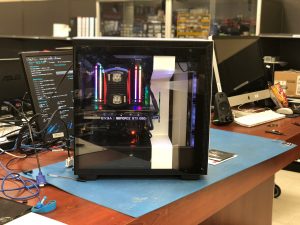
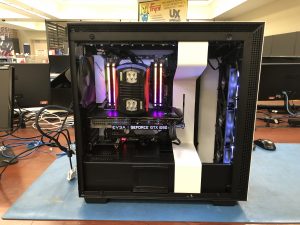
Looks good in portrait mode (all pics taken on my iPhone X)
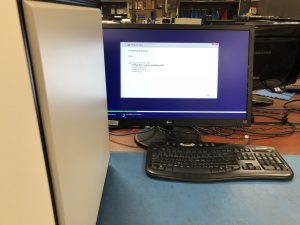
Installing Windows… Once completed, all I have to do is run a diagnostic to make sure there are no bad parts.
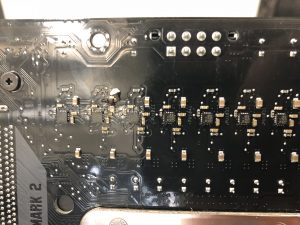
HOLD ON… While getting it ready to run the diagnostics, a smell of burning electronics fills the air. After looking at testing other parts, I found the what we term as burned out capacitors. Yup, this motherboard is bad and I don’t like it one bit… because… (we did not have another one in stock, which means replacing with a different model):
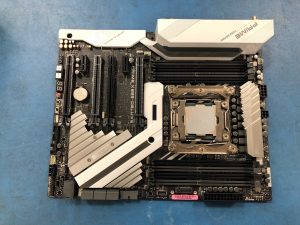
Meet the new woman in my life, er motherboard… it is a MOTHER-board, after all. Again, now we have to POST-test, which means re-installing all of the parts on the motherboard and possibly rerouting of some cabling because not all boards have the connections in the same locations…

Another naked motherboard on my bench…
CPU installed.
Air-cooler installed… you get the point.

Everything is re-installed in the case. In this scenario, the motherboard had onboard WiFi, so no need to re-install that card, but it did come with an Thunderbolt 3 board, which I did install.
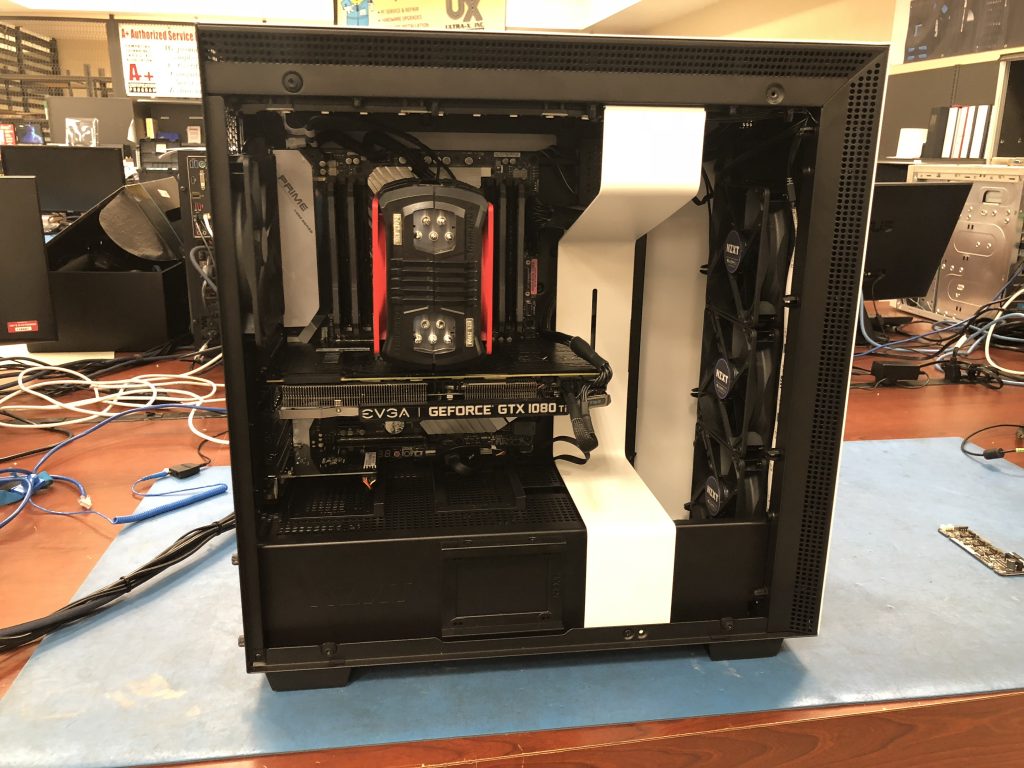
Looks great. There are RGB lighting connections in the case. These are just white, but the customer can change out to RGB if he/she would like.
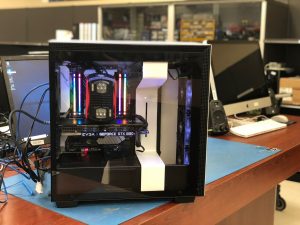
Again, looks great in portrait mode. This was a challenging yet very successful build. The customer was very happy with the results and I hope this machine serves him well for several years to come (or until he decided to upgrade…)
Hope you enjoyed the journey through this build. I will be posting more builds. This is the 37th one I have taken pictures during the building. There are few others that I didn’t or couldn’t take pictures. I think this one pushes me past 40 builds. I still enjoy doing every one of them…
Until next time… happy computing.


