
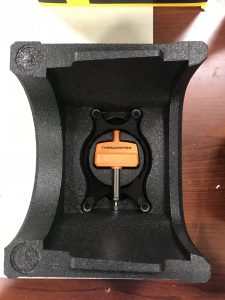
Back in November, I did my first and only (to this date) AMD Threadripper build. The CPU package is massive and requires a T8 driver (Could be a T10) to install into the socket. Luckily, it comes with the tool. Additionally, this build was water-cooled and there are no AIO [All-in-one] water-coolers that we sell at Fry’s that are compatible with the TR4 socket out of the box. However; AMD actually included an adapter bracket with the Threadripper that fits most all AIO water-coolers.
The hardware for this build:
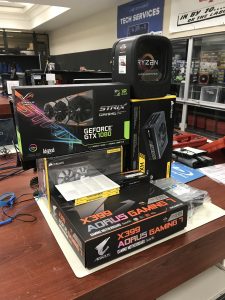
- AMD Ryzen Threadripper 1950X
- ASUS Strix Nvidia GeForce GTX 1080
- Gigabyte AORUS X399 Gaming Motherboard
- Corsair H110i AIO Water-Cooler
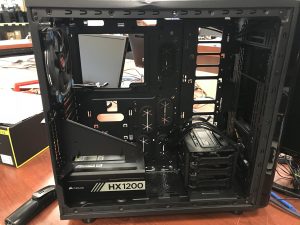
- Corsair HX1200 1200-watt PSU
- Corsair Vengeance 64GB RAM
- Samsung NVMe PCI-interface SSD
- DVD drive
- Thermatake Core V31 case (not pictured here)
Starting off this build, I was still didn’t always do a POST-test the way I do now. In this build, I actually did not do a POST test. I do one every time now… but there was a time… Luckily for me, it worked perfectly the first time. If it hadn’t, I would have been furious with myself…
Let’s start building.

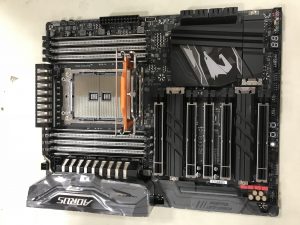
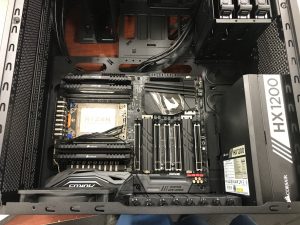
Here is the motherboard. You can see just how big the Threadripper TR4 is and that it requires a tool in lock it down into the socket.
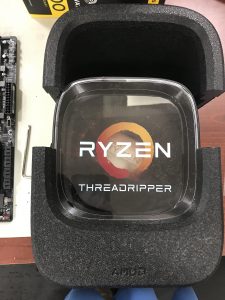
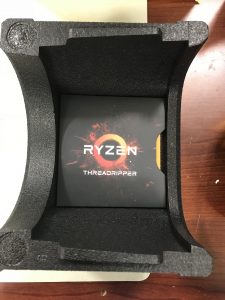
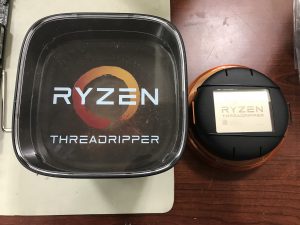
Since this might be my only TR build, I did a full unboxing of the TR in the next 7 pictures. It is very interesting packaging for a CPU. Enjoy!

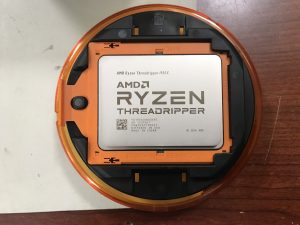
Time to install the TR. This is very different than any other CPU that I have installed.
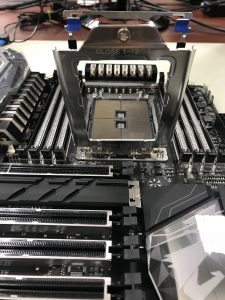
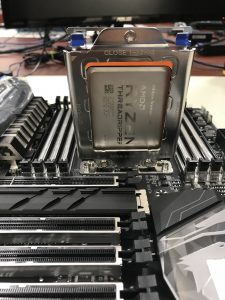
Using the included tool, I got the socket opened up for business! You have to slide the CPU package into the top loader. After that, you close that down. Finally, you close the “lid” down on top of everything and screw it back down.
I am ready to close the top
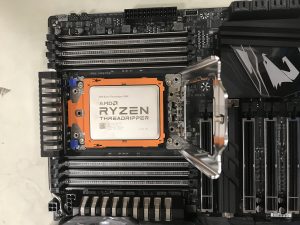
The package has been delivered…
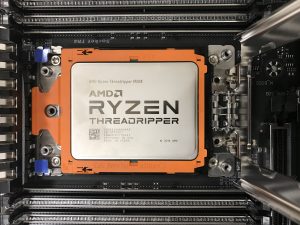
Up close shot…
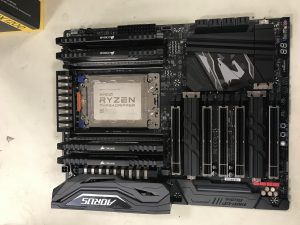
All done. The TR is installed. Oh, and I installed the RAM as well. This is quad-channel RAM. Very cool.
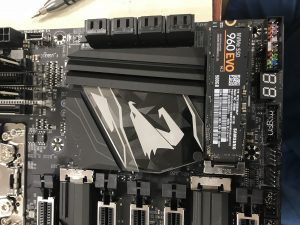
Installing the SSD.

The motherboard has a nice cover that conceals the SSD.
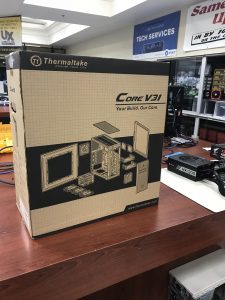
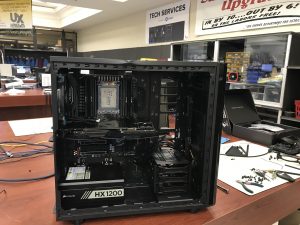
This is the case.
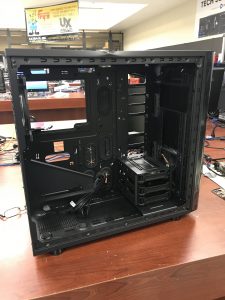
All empty and ready for component install.
√
≈
Next, the motherboard is installed.
Graphics card installed.
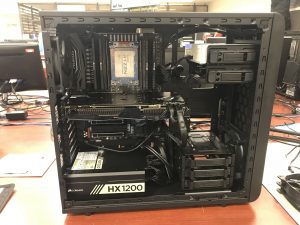
Beautiful. Last thing is the water cooler, which I made no pictures. Trust me, I installed it.
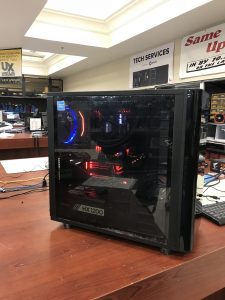
All done. Time to install Windows 10.
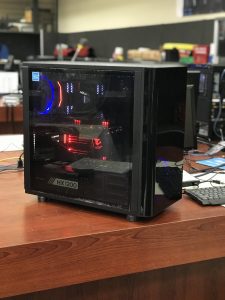
Portrait mode time!!!


