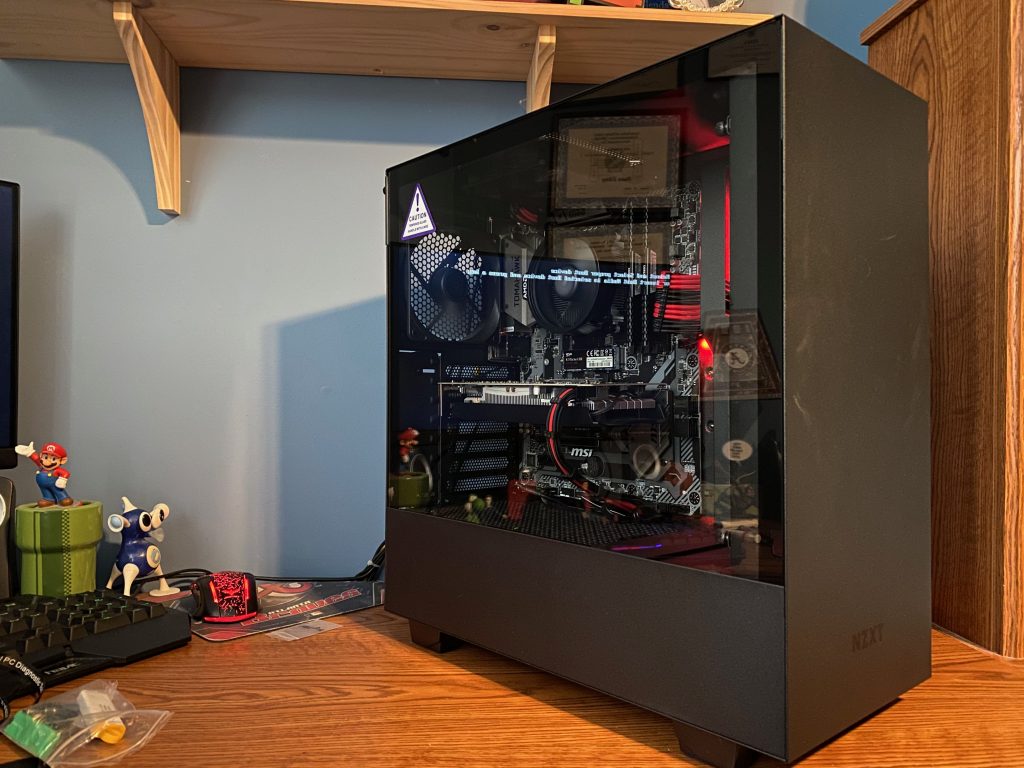
Here is the gaming PC I built for my nephew.
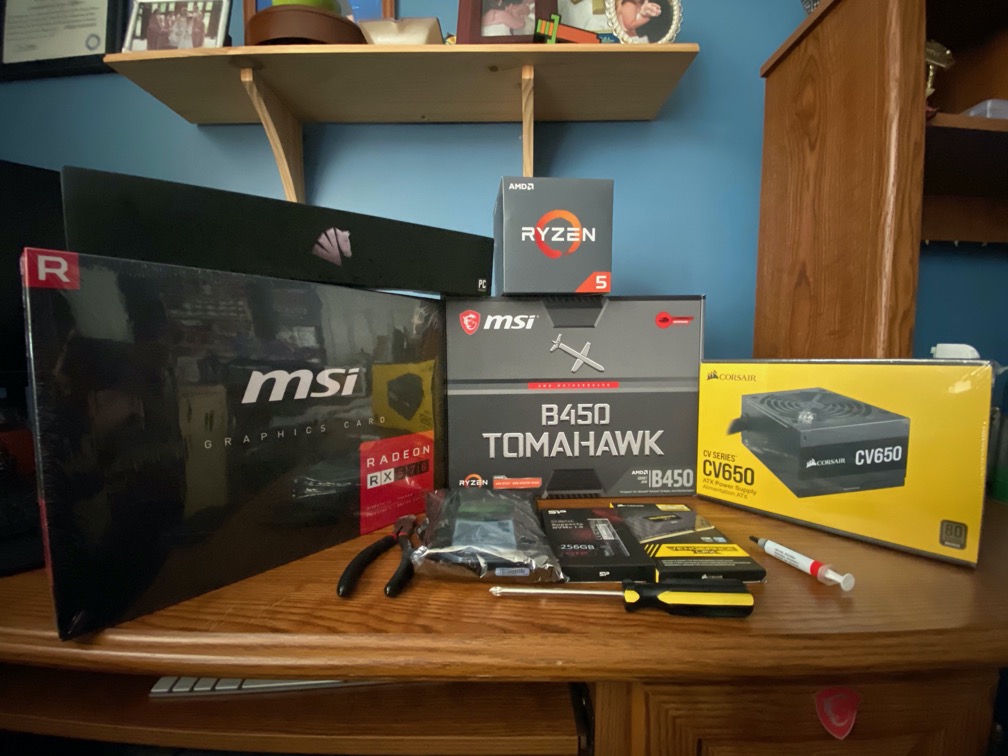
The Parts: MSi Radeon RX570 GPU, AMD Ryzen 5 1600AF, MSi B450 Tomahawk Motherboard, Corsair CV650 (650W) PSU, Seagate Barracuda 2TB SATA HDD, Silicon Power 256GB NVMe PCIe SSD, Corsair Vengeance LPX 16GB (8GB x2) RAM kit. This is a budget build but it has plenty of muscle for most of today’s games. I have the same type of GPU (by a different manufacturer) and it still gets good FPS. Not a much as more powerful GPUs but still acceptable. You don’t have to spend a lot to build a powerful system.

Parts needed for a POST test. I alway POST test by builds before installing anything in the case. This allows me to test components before getting too far into the build.
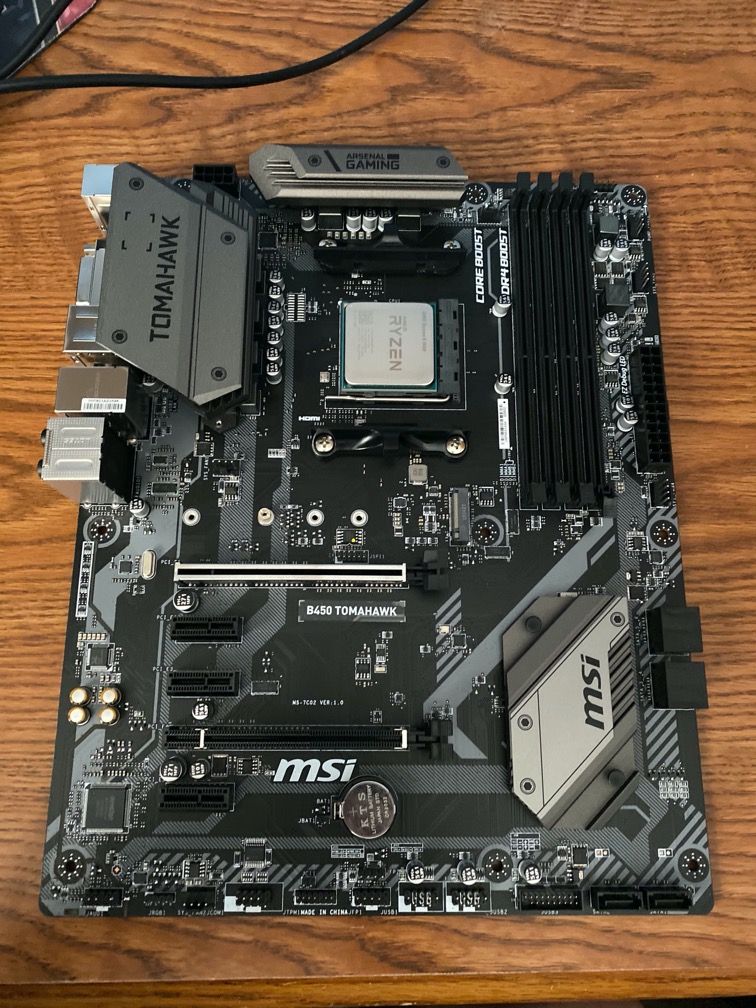
CPU installed. AMD Ryzen CPUs are on what’s called a PGA (Pin Grid Array) package. This means that the pins are on the package and not on the motherboard. Intel uses LGA (Land Grid Array). This means the pins are in the socket on the motherboard. Both have their pros and cons.
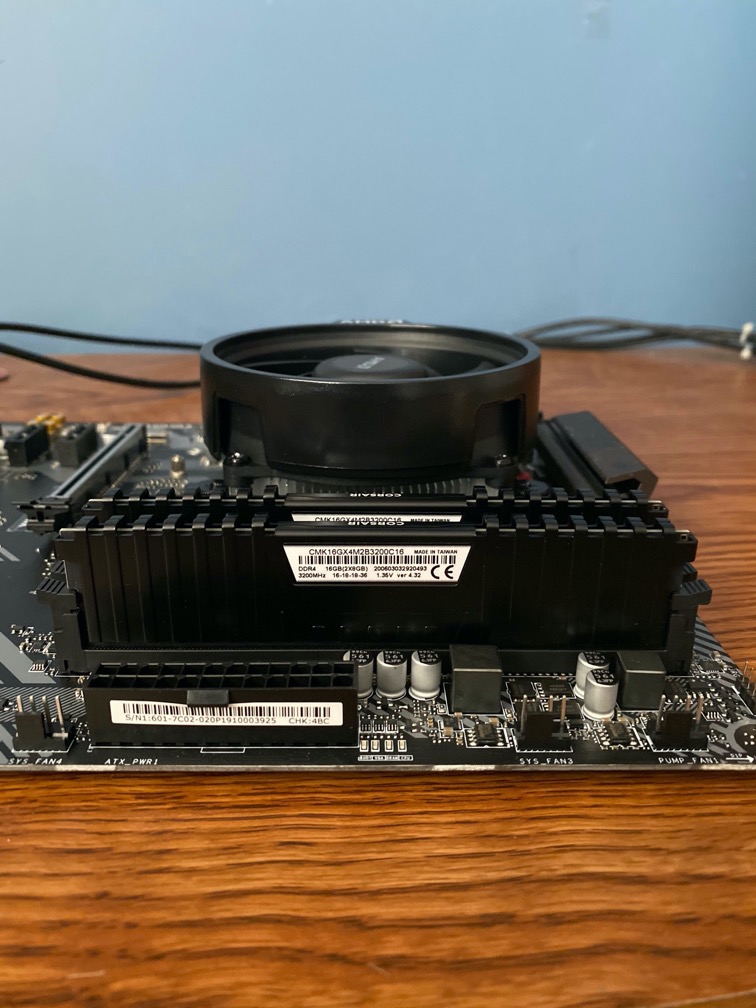
CPU cooler installed. RAM installed. For this build, I am using the stock air cooler that comes with the CPU. Unless you are overclocking, there is probably no need to use a third-party cooler. Overclocking increases heat and a more efficient cooler may be needed to dissipate the additional heat. There are two types of cooling: air cooling and liquid cooling.

Everything is installed to do a POST test. Typically, you only need 4 items for a POST test: CPU, RAM, PSU, and motherboard. However, in this case, the CPU does not have integrated graphics, so a GPU is also needed for basic output to the monitor.
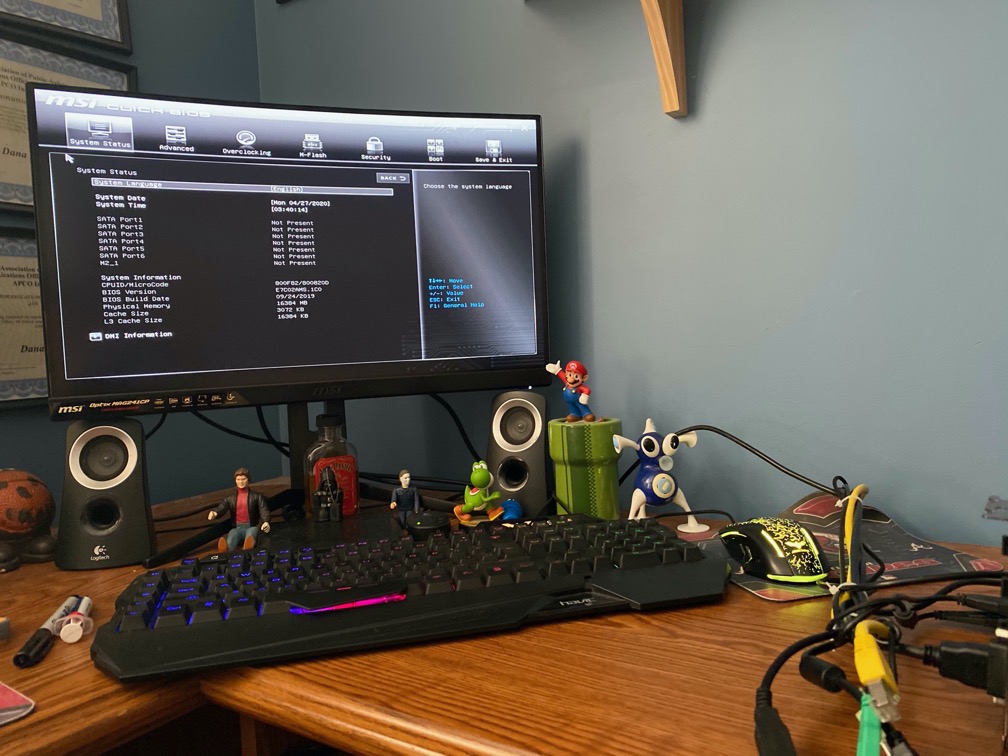
Successful POST test.
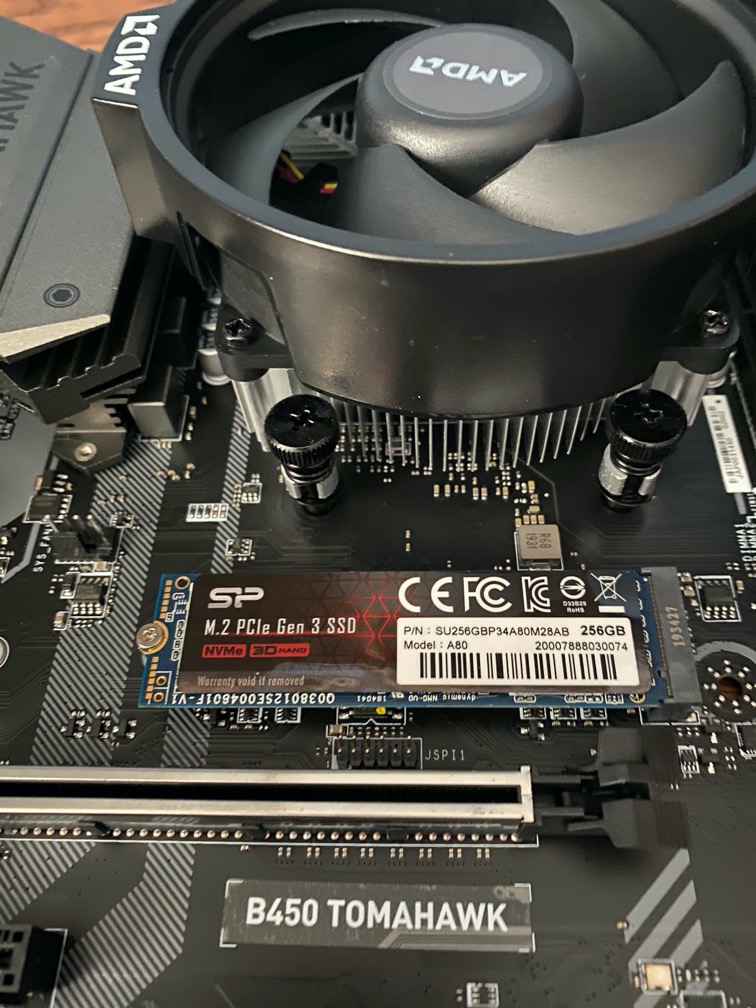
SSD installed on motherboard. This is an NVMe package SSD. They come in two types: SATA and PCIe. SATA is slower at around 600MB/s. PCIe Gen 3 like this one is 1500MB/s – 3000MB/s. All depends on your stick and what controller it uses. Samsung Evo drives are considered some of the best but they are more expensive. This Silicon Power driver had more than acceptable speeds and much less expensive. Windows and applications are installed here and the SATA HDD (not pictured) is good for holding large data files. I use mine for game libraries and media.
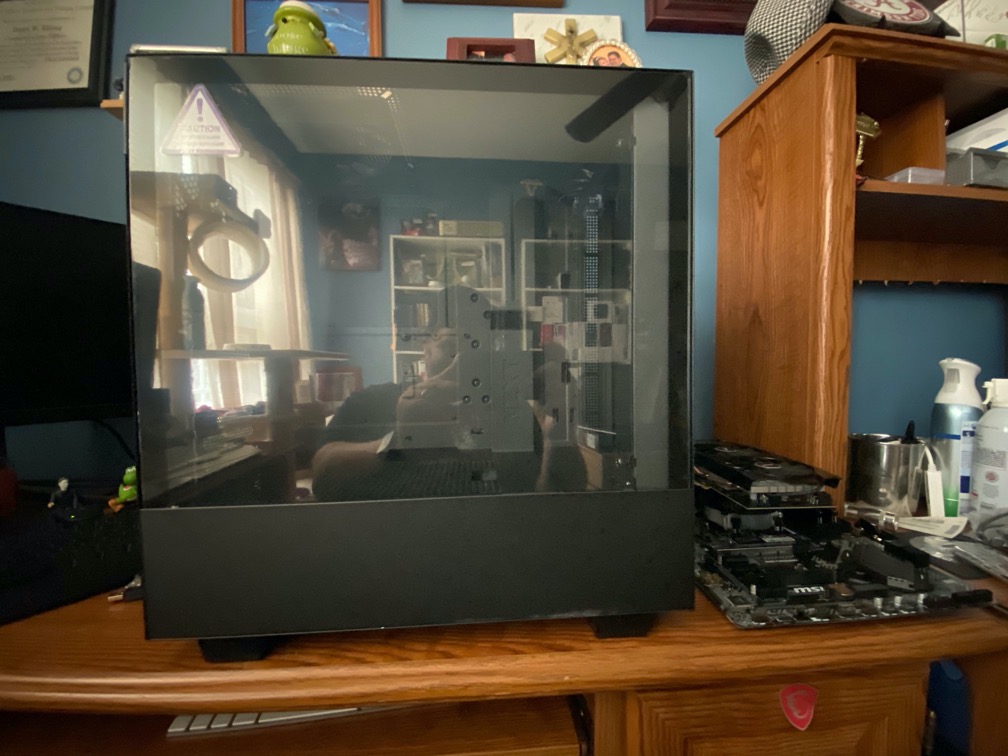
This is the case. There are so many types. Different sizes, designs, and prices. All of the components will be installed in this case. Where some components are installed such as SATA hard drives and fans are installed are different for each case.
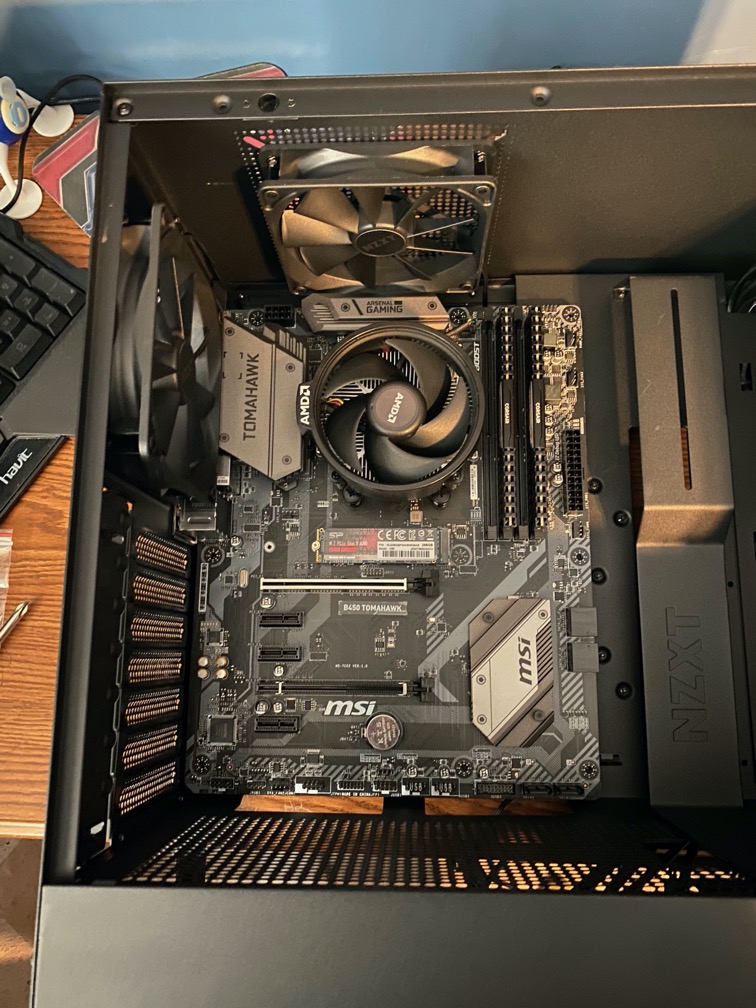
Motherboard installed.
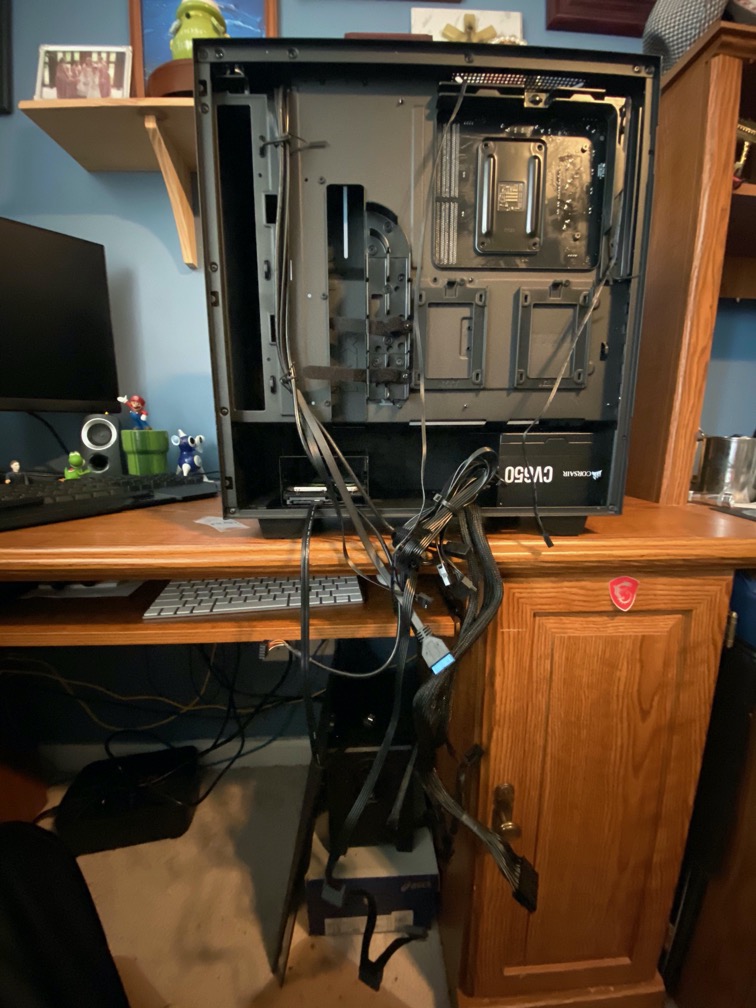
This is a mess of cabling. It takes time and patience to manage the cables.
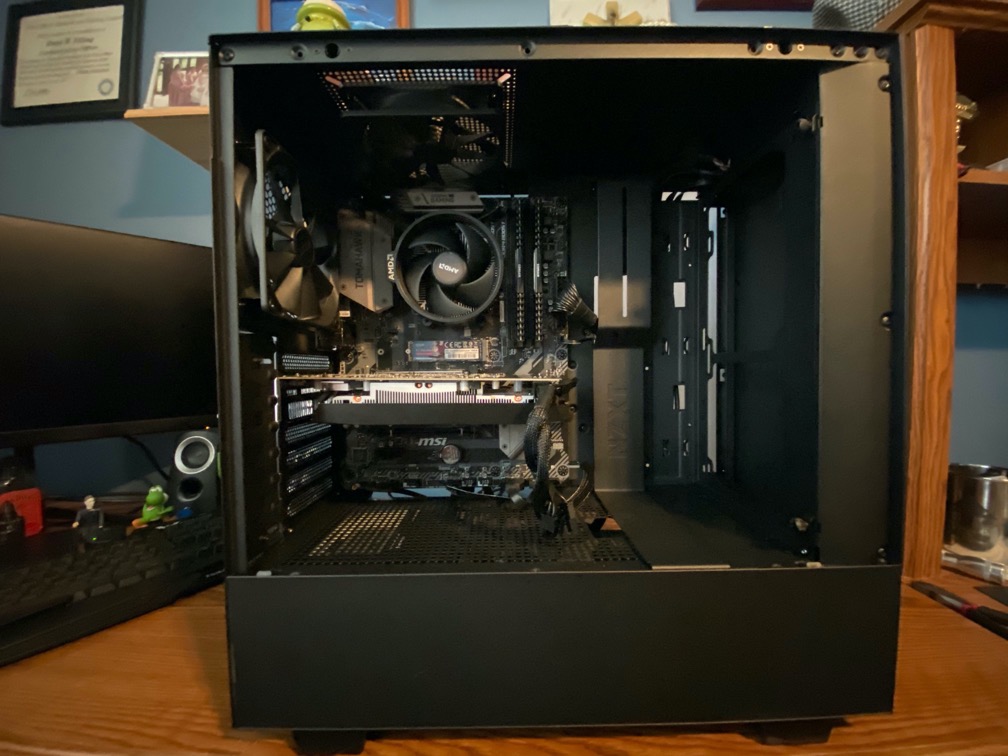
Everything installed. I am using the PSU cables but I have something more in mind…
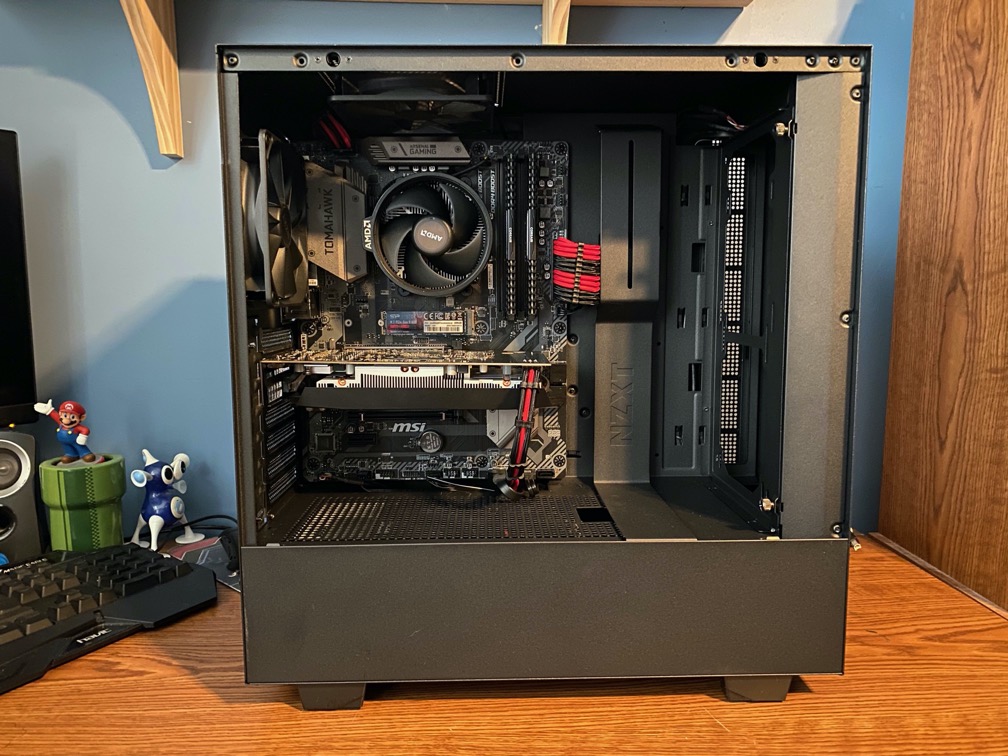
… sleeved cable extensions. These are not necessary but they add to the aesthetic of the build. I chose red and black because my nephew is a Georgia Bulldog and Atlanta Falcon fan. Theme colors.

Here is the completed build. There is much to do with software. Installation of Windows, drivers, and other software. I hope my nephew enjoys his build. There is always room to upgrade later if needed.


