
Hi my dear readers. I am going to do a two part series on my move to Apple Silicon. I have resisted to this point but the falling resale values of Intel Macs has made me re-think my strategy with Apple Macs going forward. I decided to go with a Mac mini setup because I want a separate monitor and computer. I have had many iMacs and I really liked them all but having the Mac and monitor separated will make future upgrades easier.
In Part II, I will go over benchmarks and my reasoning for the model of M2 (Apple Silicon) Mac mini I chose.
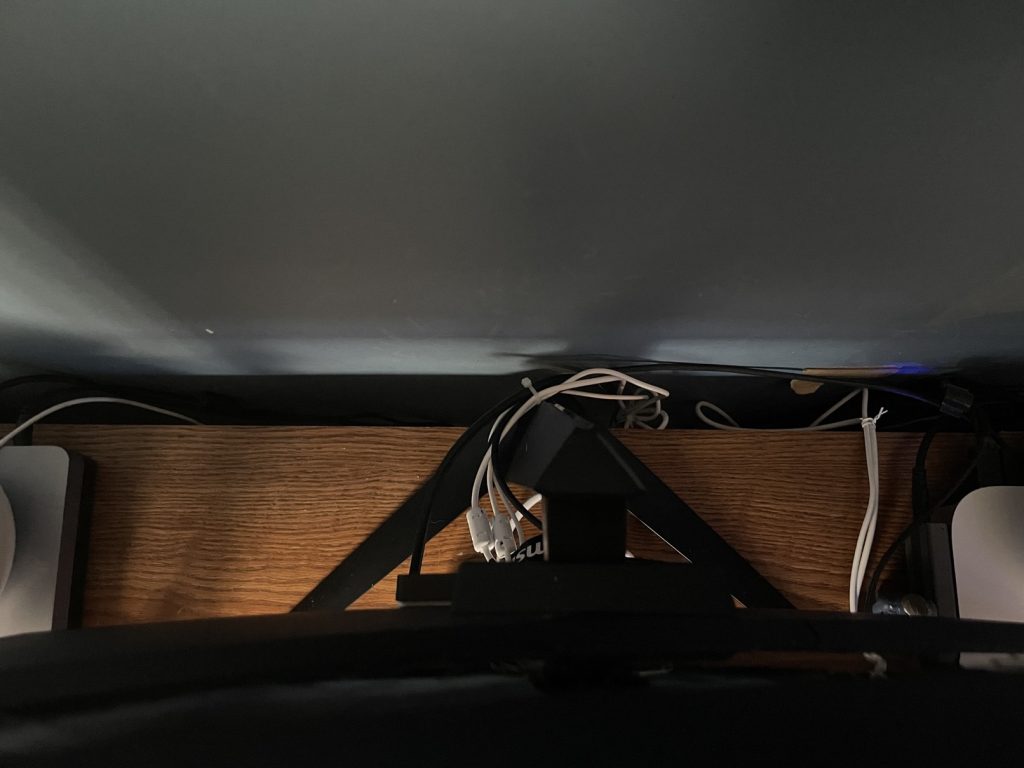
How did we get here? Here are a few pictures of the setup process. I will also go over the parts at the end.
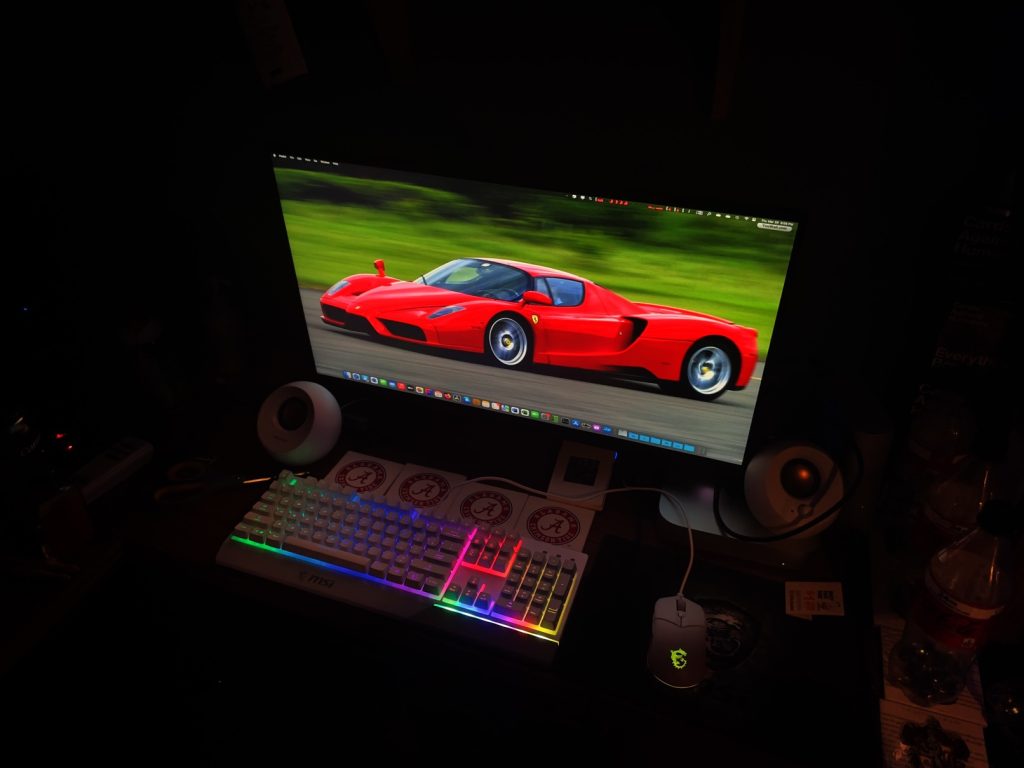
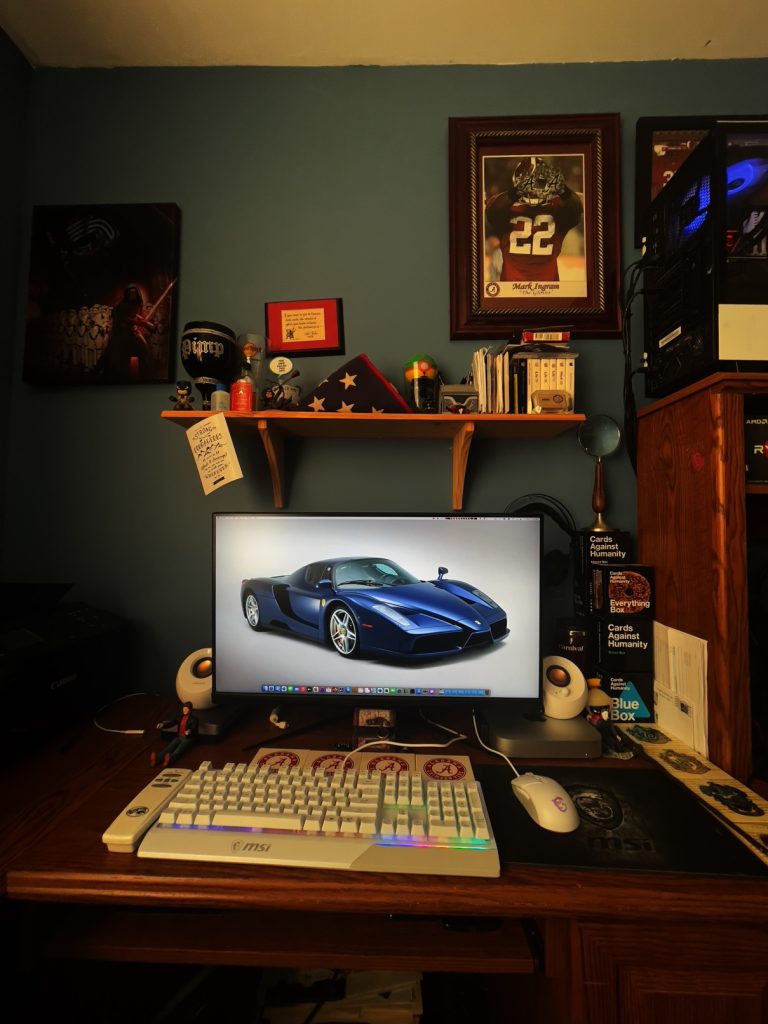
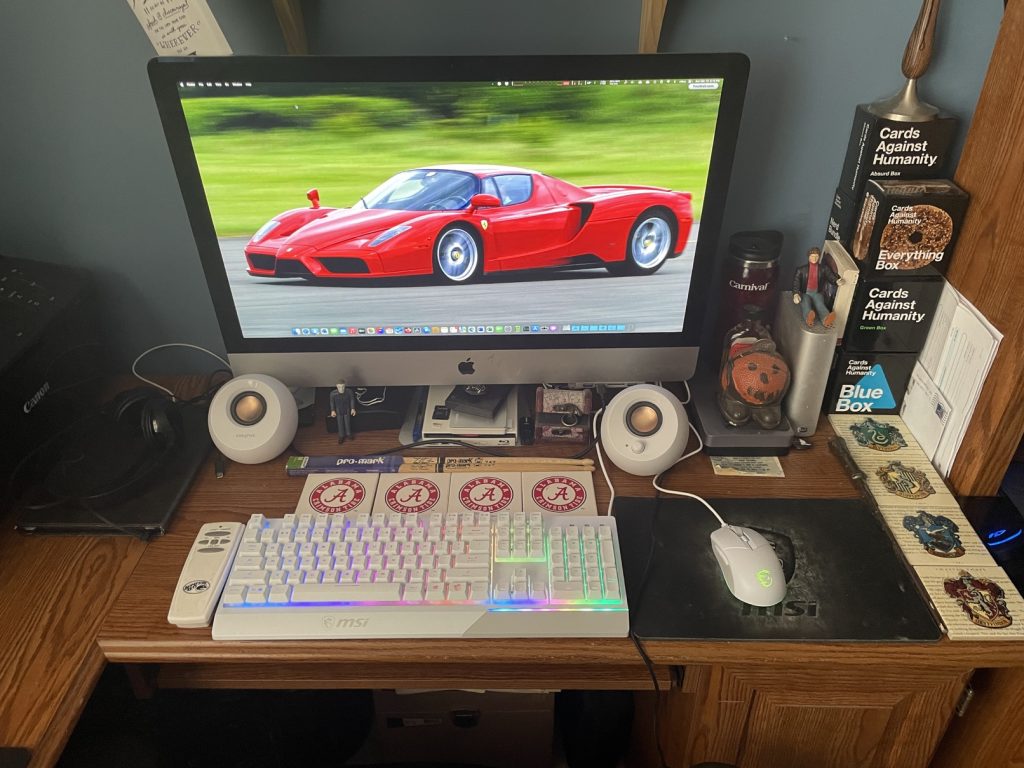
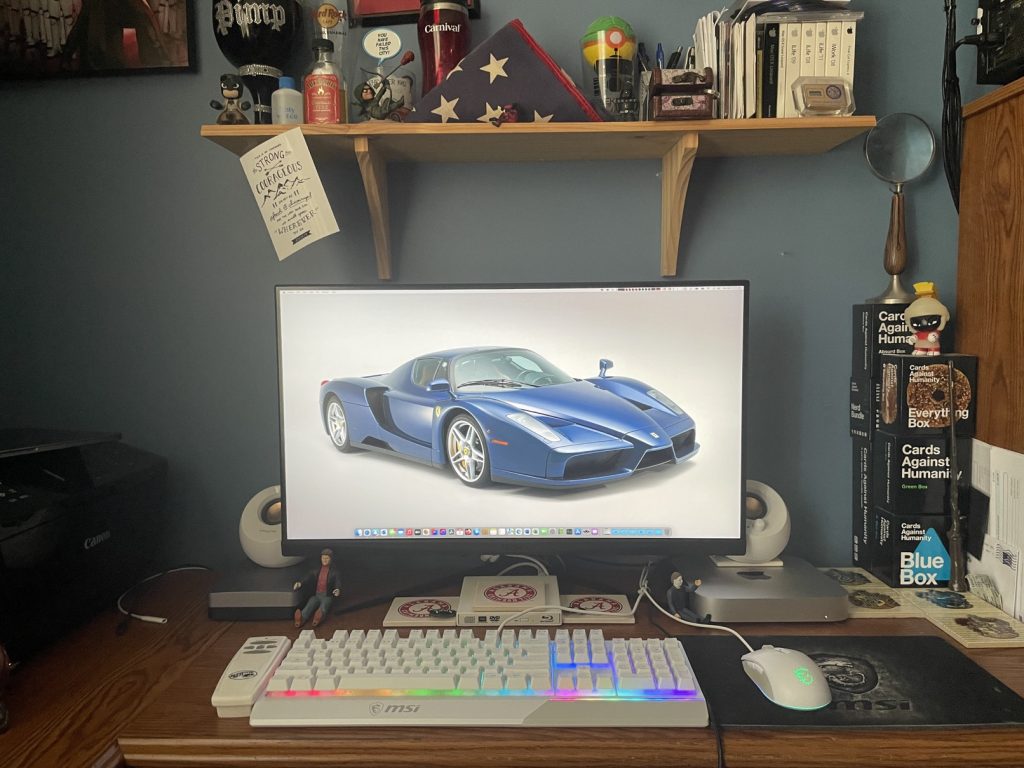
Finally, I have emerged from the work in progress setup to the one you see above.
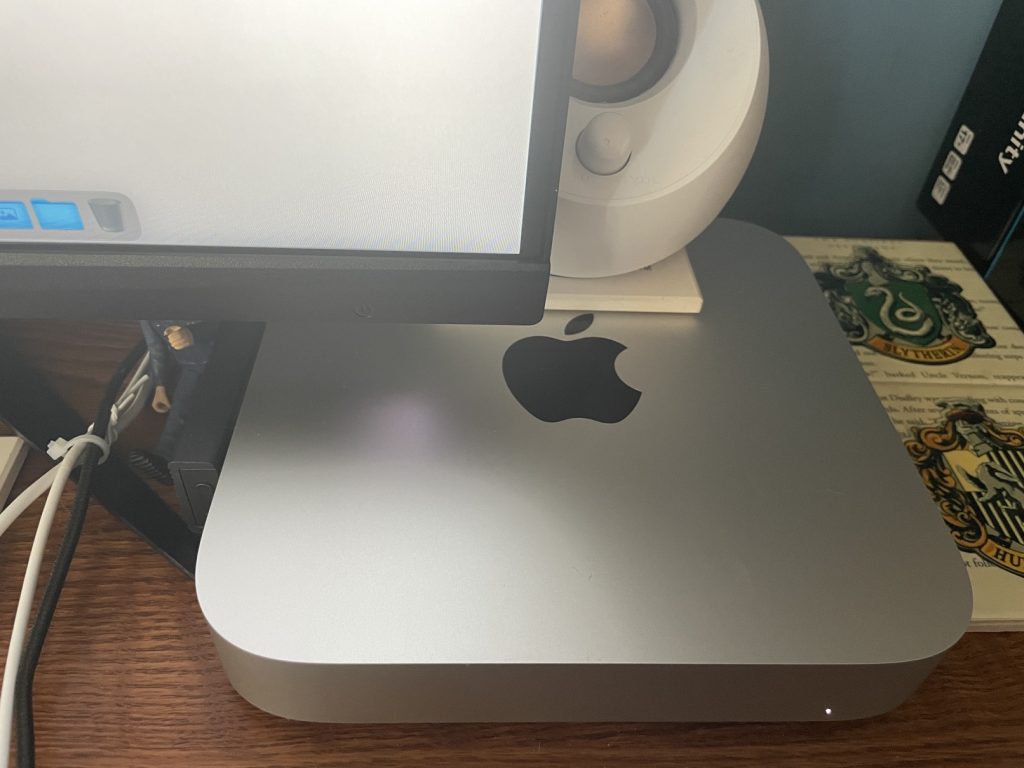
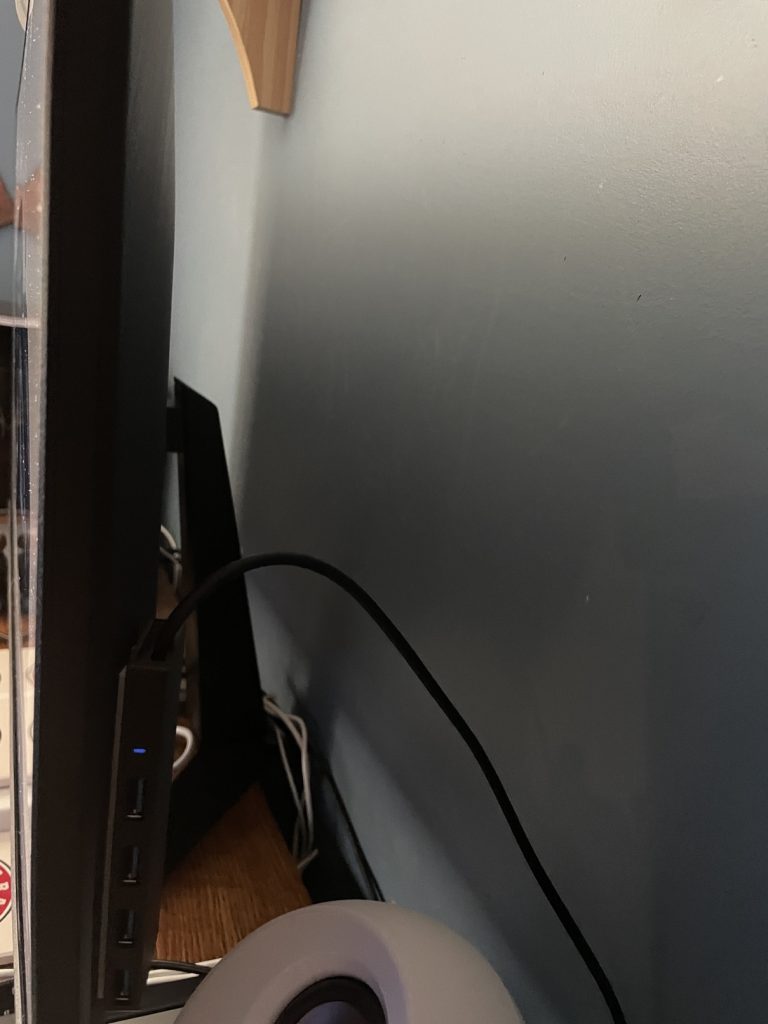
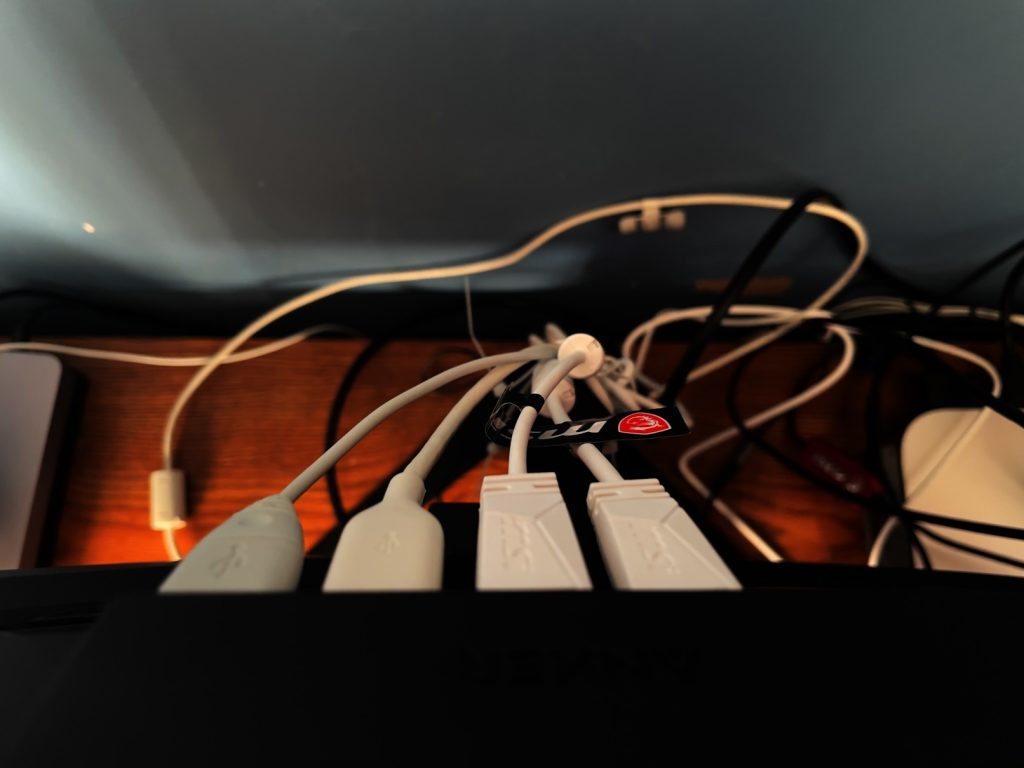
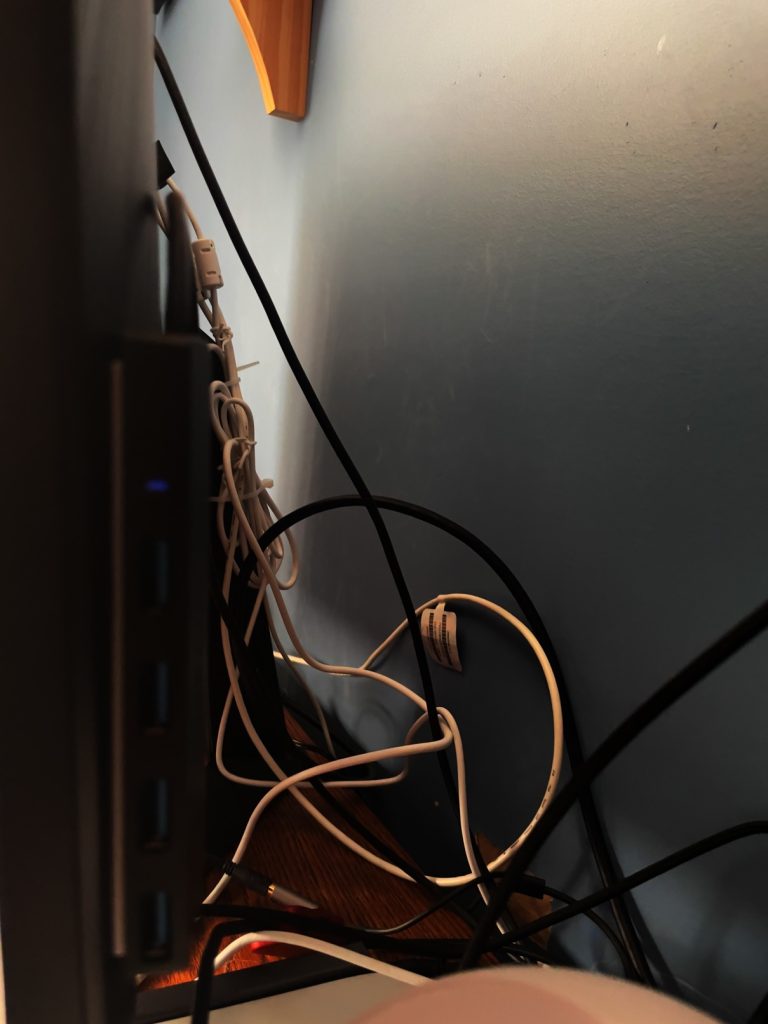
This should prove to last a couple of Apple silicon generations. I try to keep my cables managed and neat. The iMac made some of that better by having a lot of built in features, but I rarely used most of those.
The parts I chose were:
Apple M2 Mac mini (512GB version) – Link
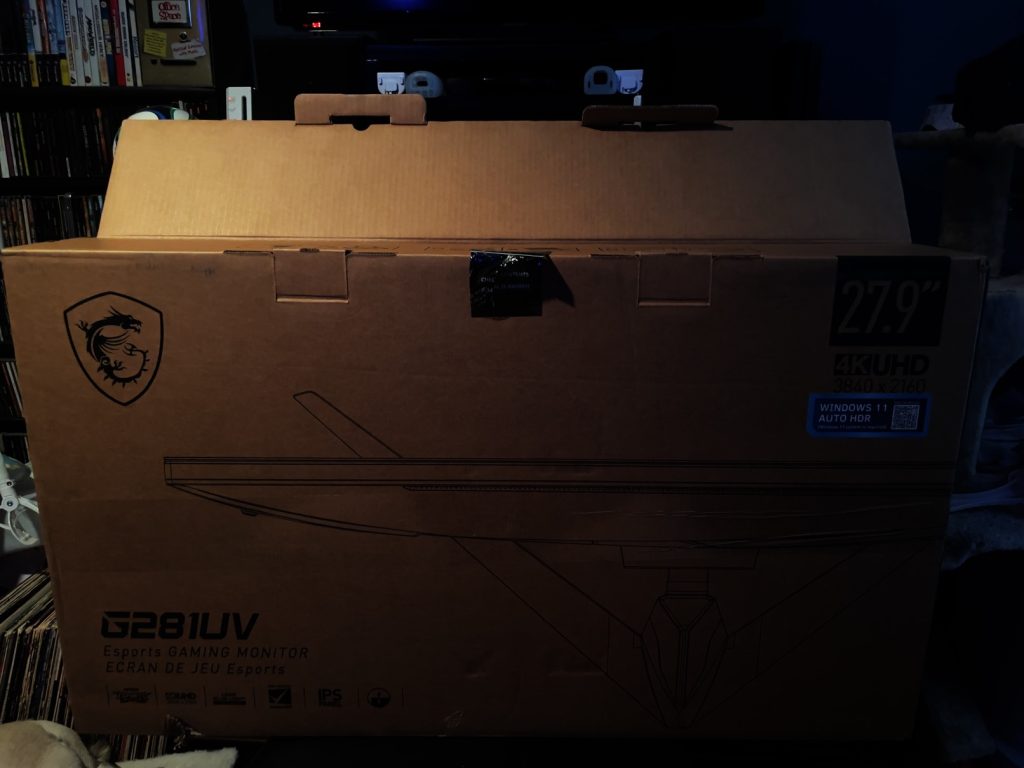
MSi G281UV – Link
Inland 2TB M.2 Gen 3 SSD – Link
Sabrent USB-C M.2 Drive Enclosure – Link
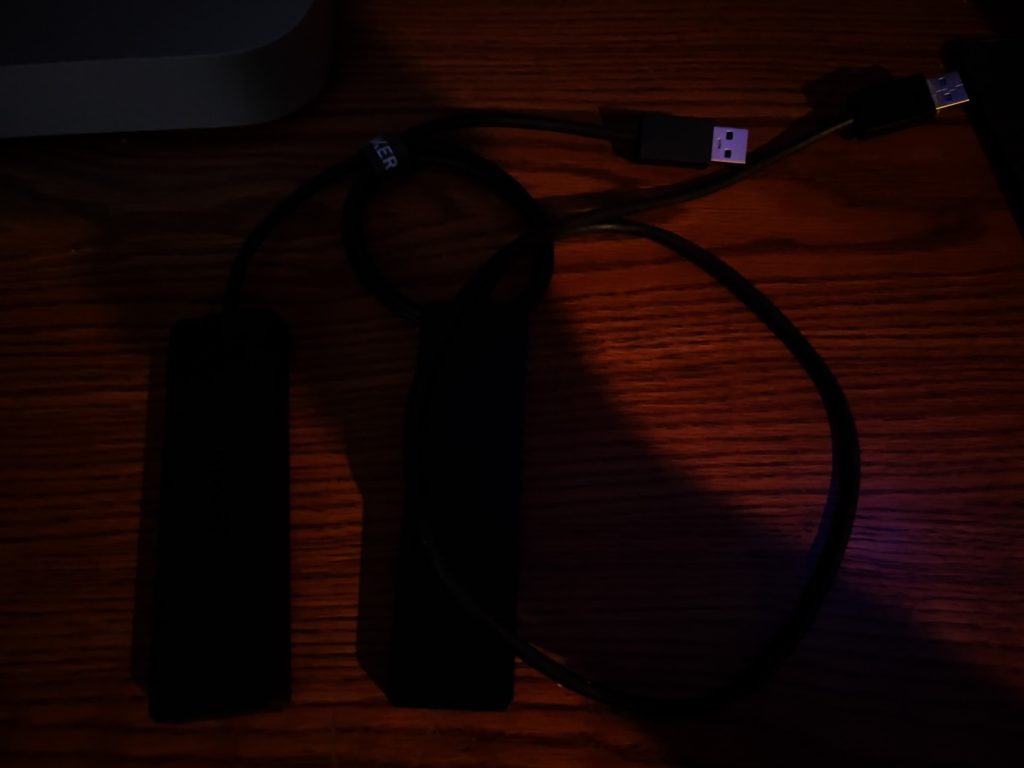
Anker USB 3.0 Hubs (2) – Link
MSi Vigor GK30 Keyboard/Mouse Combo, White version – Link
Creative Pebble 2.0 USB Powered Speakers – Link
MSi H991 Gaming Headset – Link
MSi GD20 Agility MousePad – Link
So, you can kinda tell, I like MSi product to use with my Macs and my PCs. So, here is some of the rational behind my choices:
Apple M2 Mac mini – I was going for price here. The M2 Pro is more than I wanted to spend even though it is more in-line with the power of the iMac it’s replacing. I had a choice of (at the price point I was going for) a 512GB SSD or 16GB Unified Memory. My initial thoughts were to get 16GB of unified memory because nothing in the Mac mini is upgradable, but external storage is cheap and easy to use. But Microcenter had a sale on the 512GB model at time of purchase and I decided to go with storage over RAM. I watched a number of videos that showed that 8GB is sufficient for most workloads. I have a lot of storage needs so I chose storage.
MSi G281UV monitor – Monitors are hard to choose. Unless you pay a premium, there will be something that is a compromise. My needs were: 4k, DCI-P3, sRGB, IPS and good price. Those are hard to come by. This monitor has them all. 28″ display. 4k. DCI-PC 94%; sRGB 122%. IPS. 275 price. So, what are the downsides? Only a 60Hz refresh rate. This matters little to this Mac mini as the HDMI port only supports 60Hz. The contrast and black levels aren’t as good as I’d like but considering the price, I also got 10-bit color and HDR-400. I think the compromises are worth the negatives. It also did not have any USB ports built in. So that leads me to the next part.
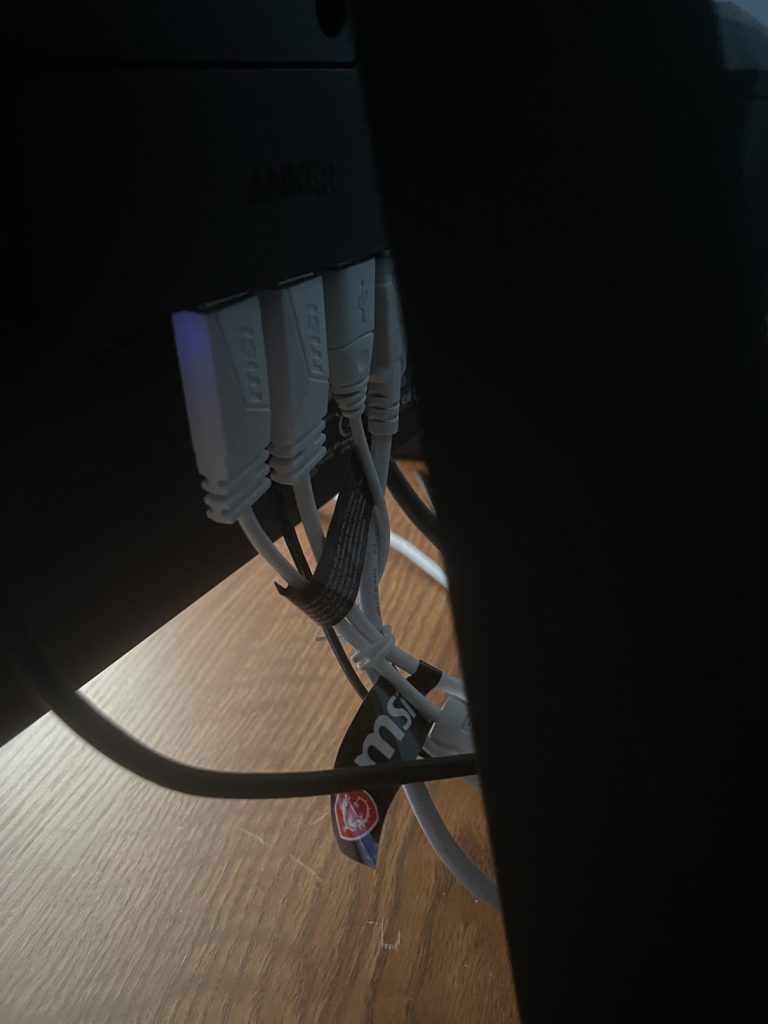
Anker USB 3.0 Hubs (2) – The Mac mini only has 2 USB-A ports and I have a bunch of USB-A drives and accessories, so 2 wasn’t enough. 4 didn’t seem to be enough (1 hub) as I have USB keyboard, mouse, speakers, and Blu-ray drive. If I need to connect other external drives, I am out of luck. So I bought 2. I have 8 USB-A ports and 2 USB-C/Thunderbolt 4 ports on the Mini. I double-stick taped these to the back of the monitor for easy access.
Sabrent USB-C M.2 Drive enclosure + 2TB SSD – Storage. Simple as that. I would like a Thunderbolt 4 enclosure (future) as the USB-c version doesn’t get the speeds that TB4 will; however, much faster than the HDDs I used to use. I made some changes to how and where I store my RAW files and my video files. I will be doing more videos in the future and this M2 Mac mini is a part of that plan. I double stick taped this to the side of the mini just for convenience and keeps it out of the way.
The rest of the setup is carry over from iMac.
Part II will come soon as I finish up benchmarking. I have a bit to go and quite an opinion on Apple Silicon. Look for that soon.